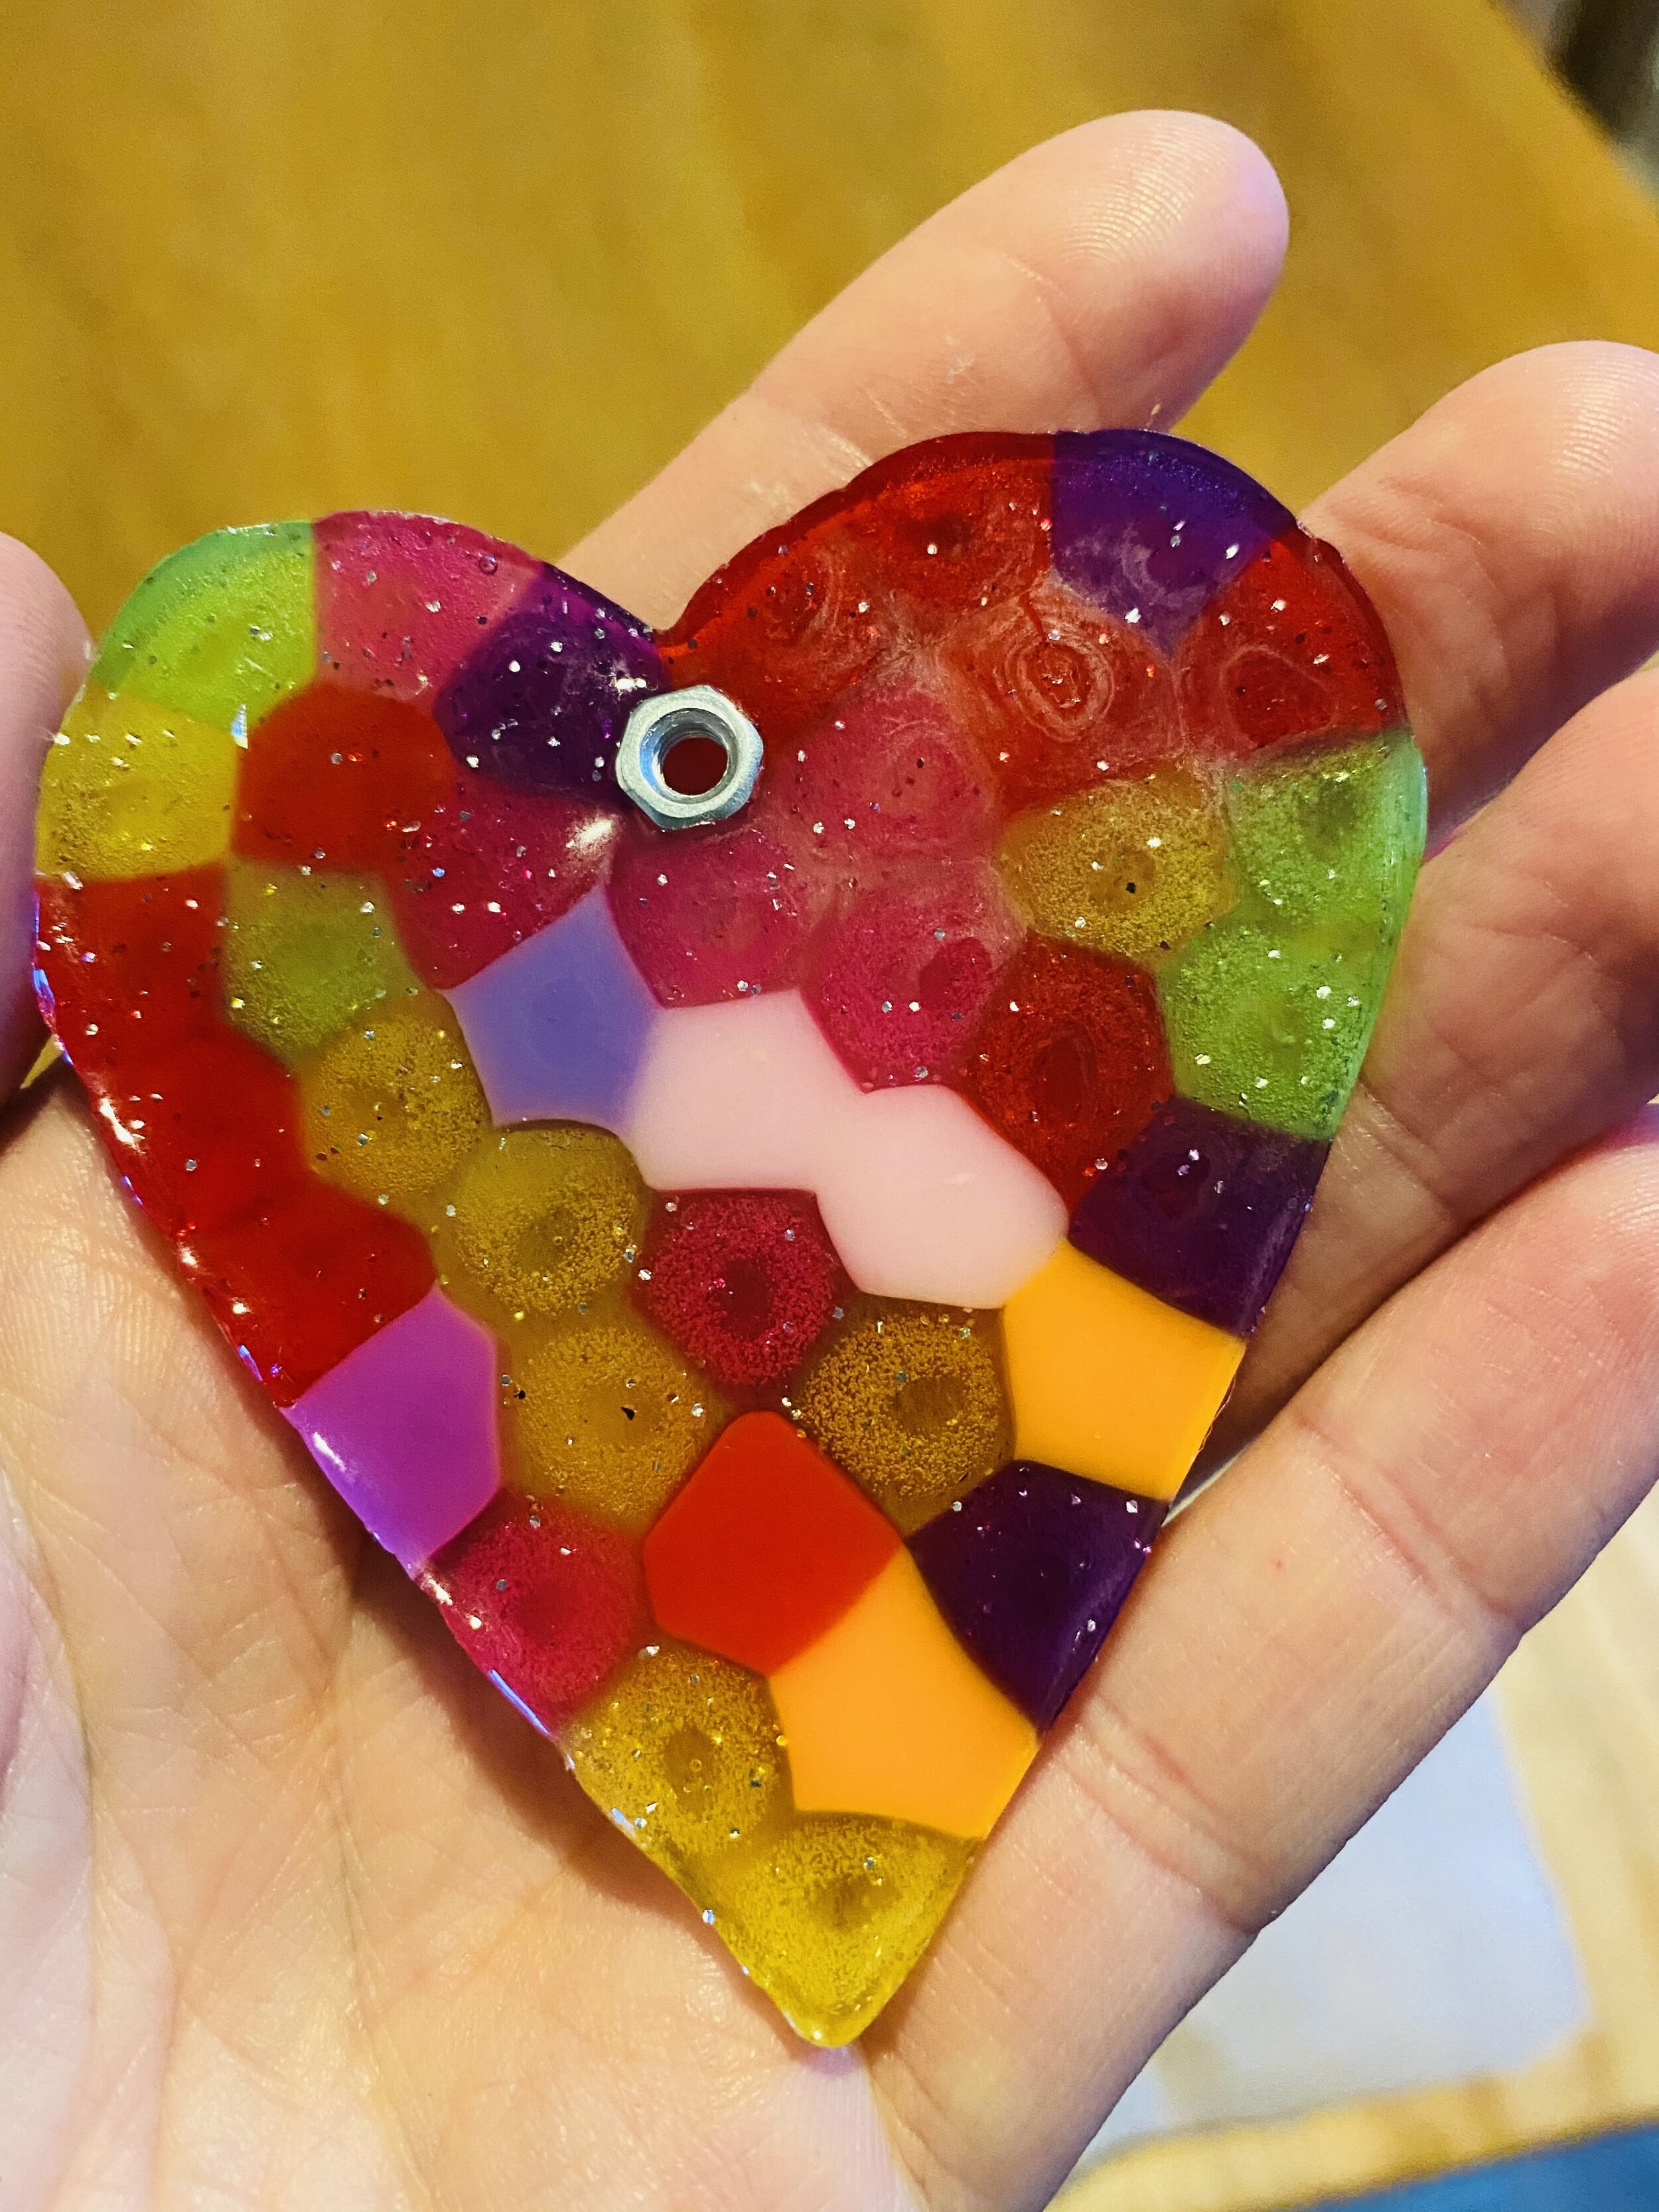
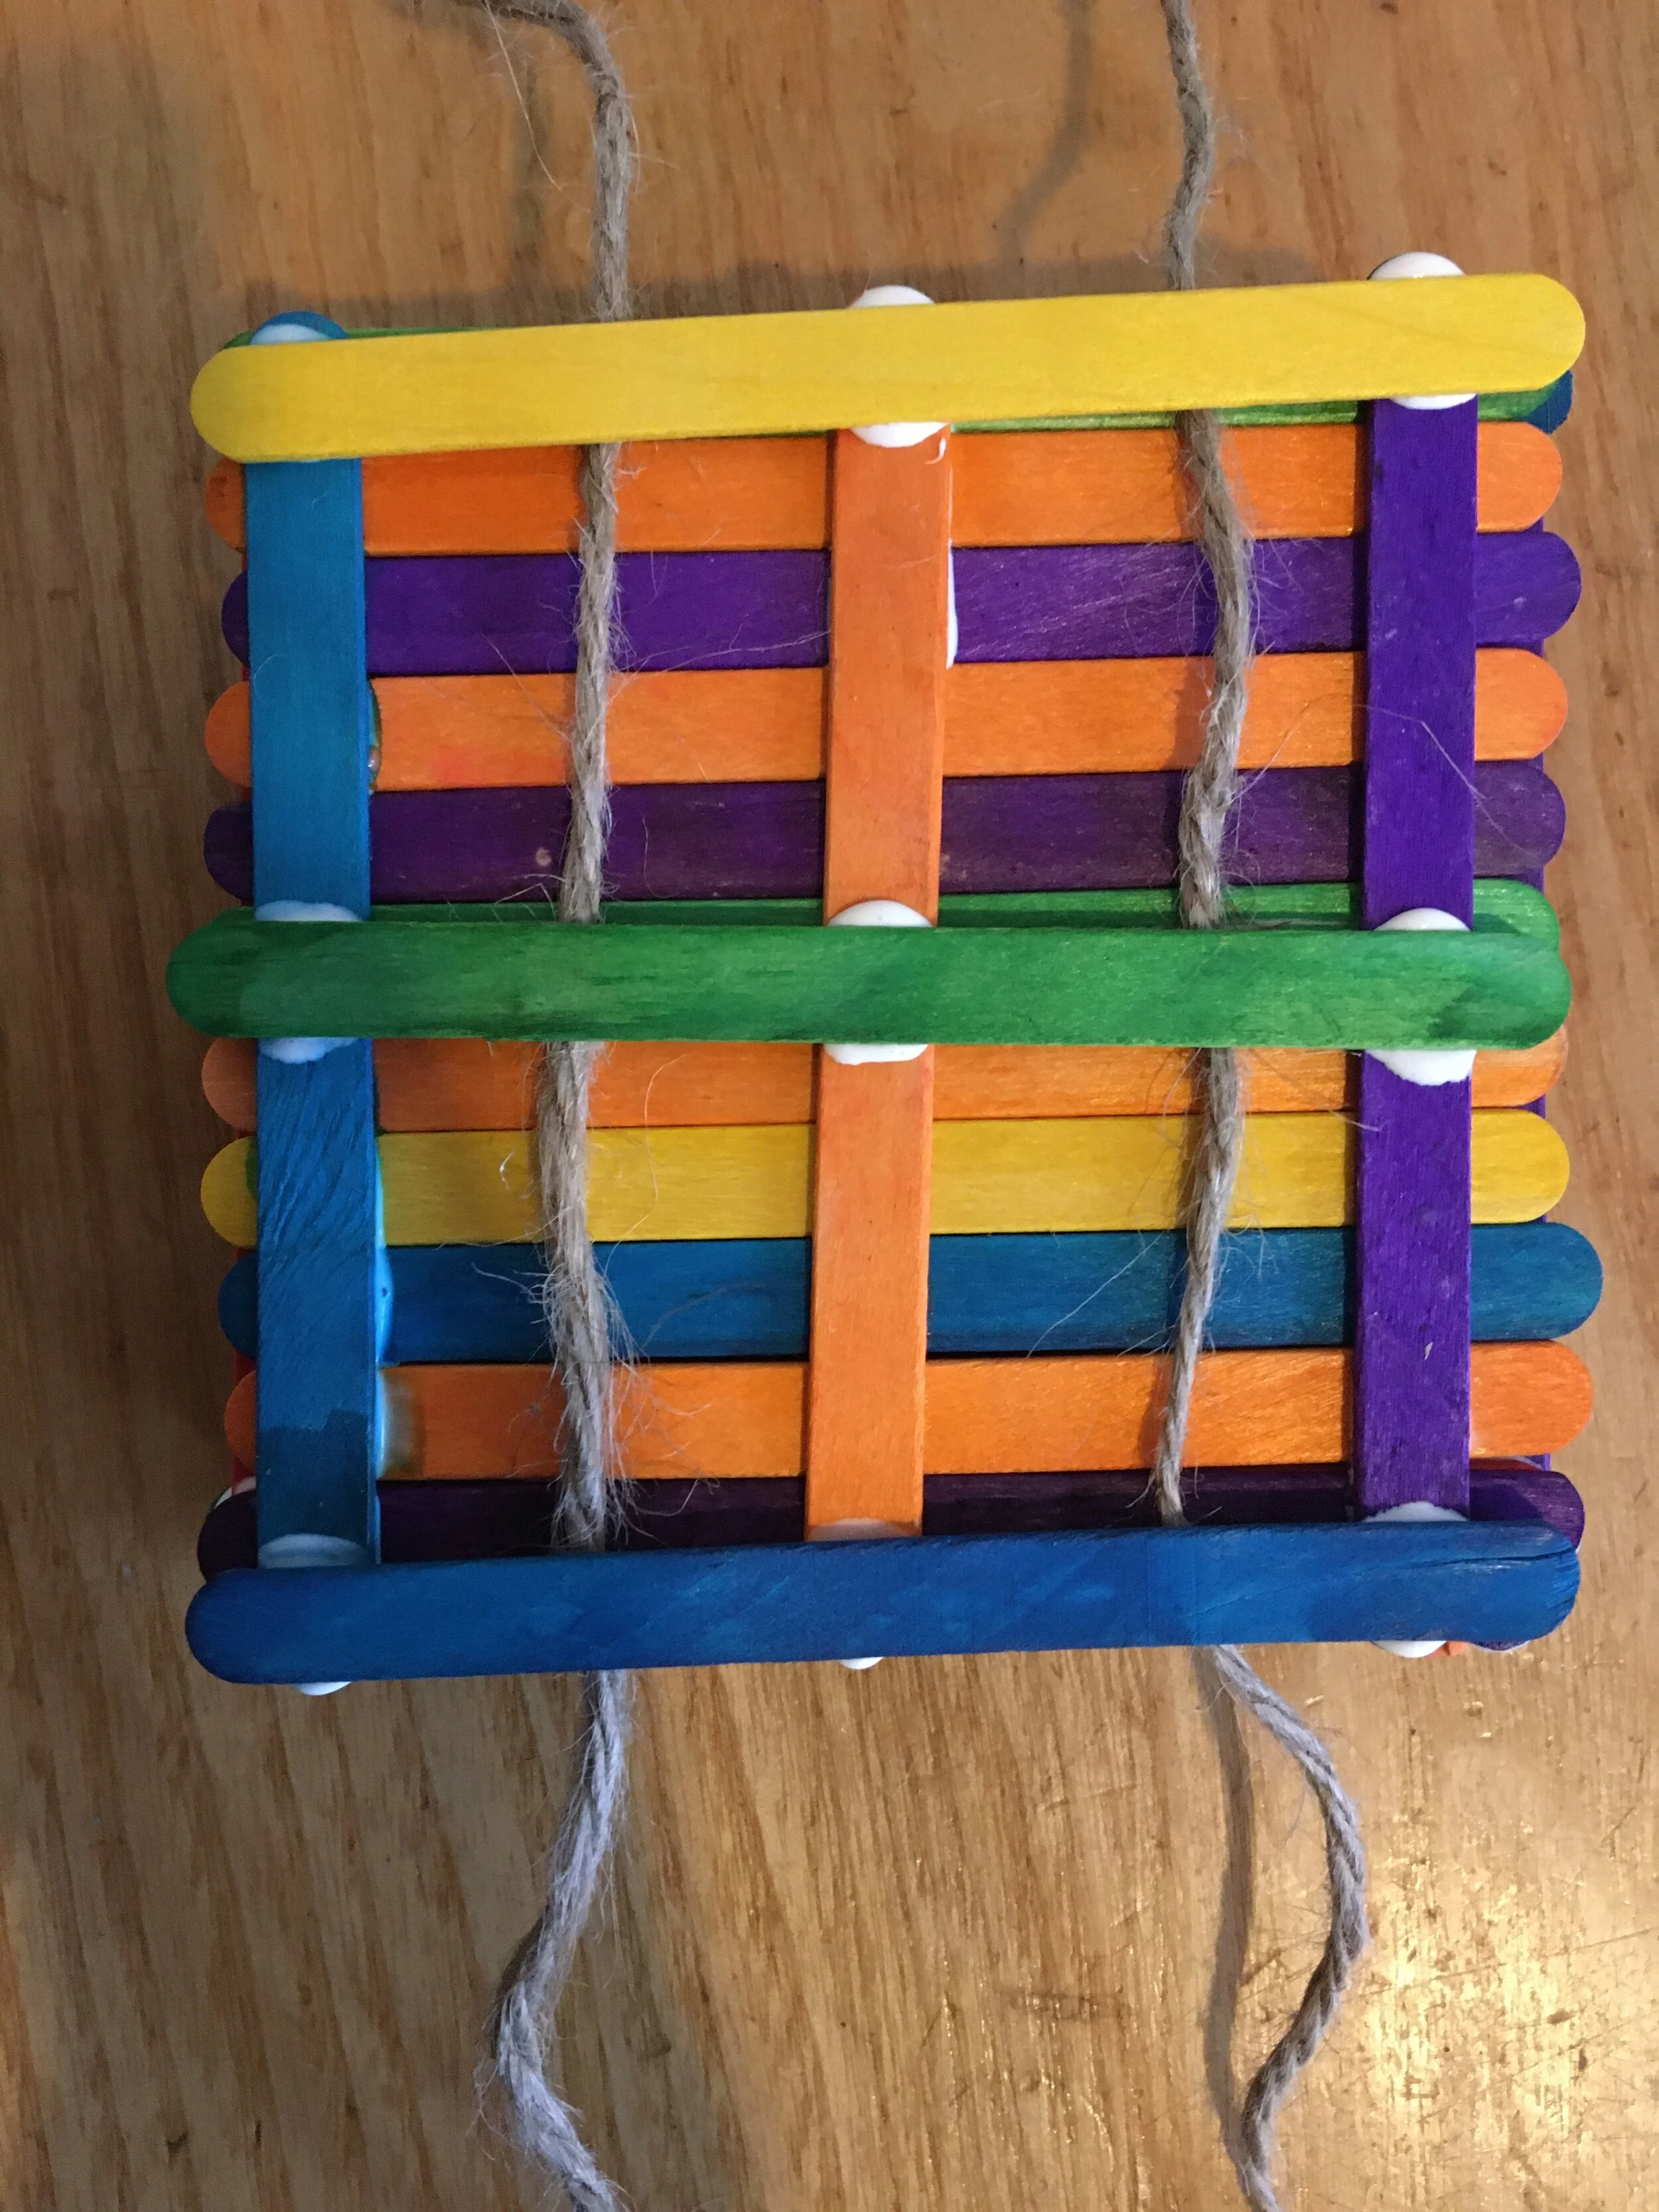
White Air Dry Dough (Pack 3)

You can make a really white air drying dough using 200g of Baking Powder, 100g of Corn Flour and 150mls of water. We have included the dry ingredients in Pack Three so you just need to add water.

Put all the ingredients in a pan and gently heat through stirring continuously. The dough will start to come together. It can then be turned out onto a board and kneaded when cool enough.

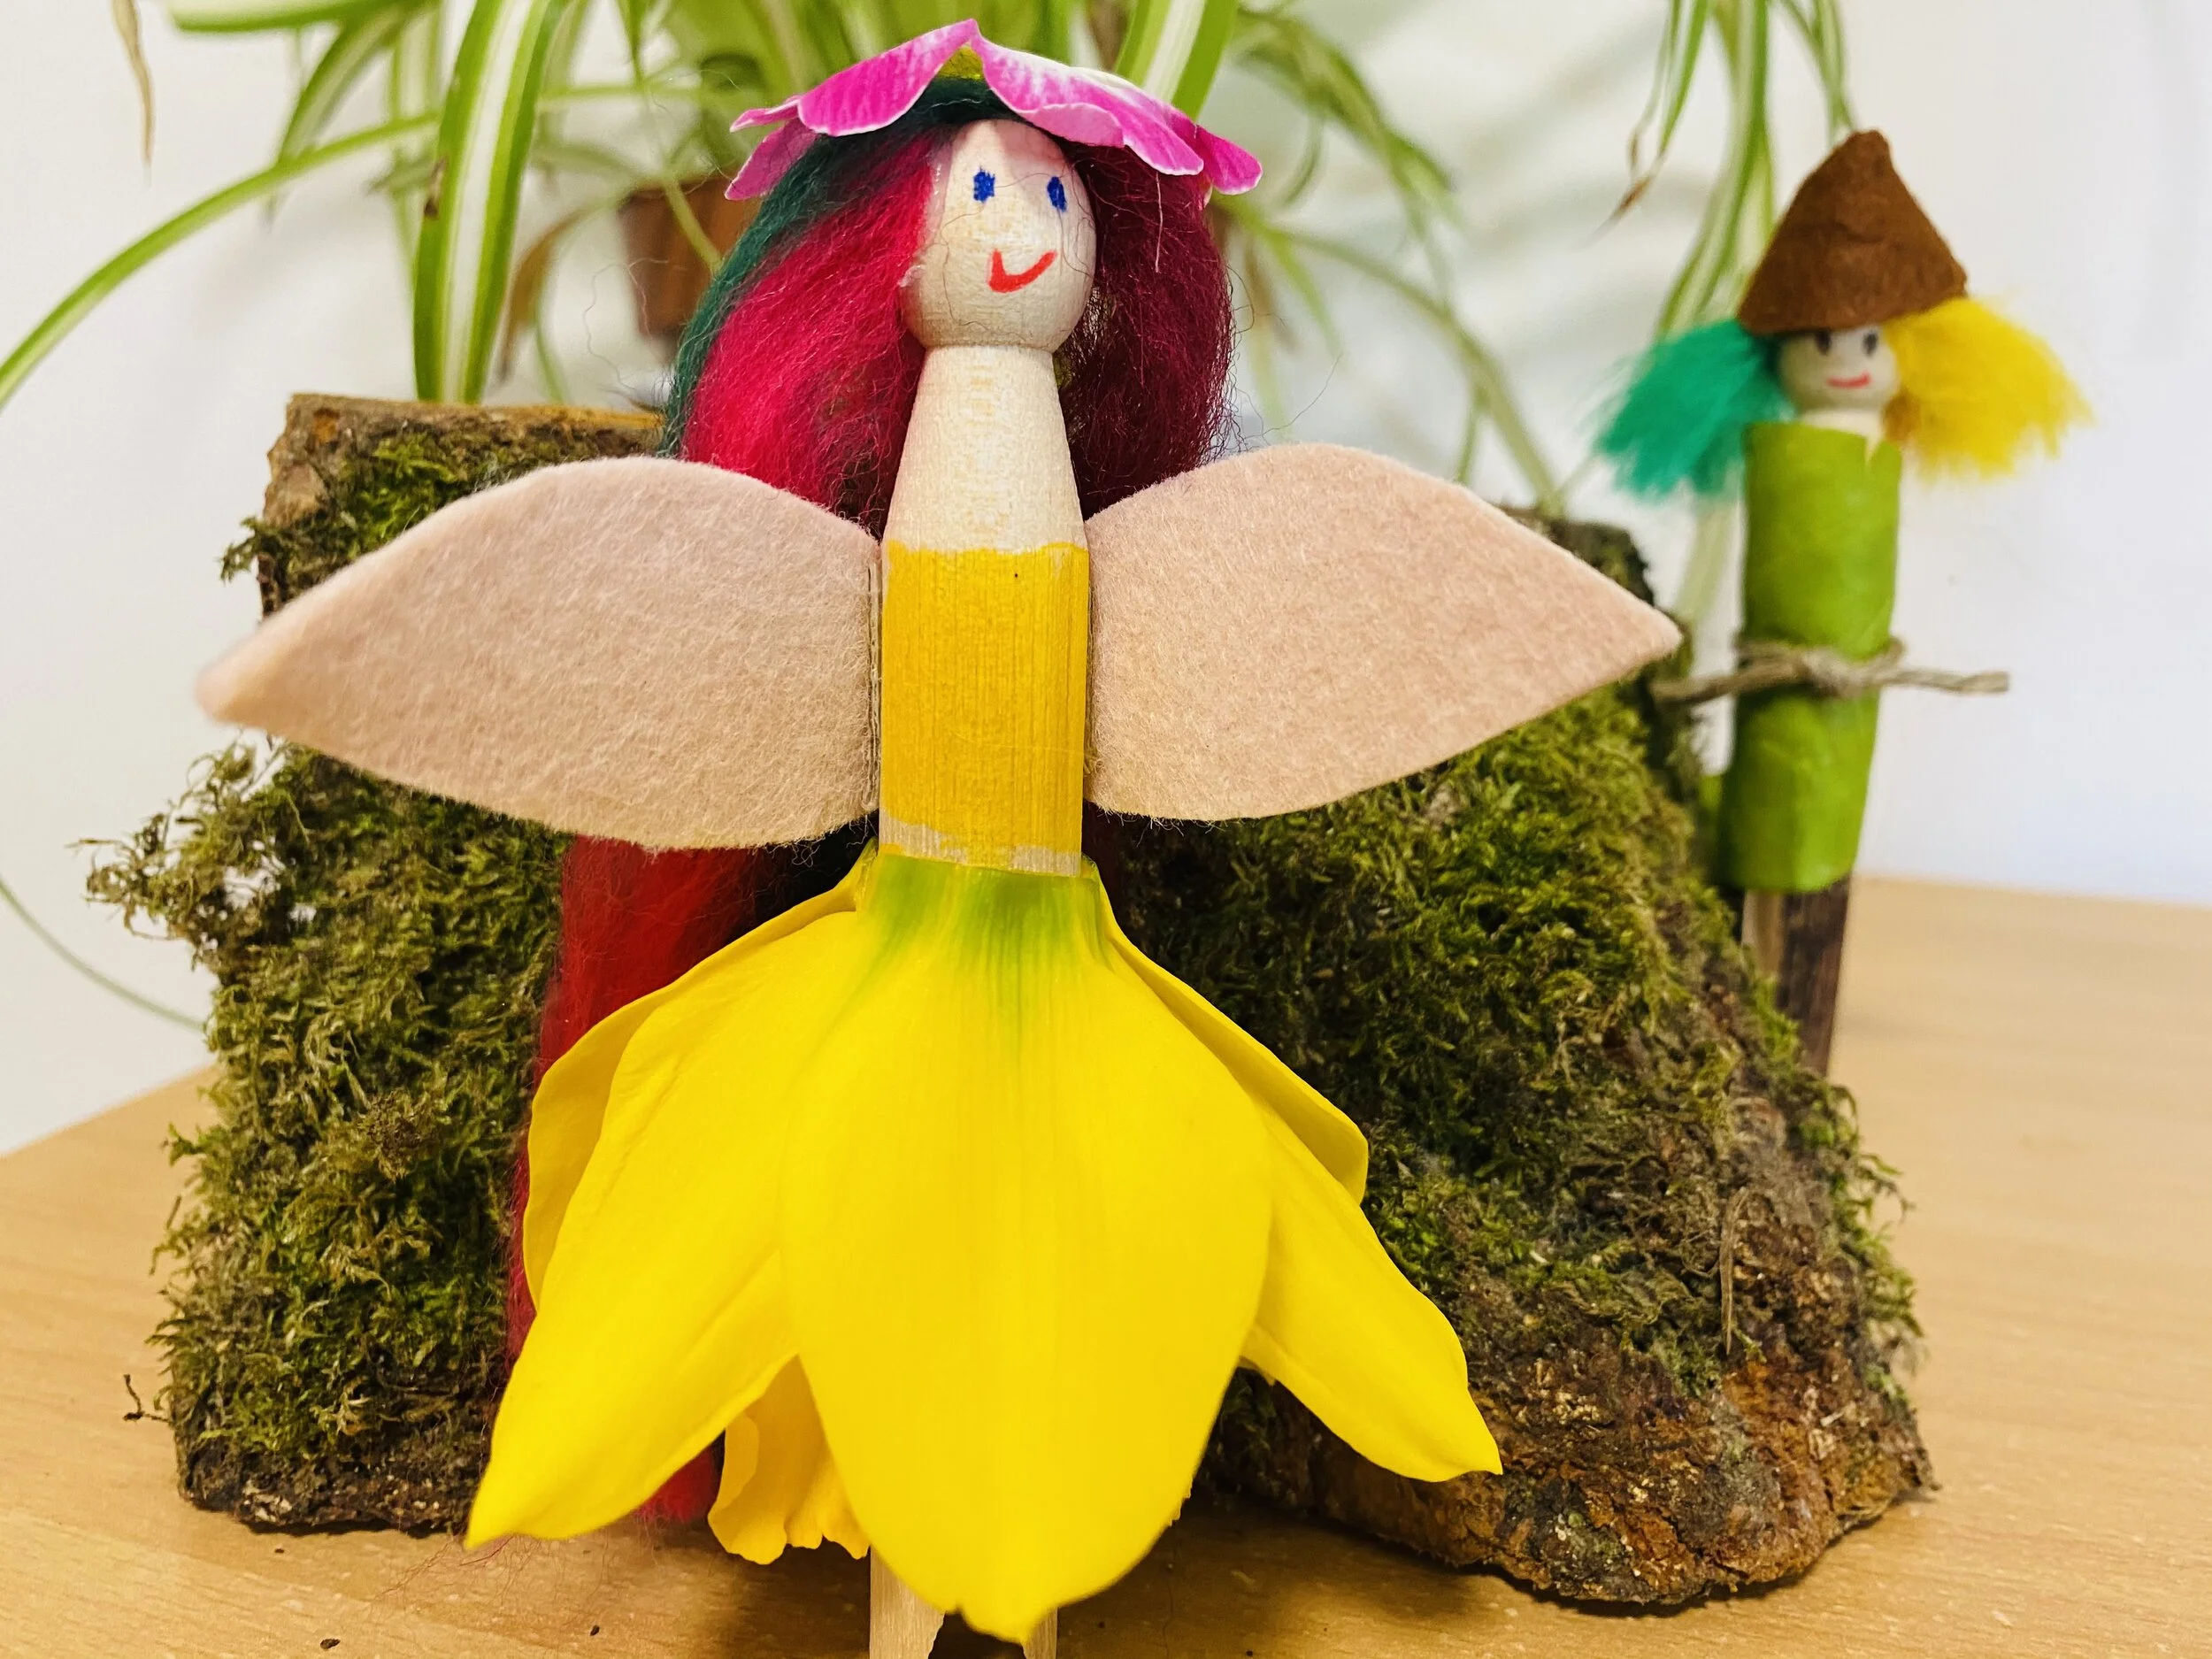
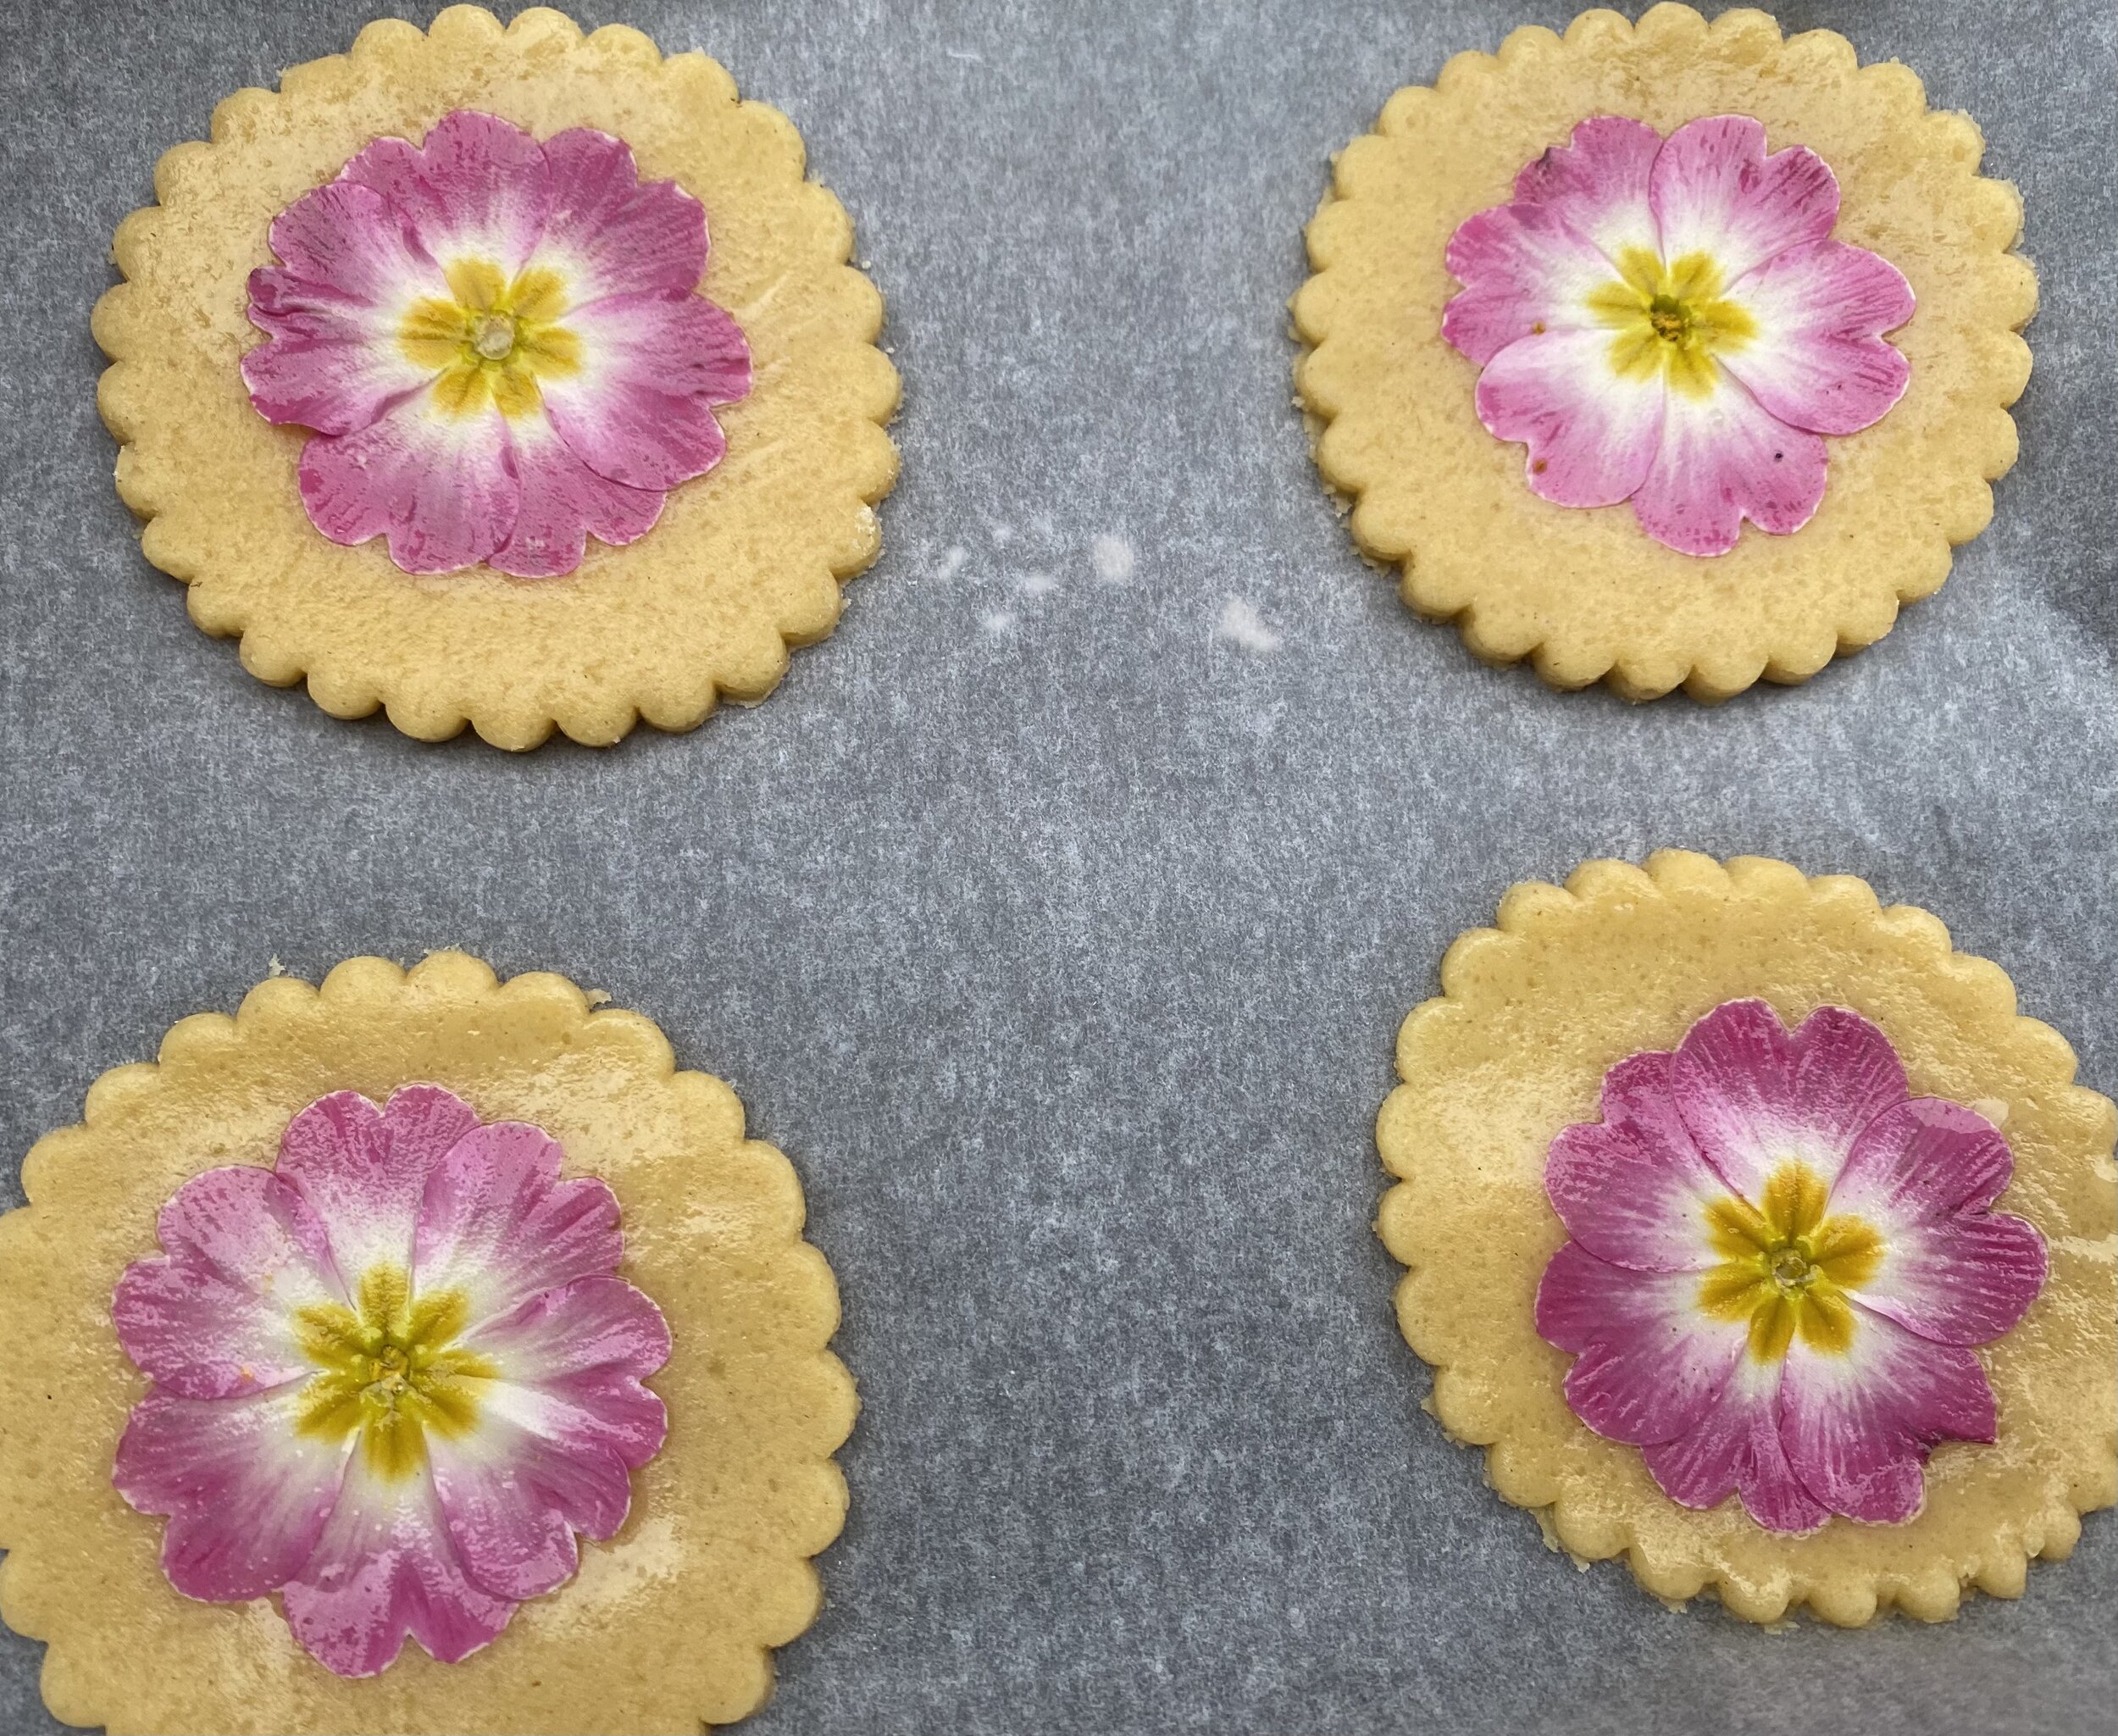
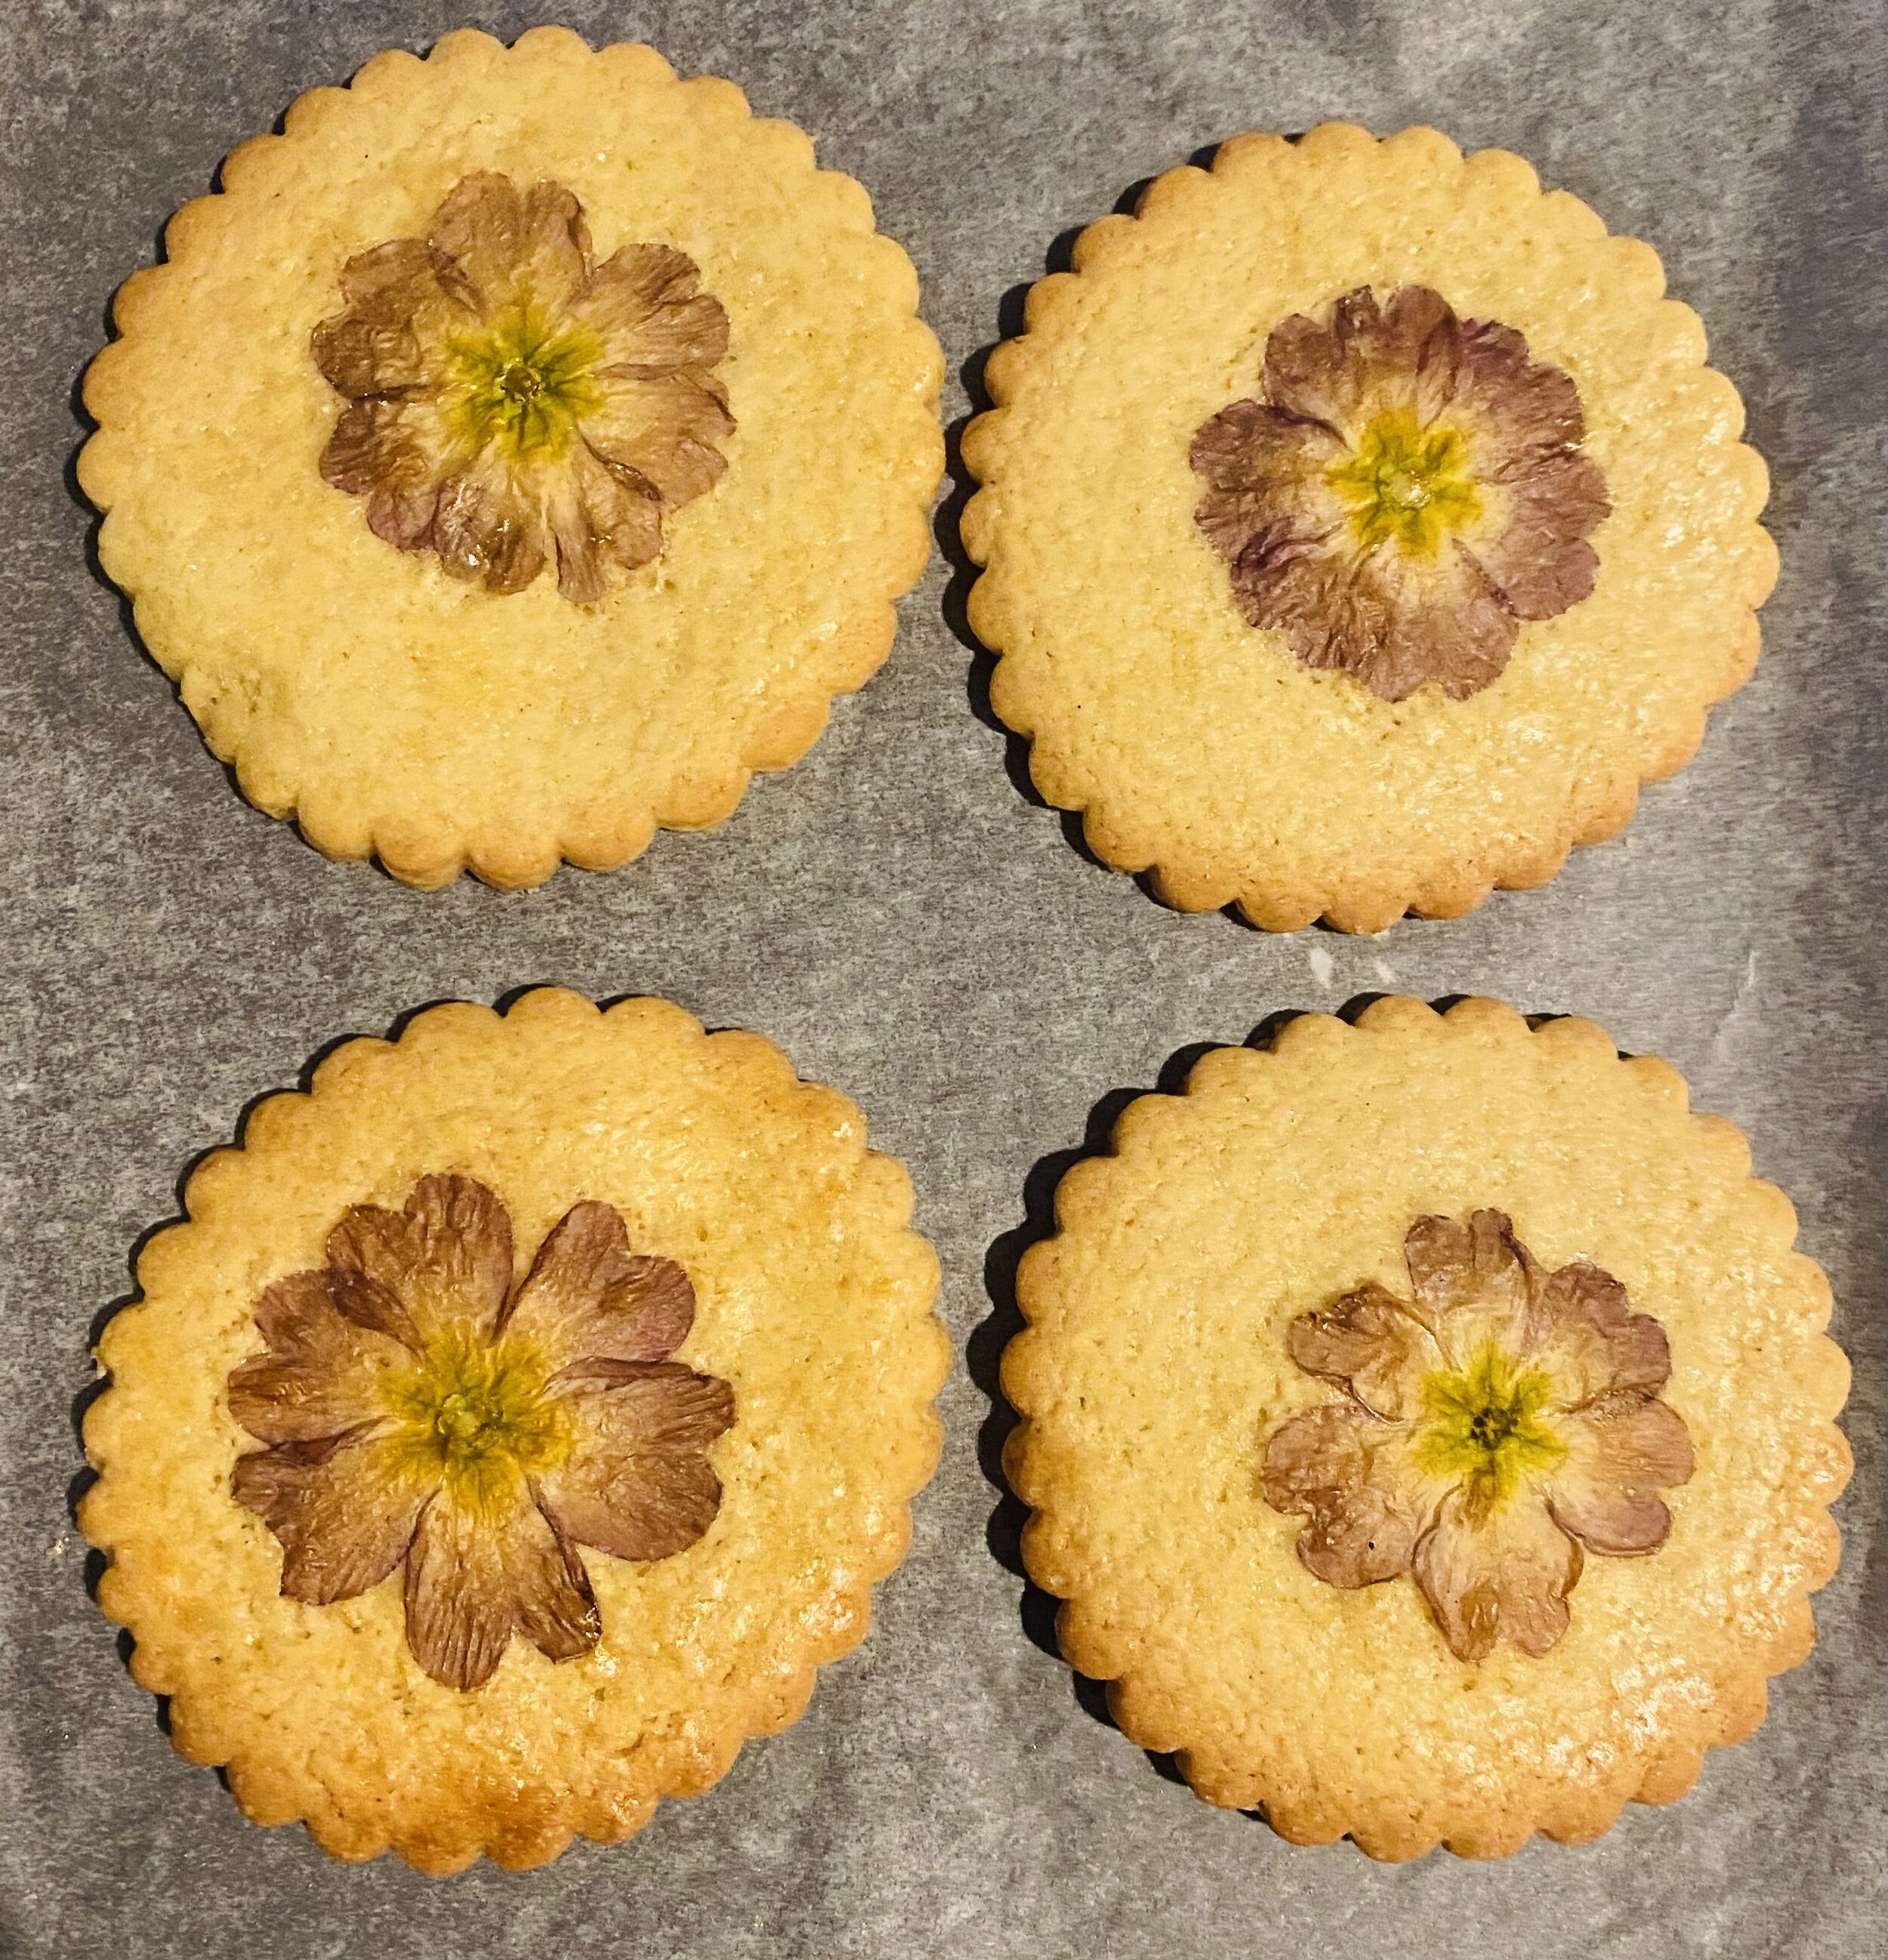
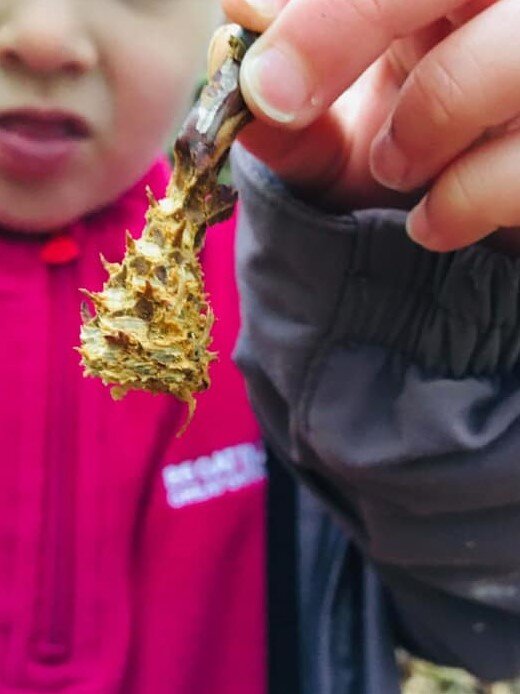
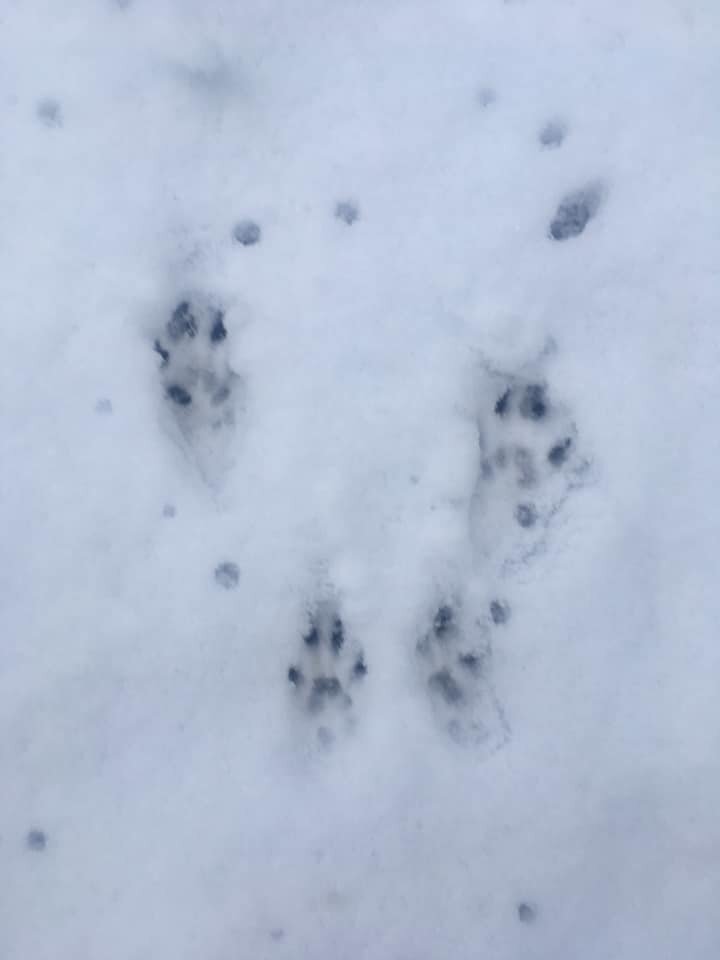
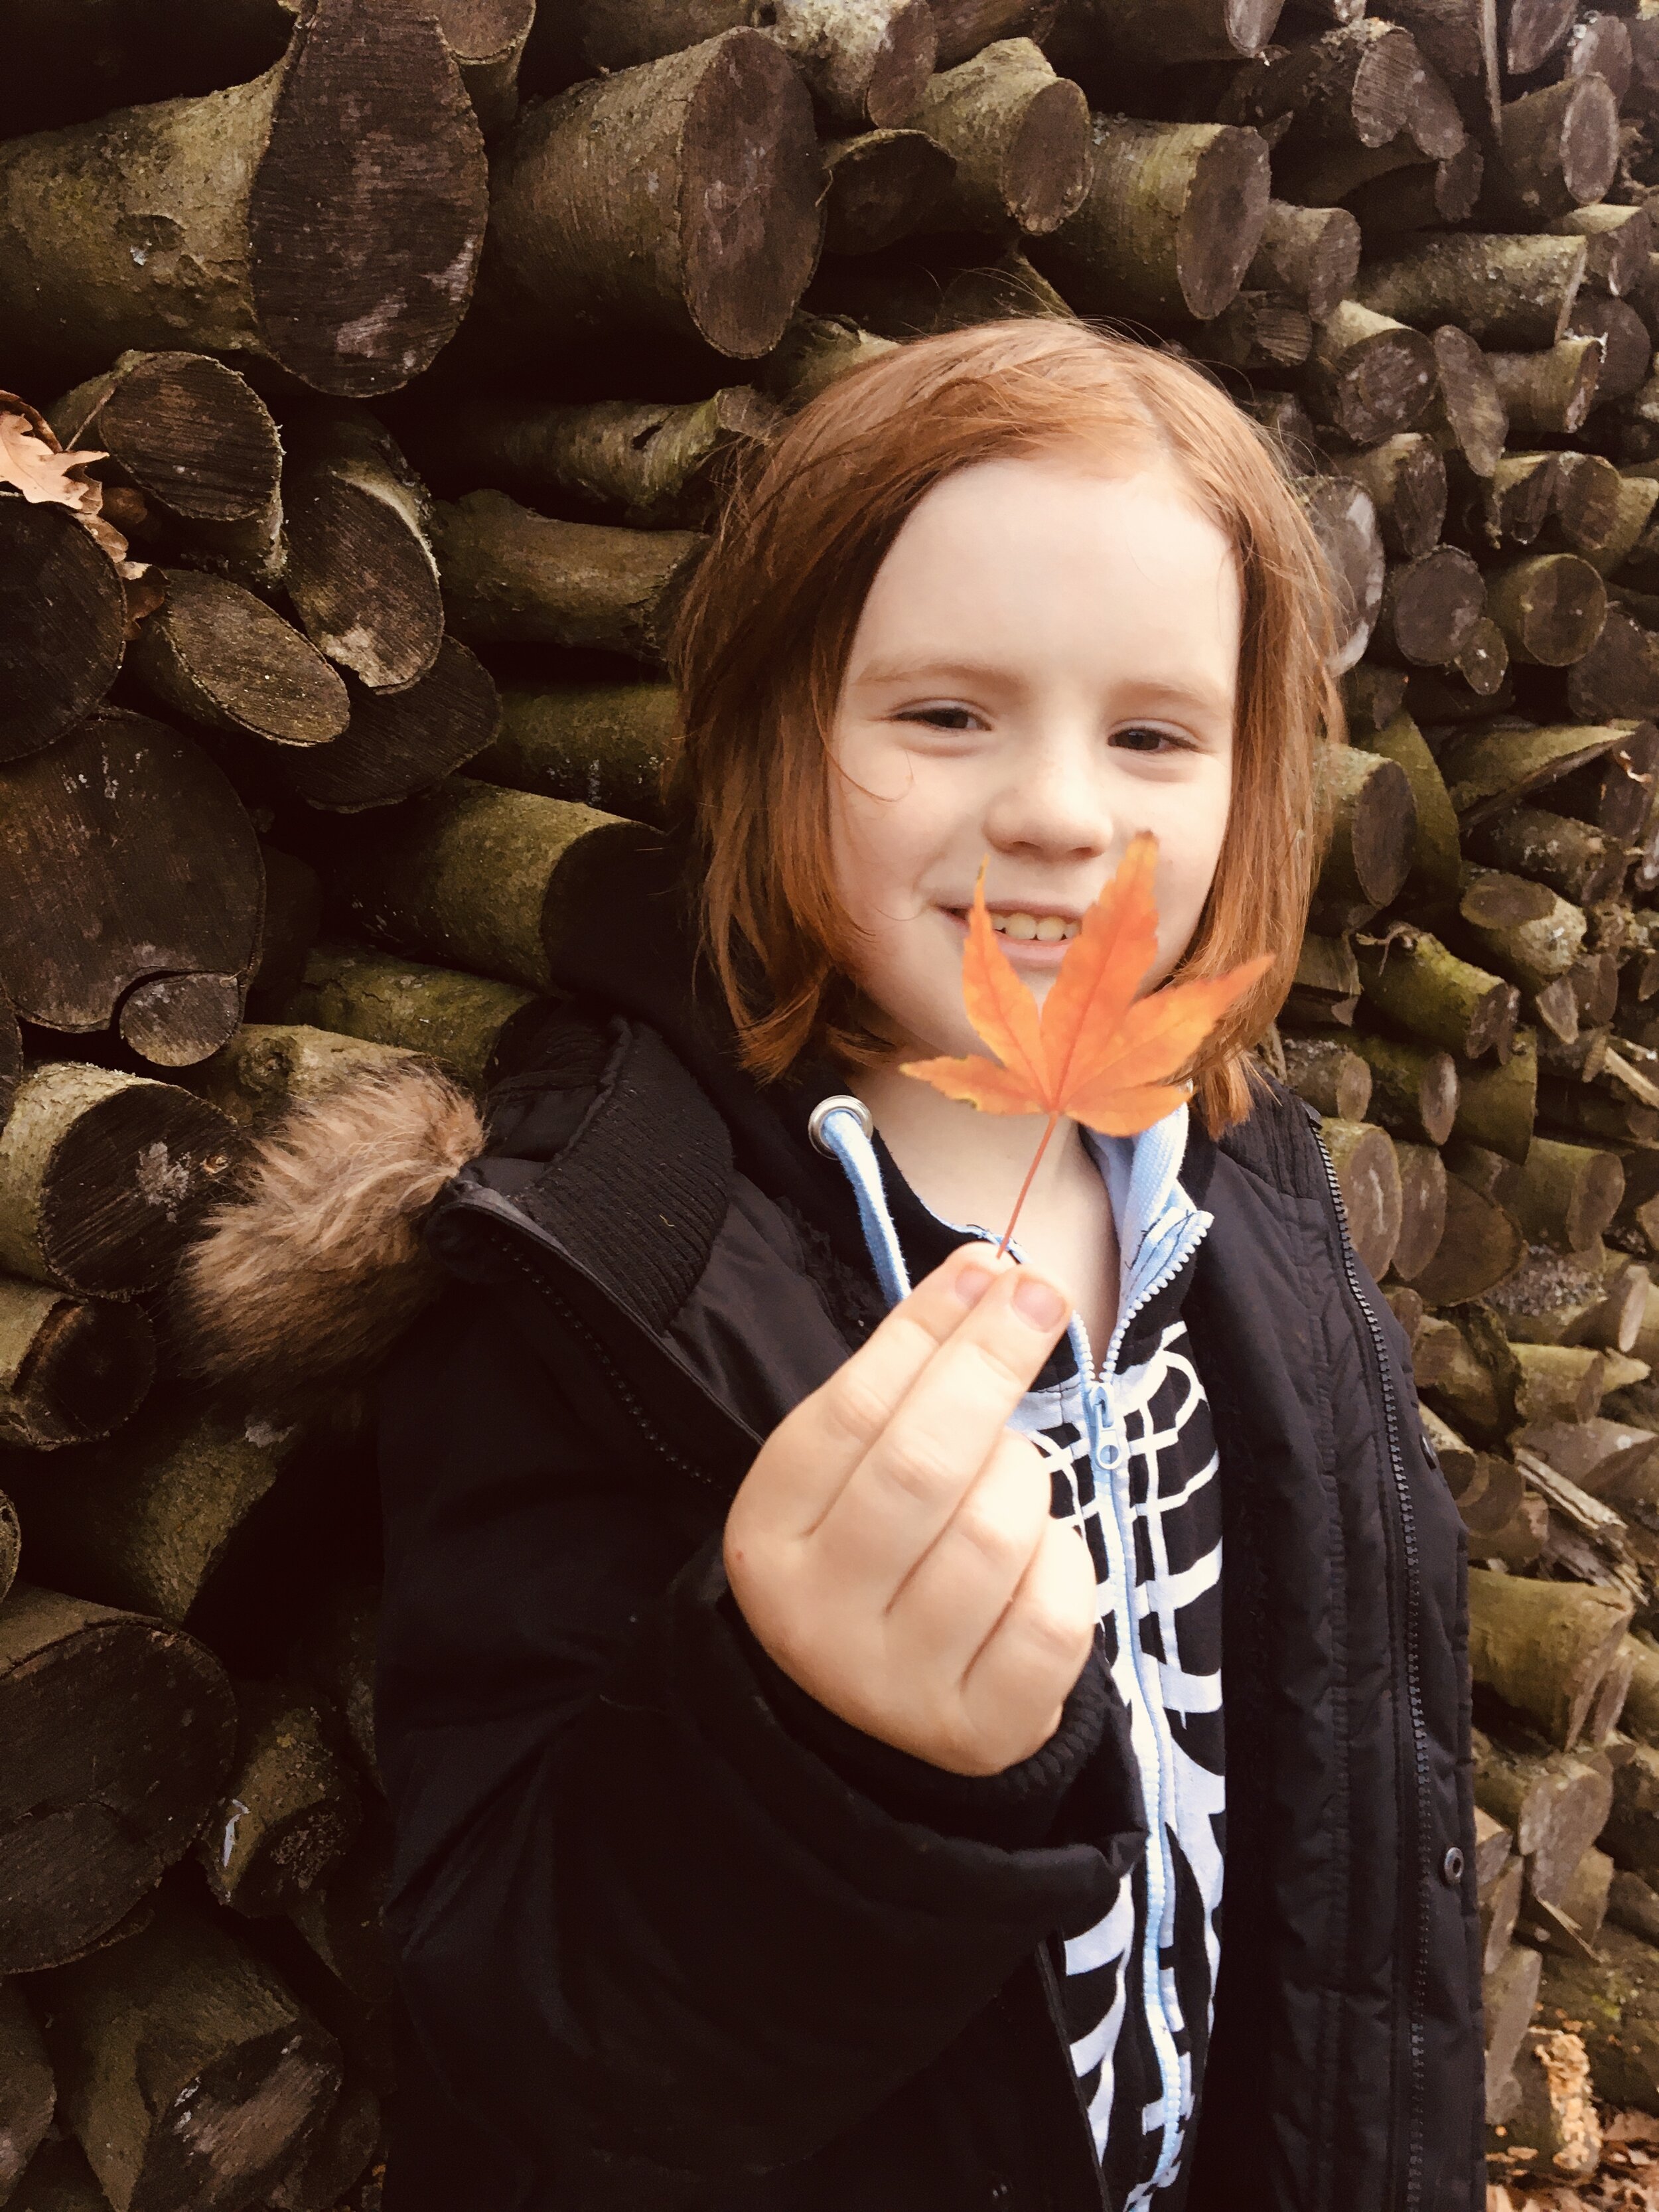
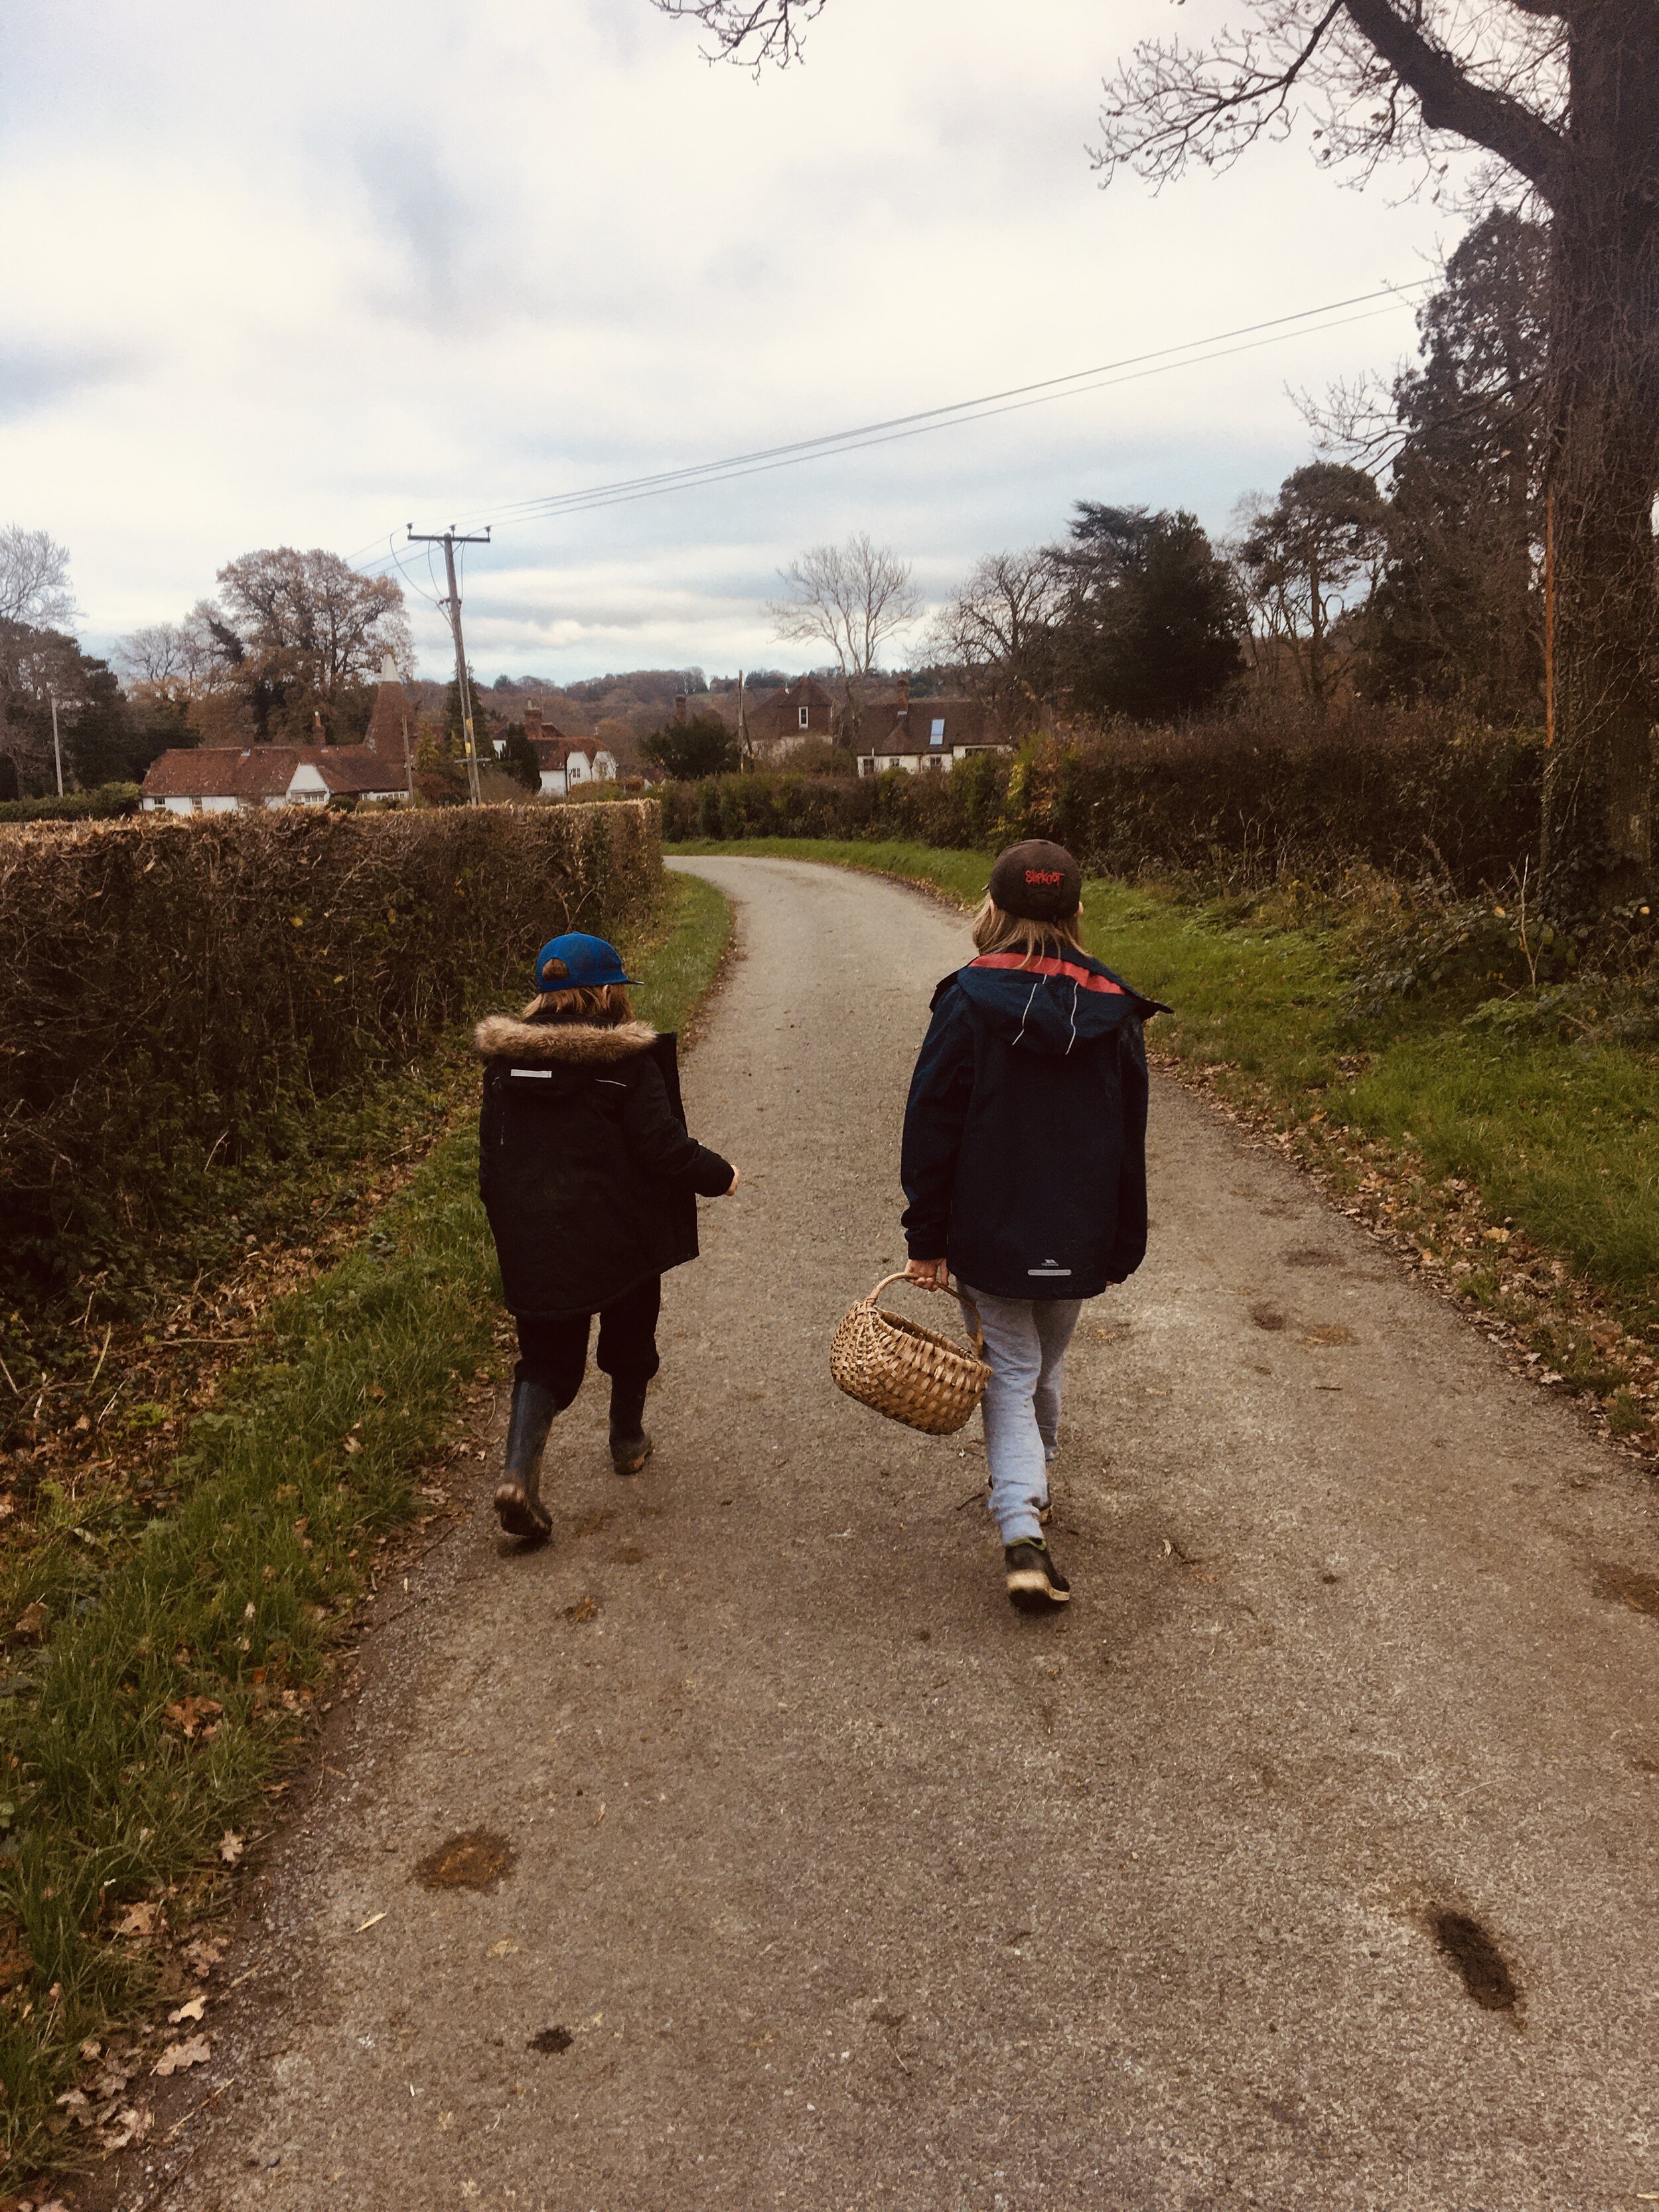
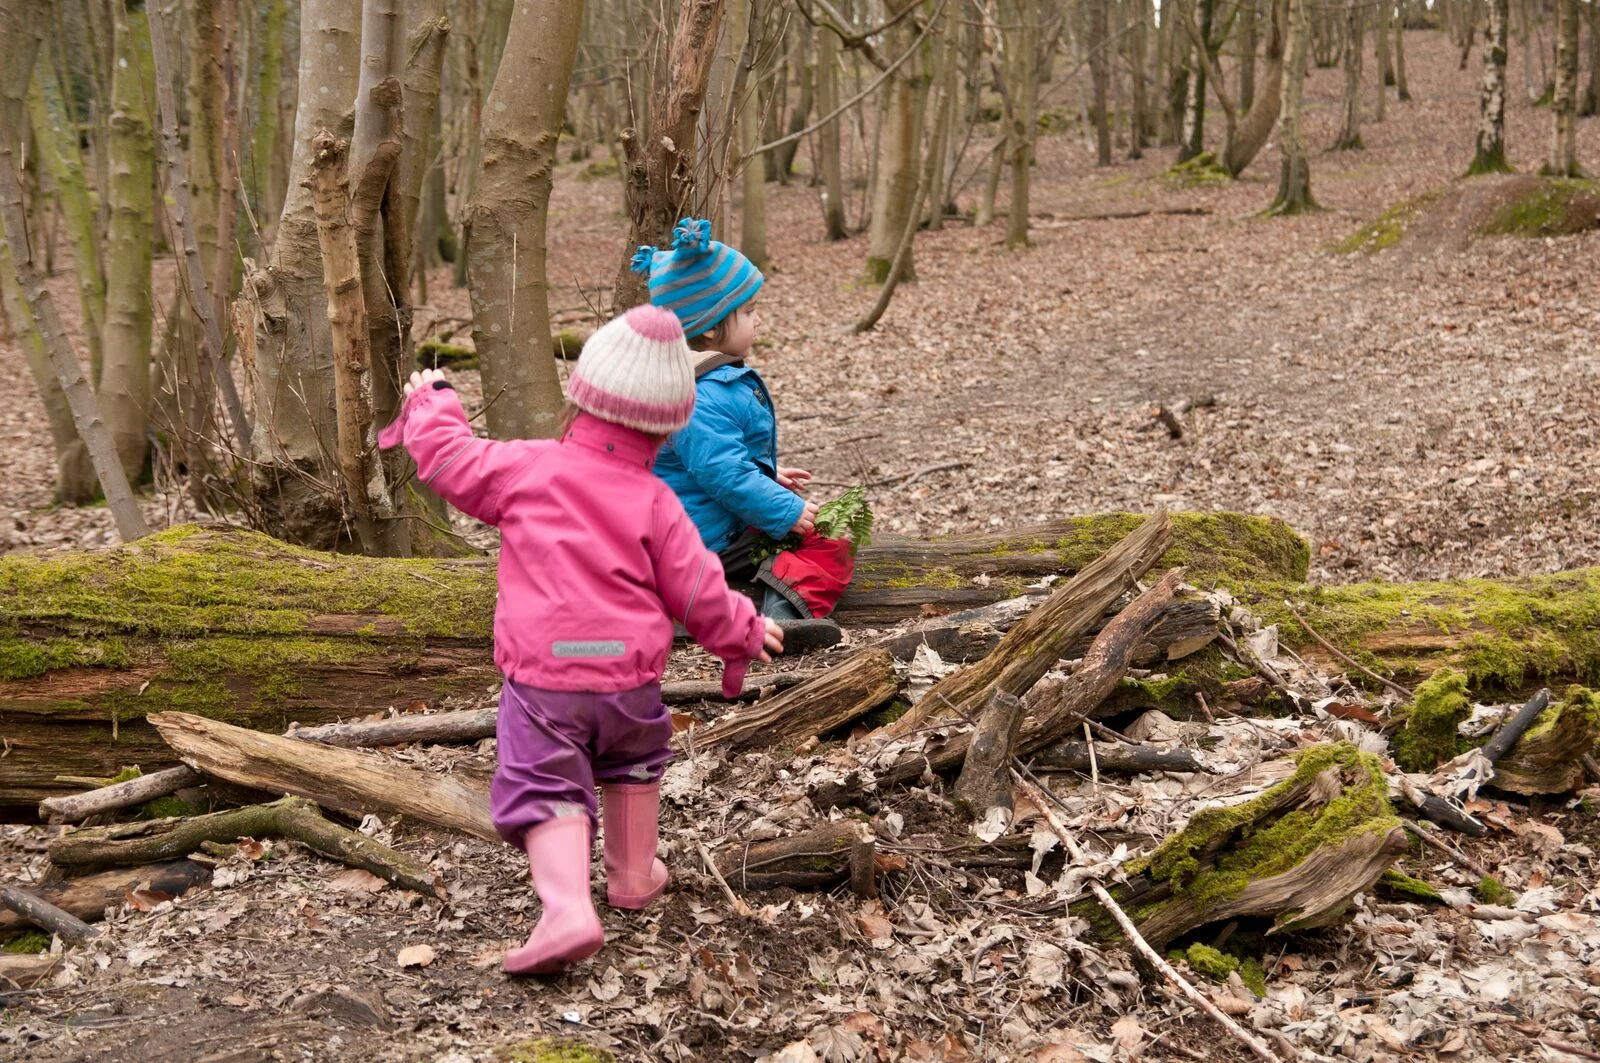
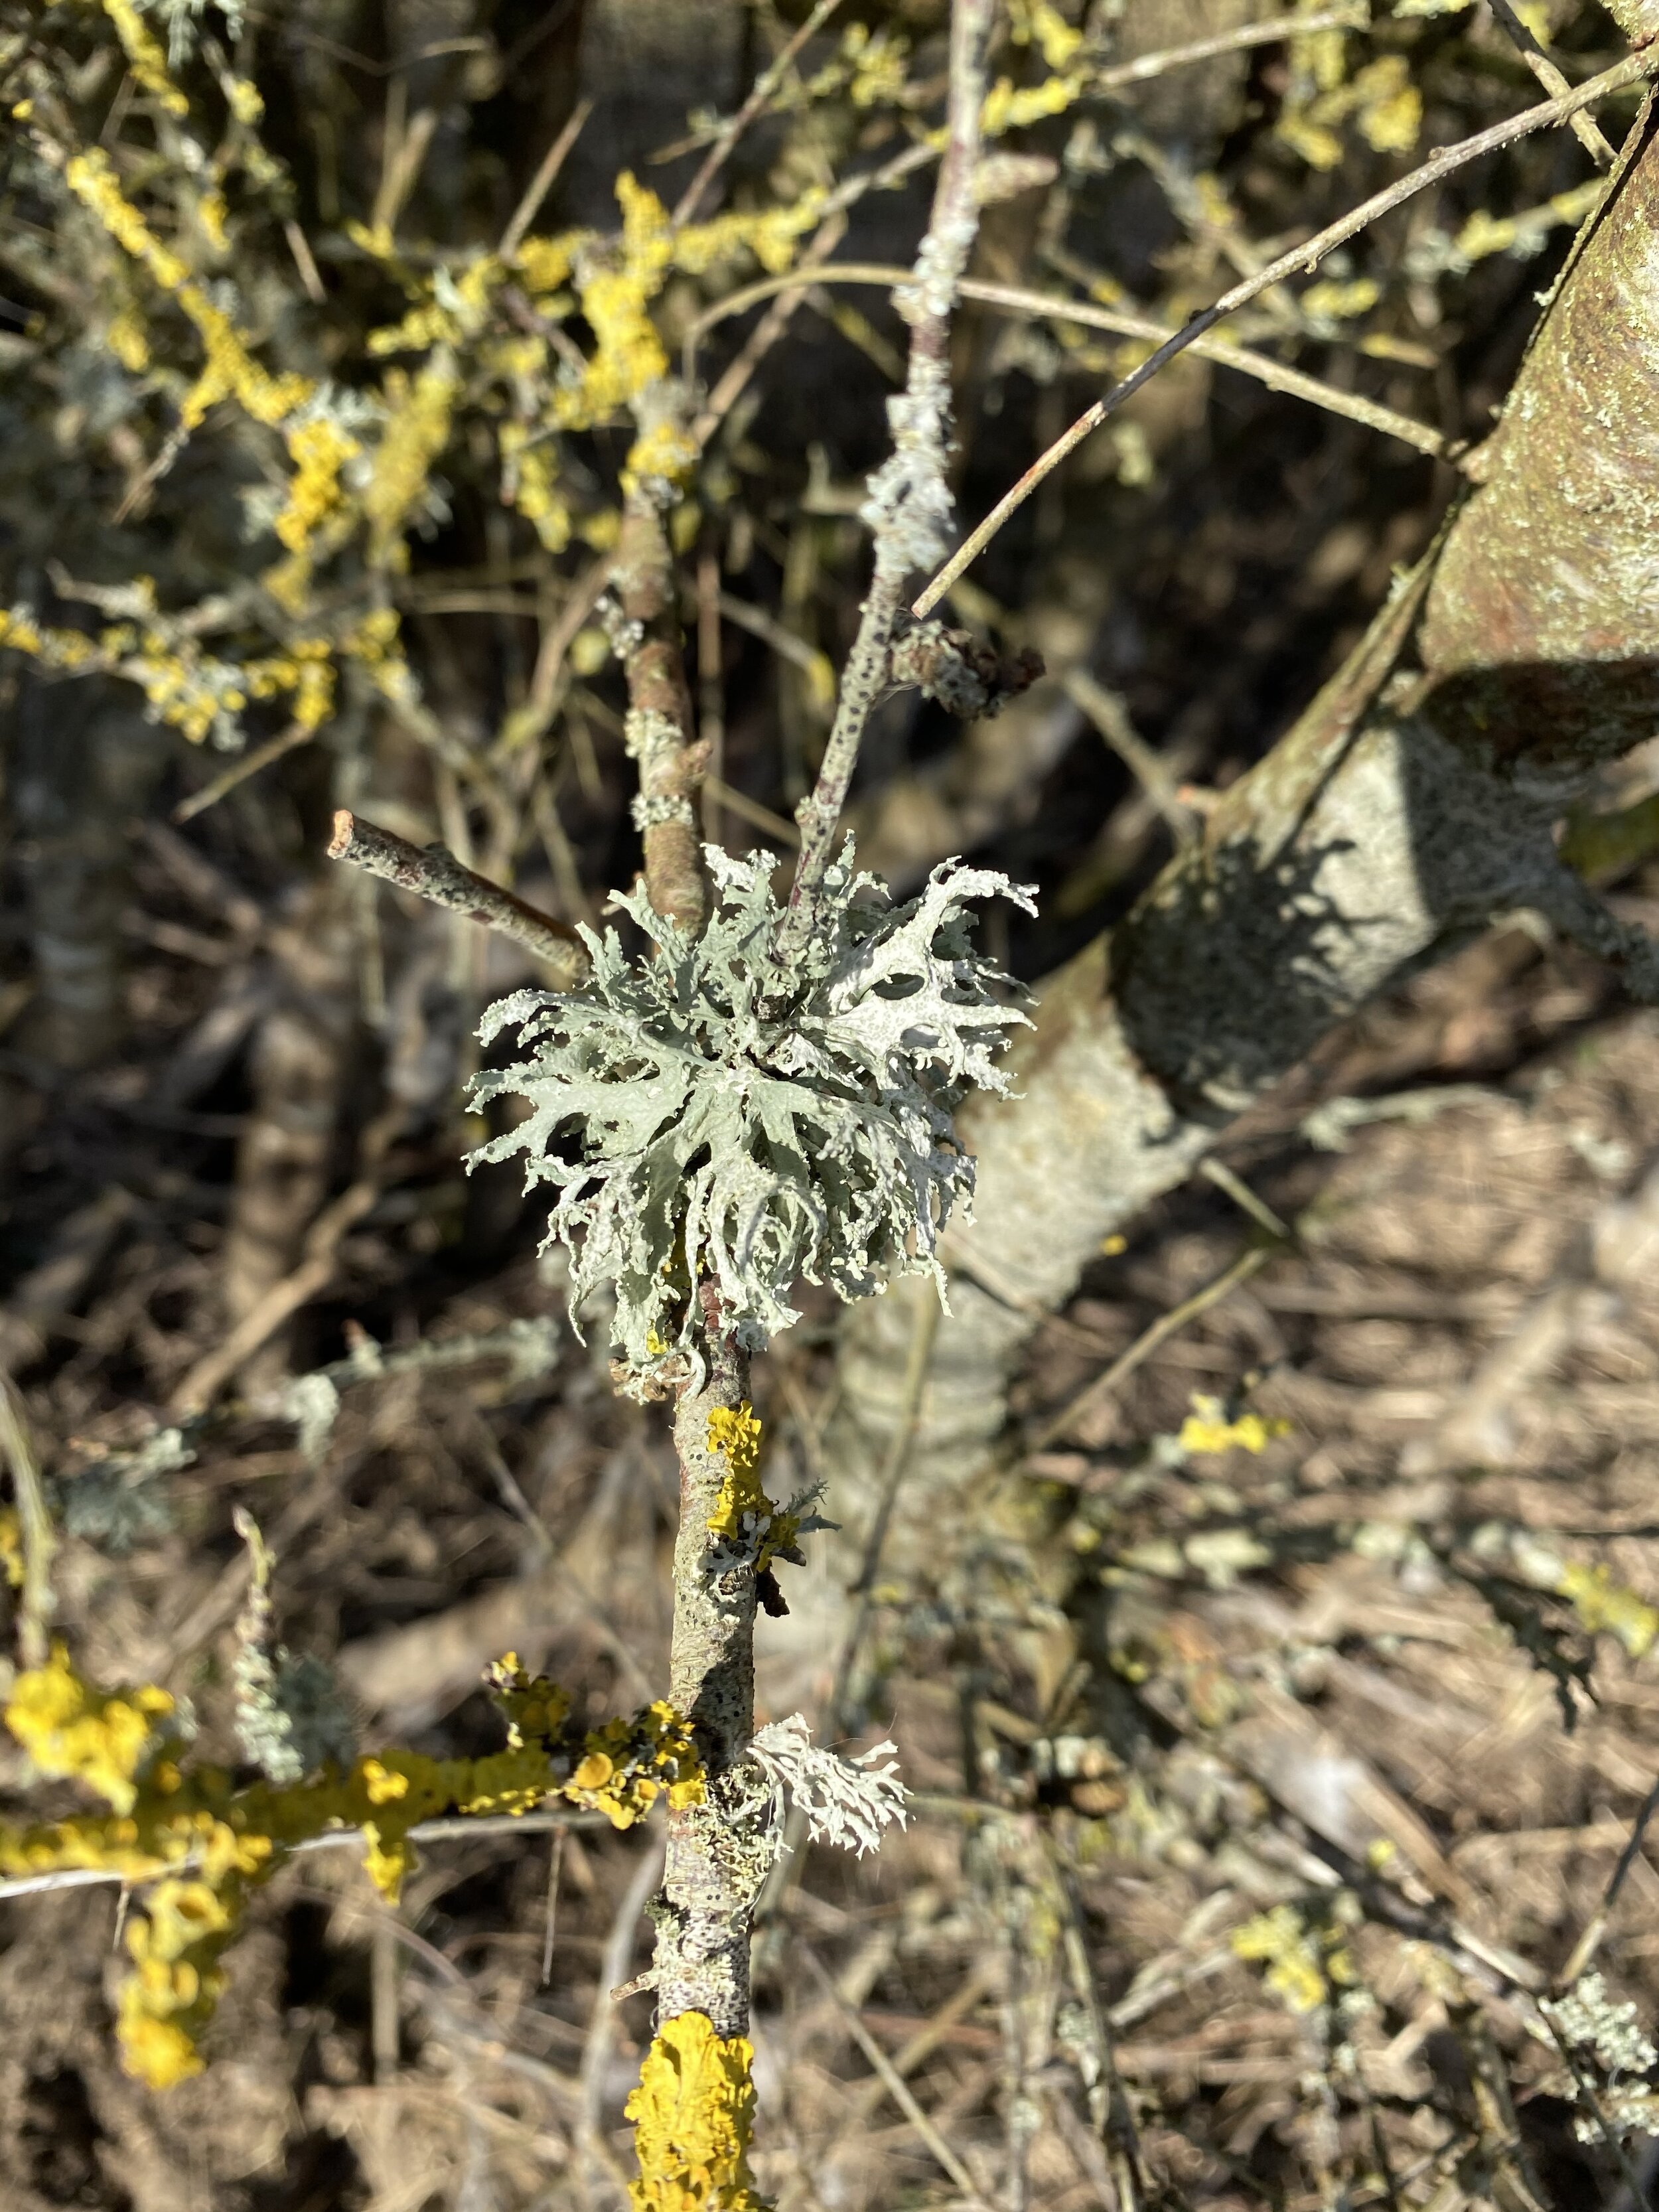
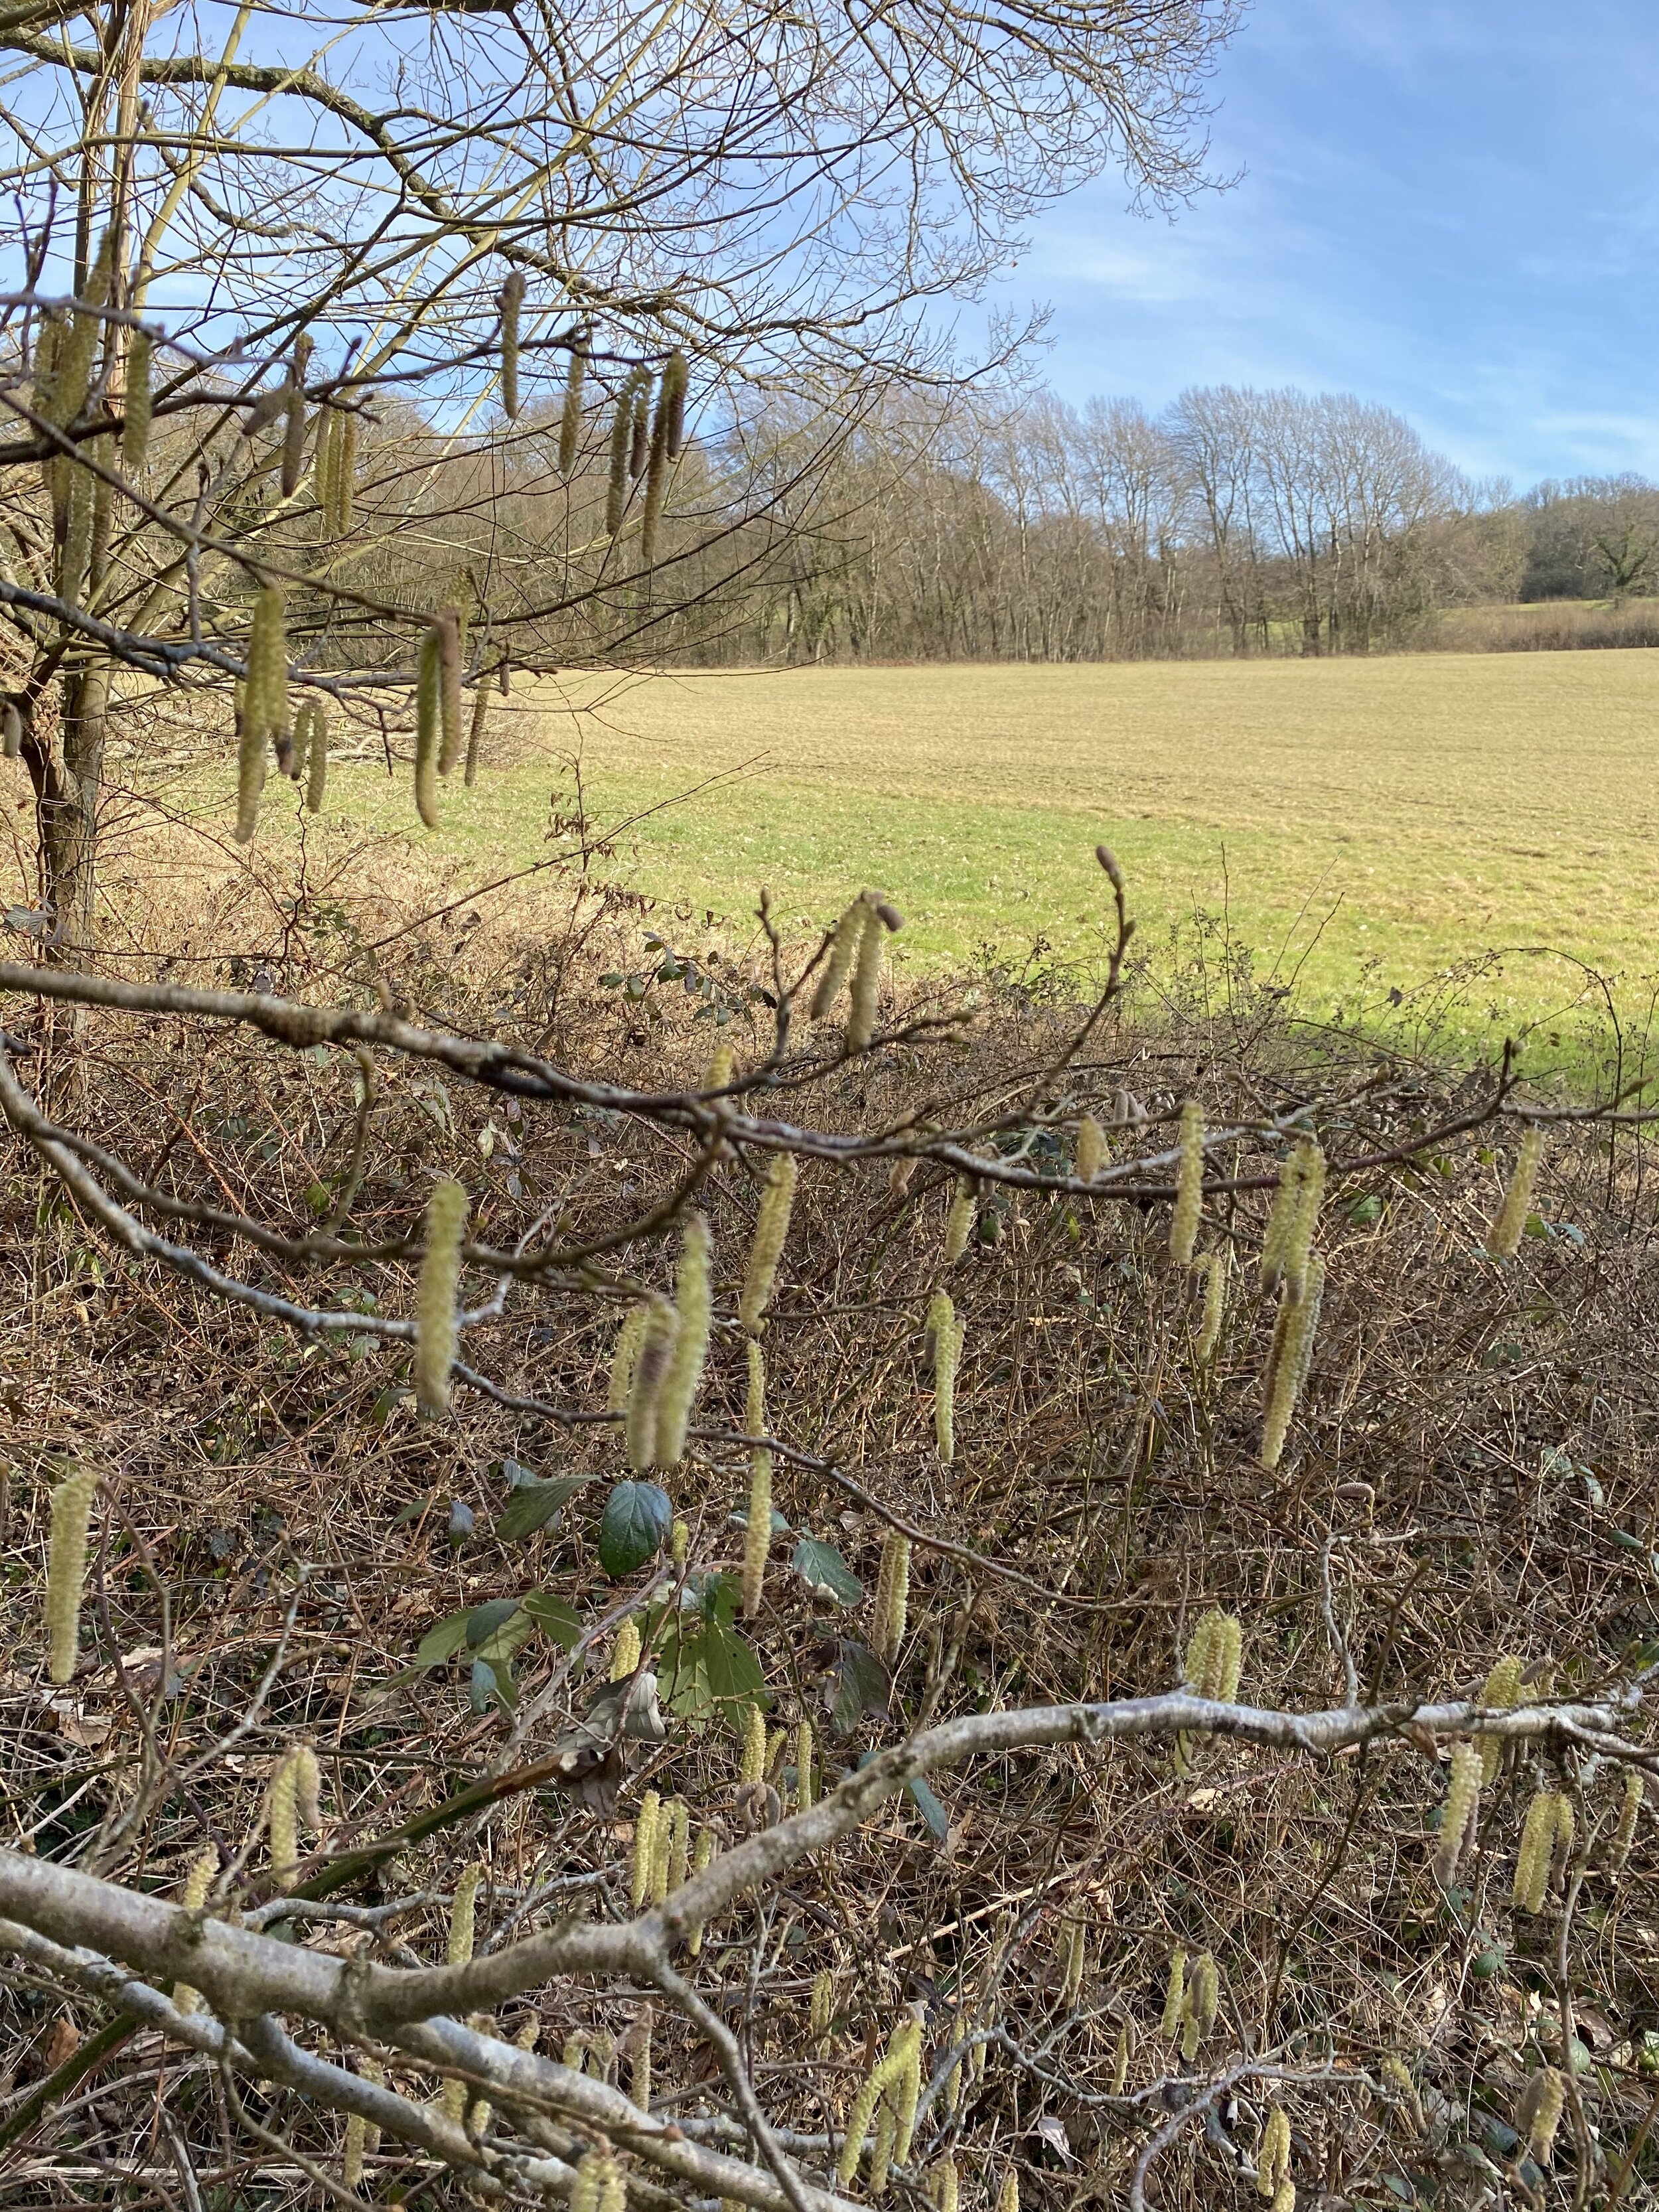
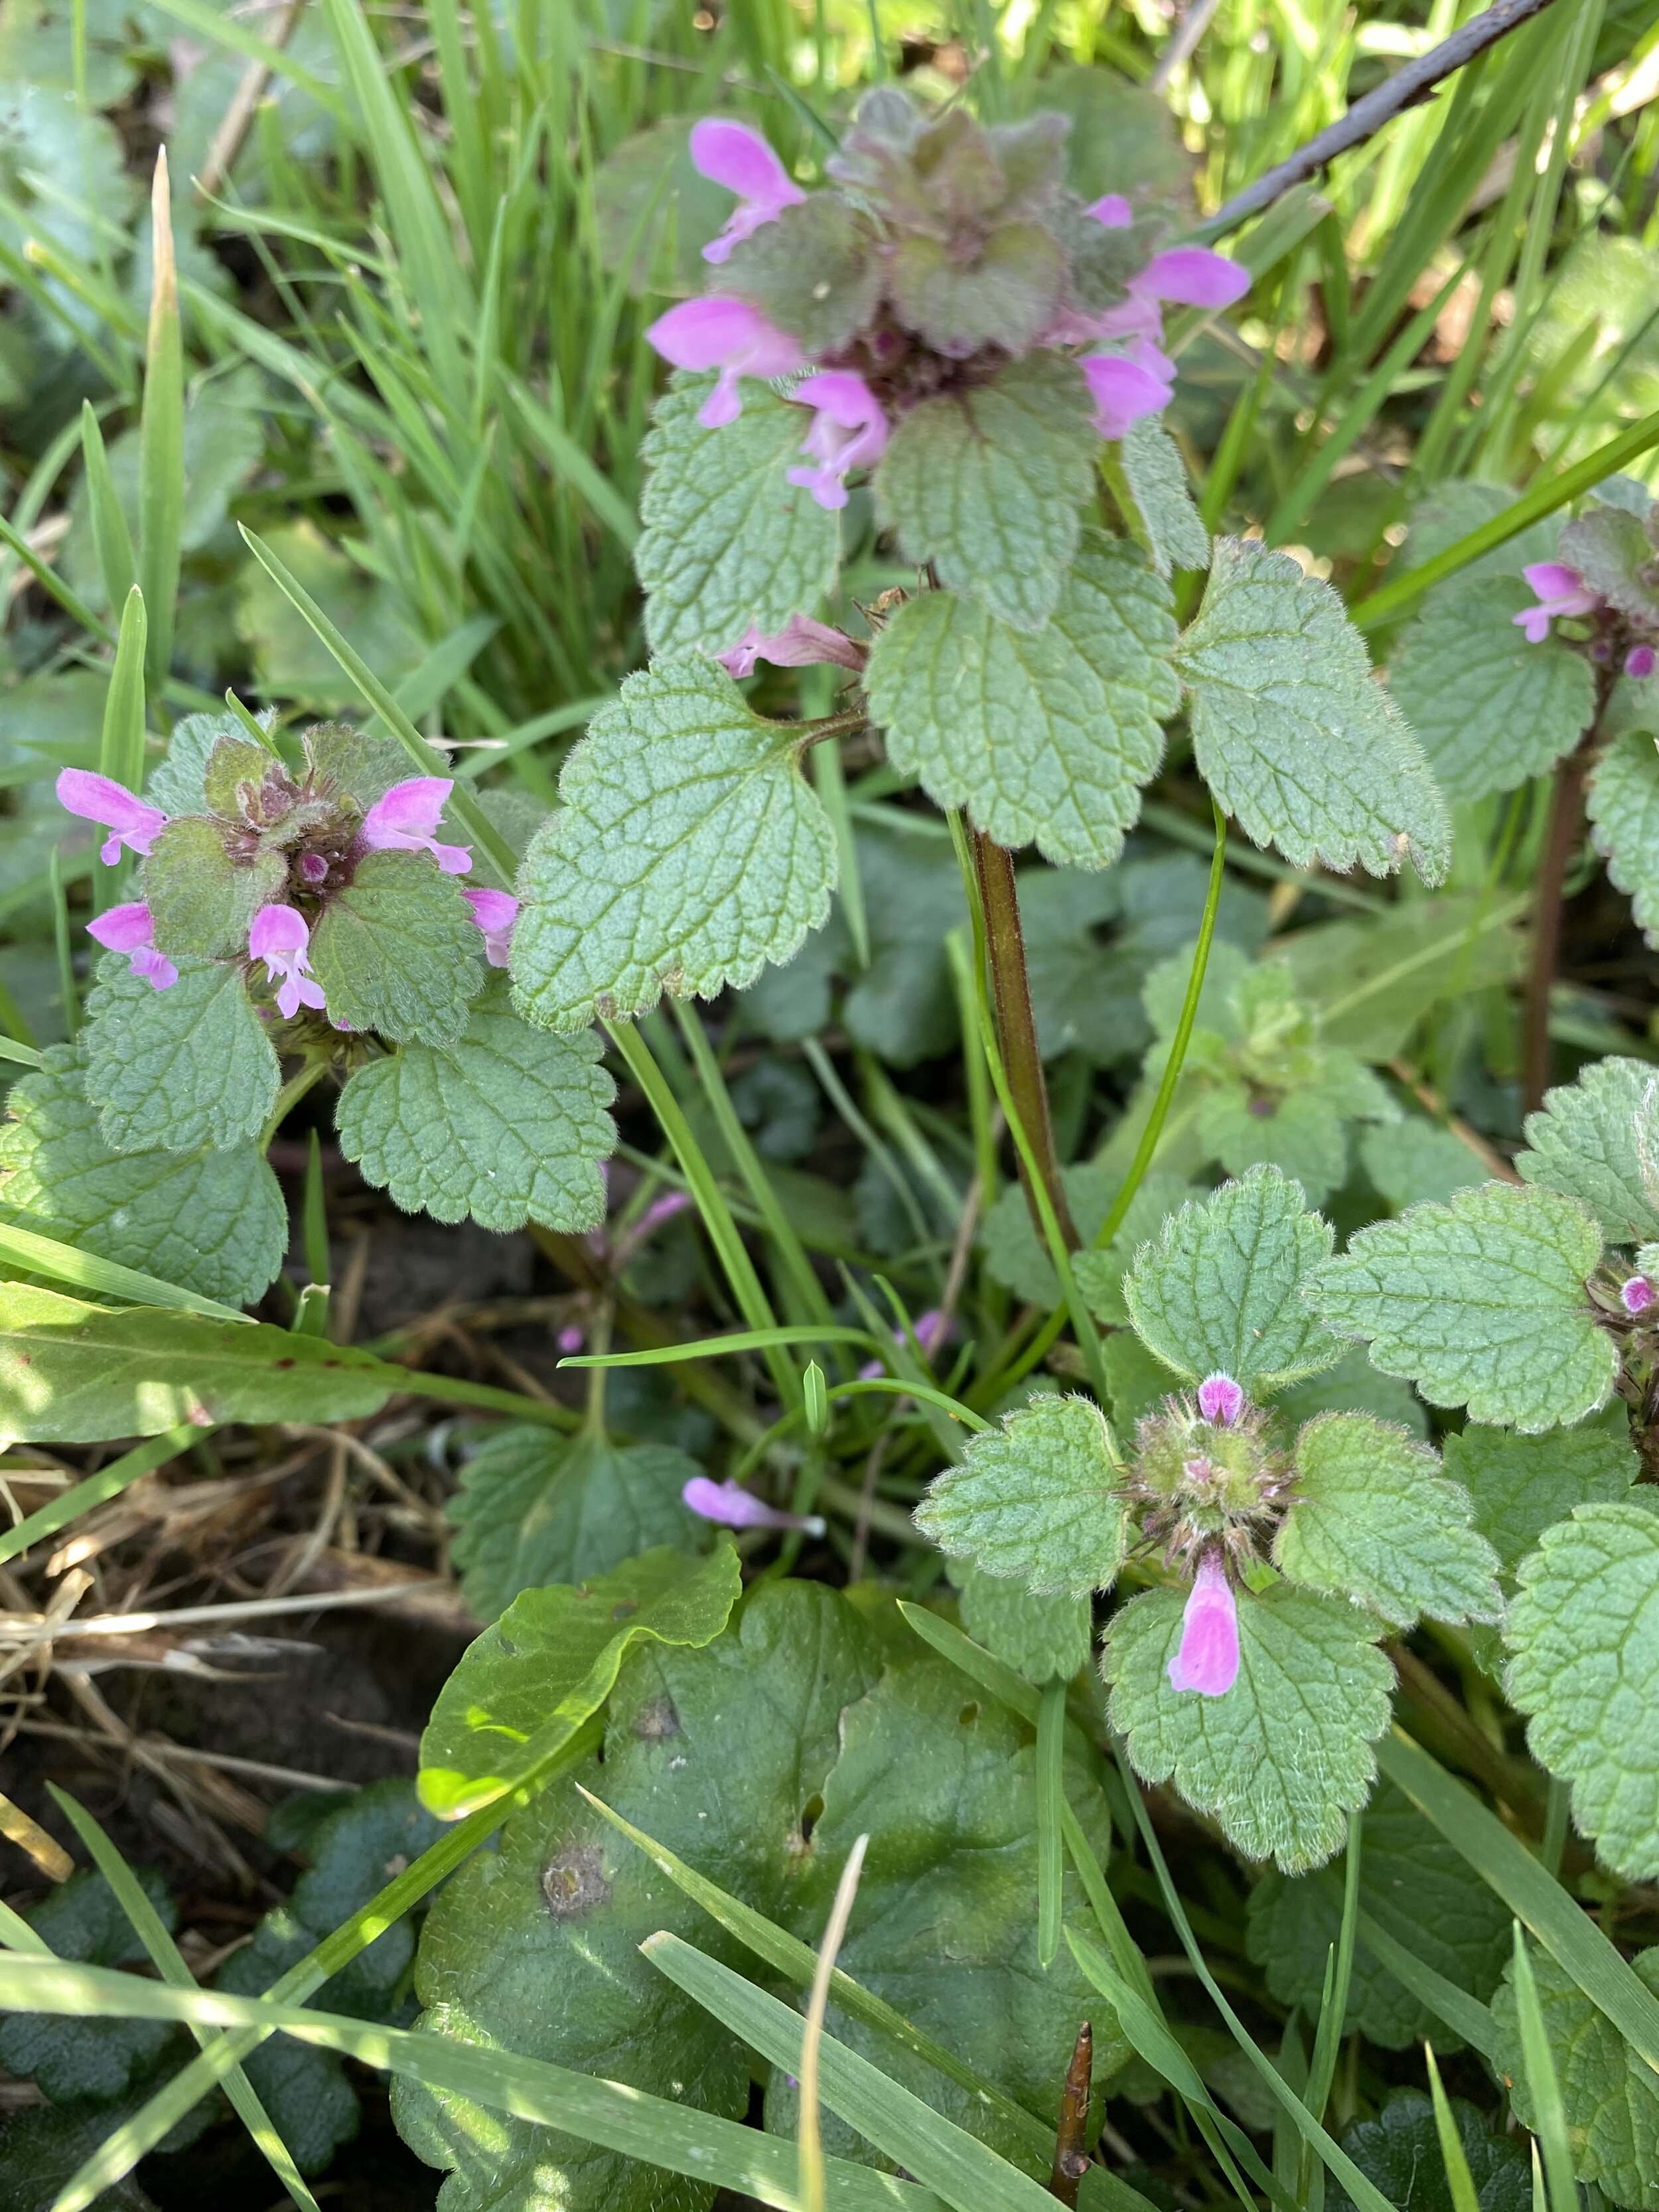
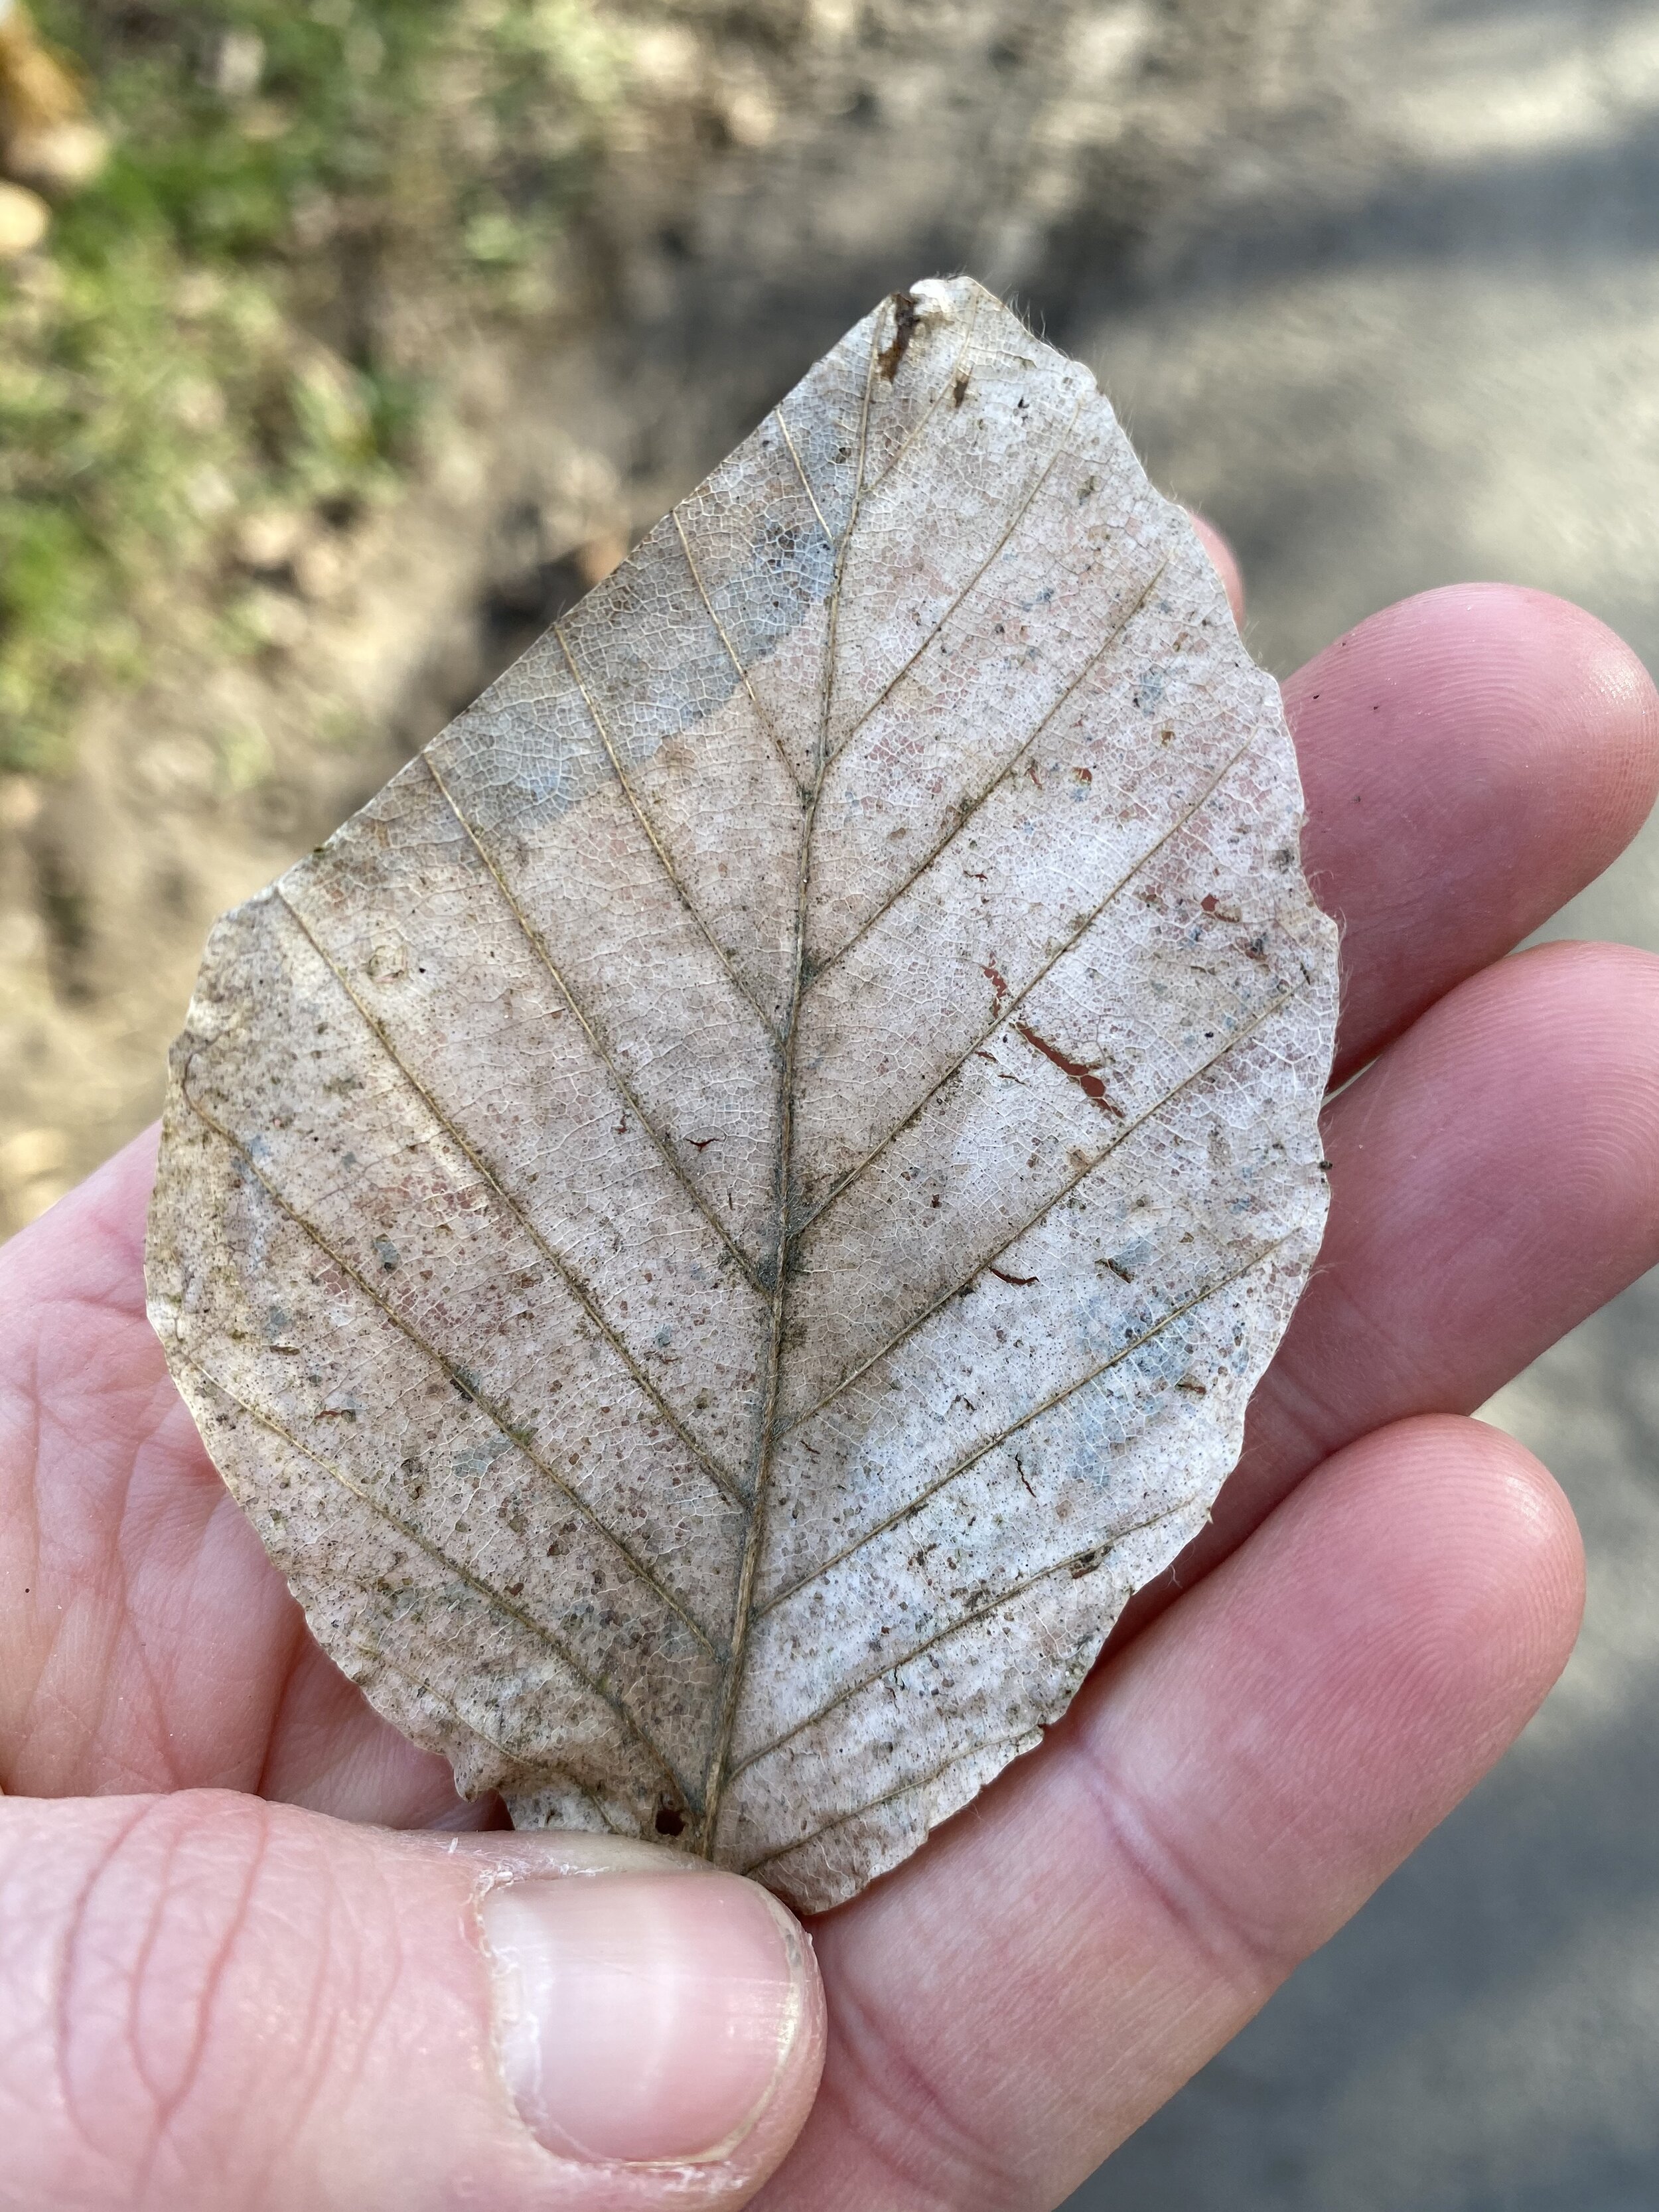
One of the things we love to do is make impressions in clay of things we find in the woods. When you are on a walk you could look out for things that have interesting shapes and textures. What signs of Spring can you find?

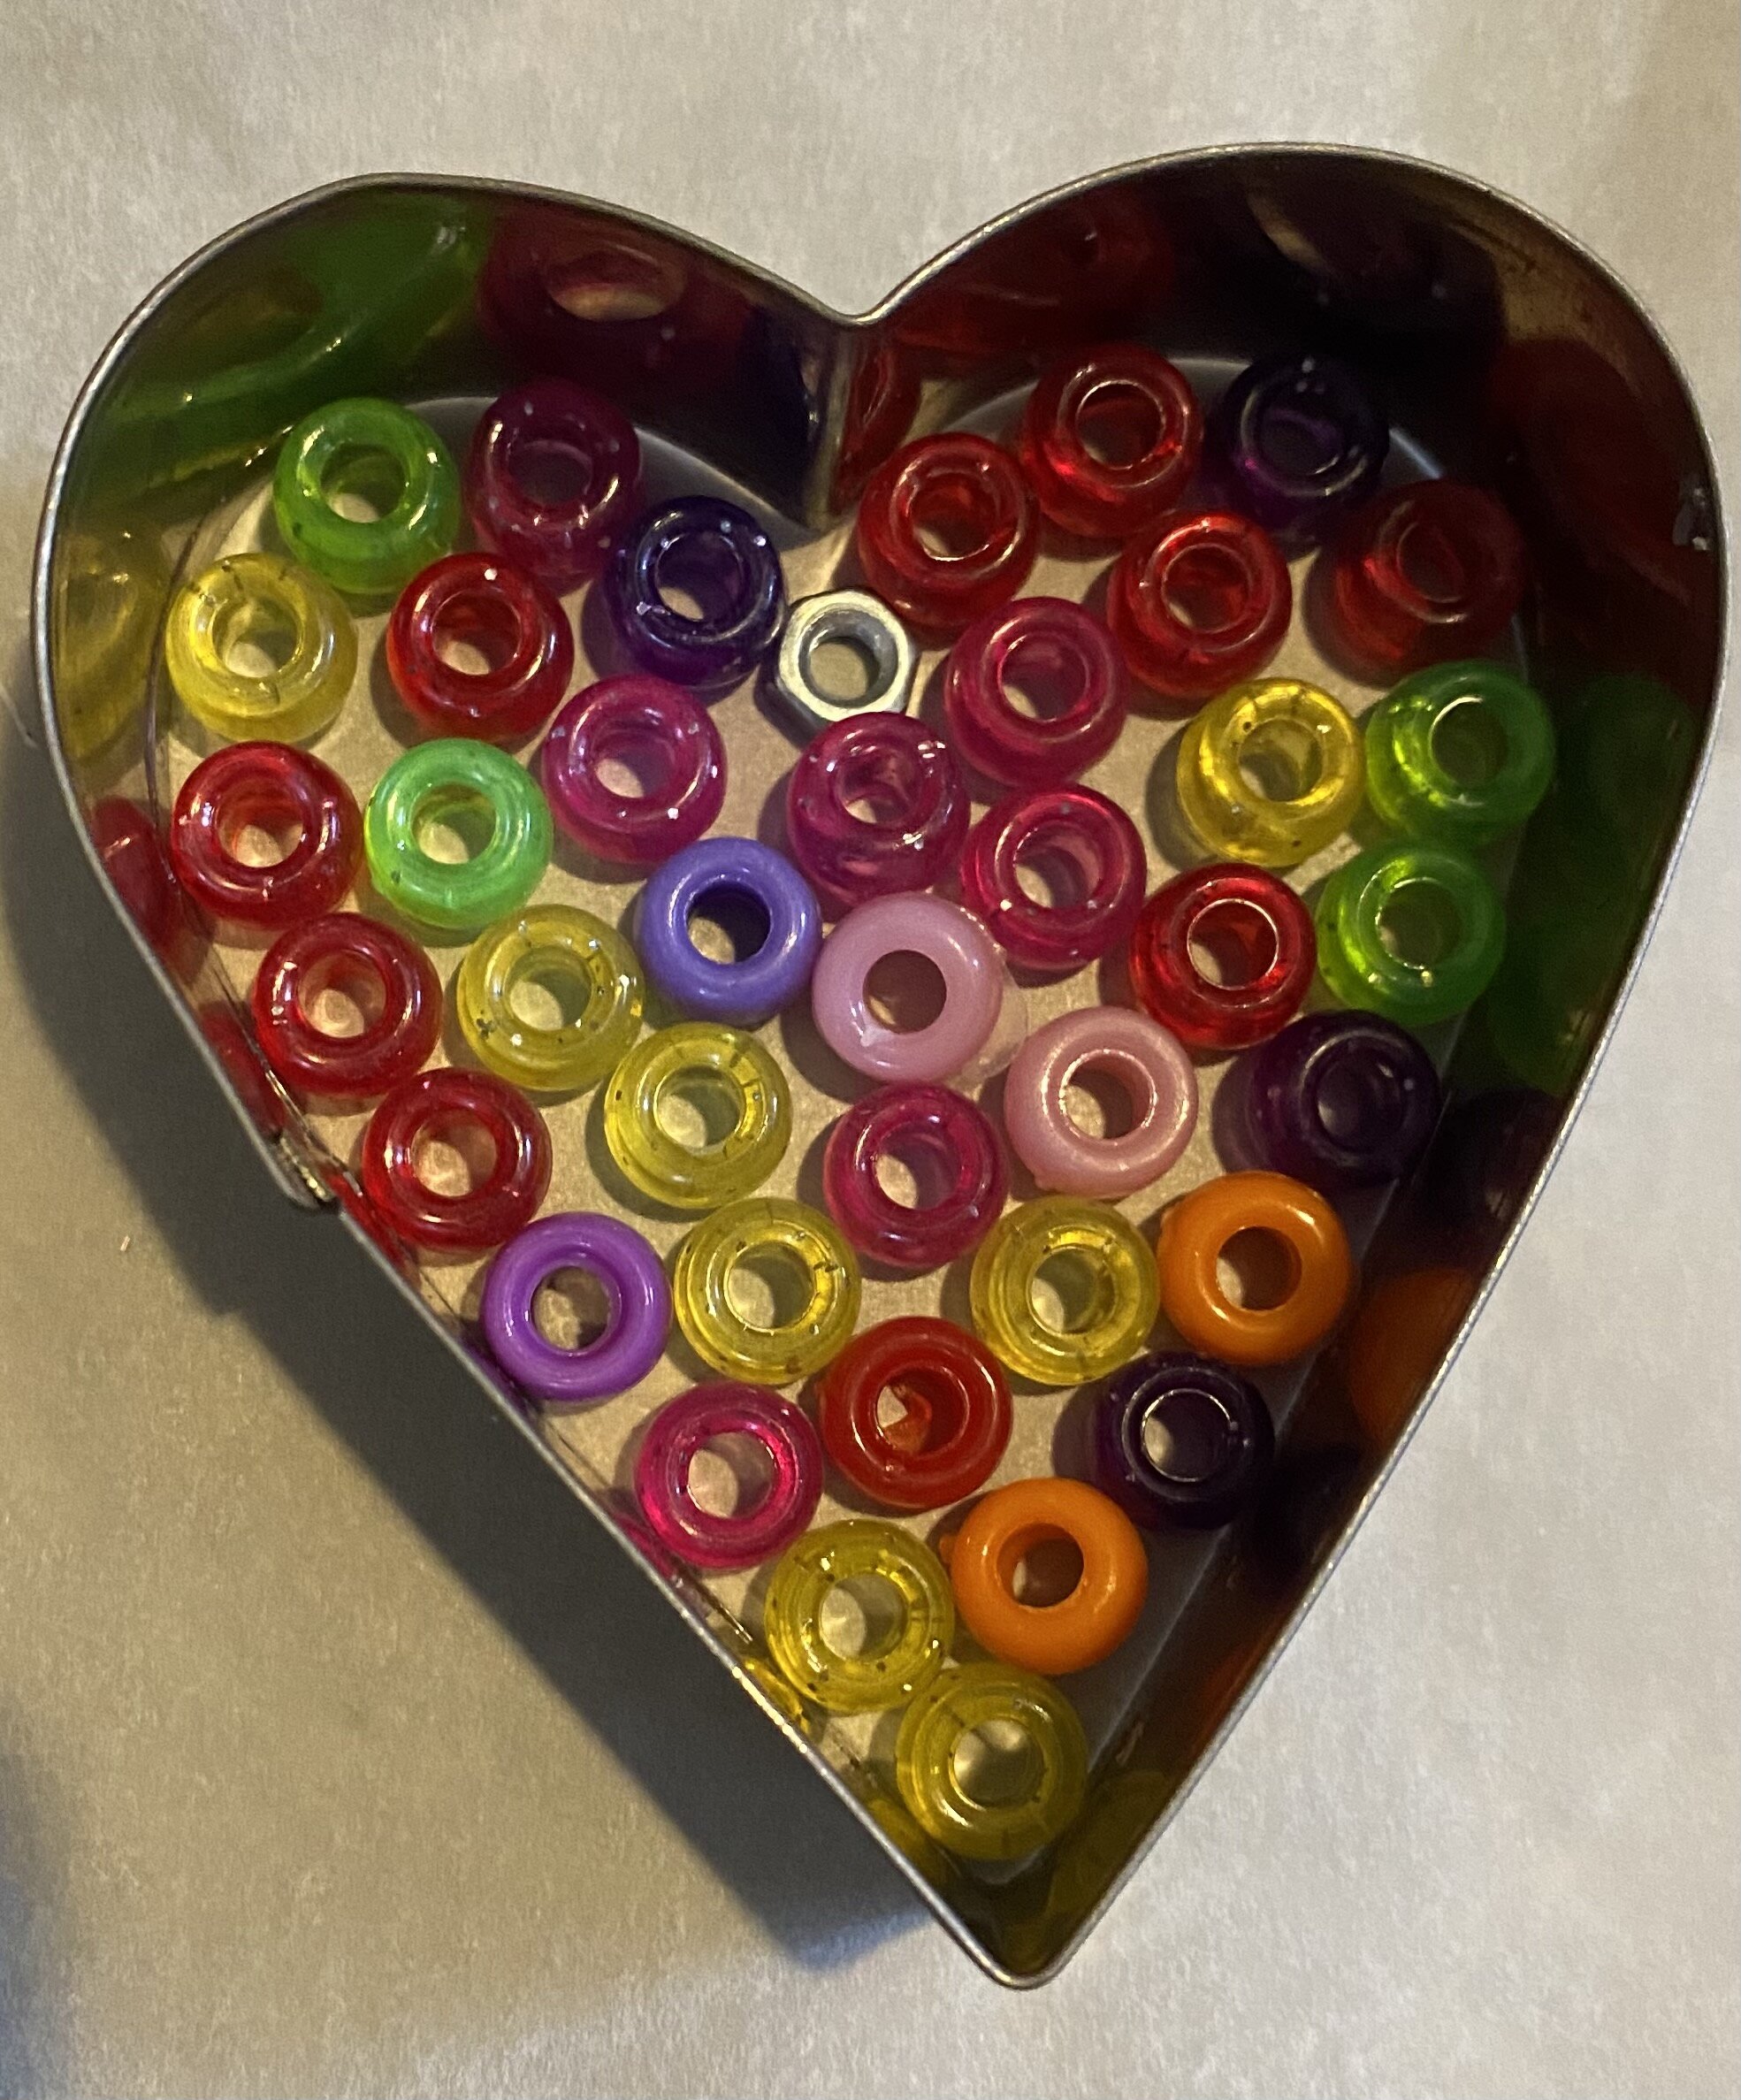
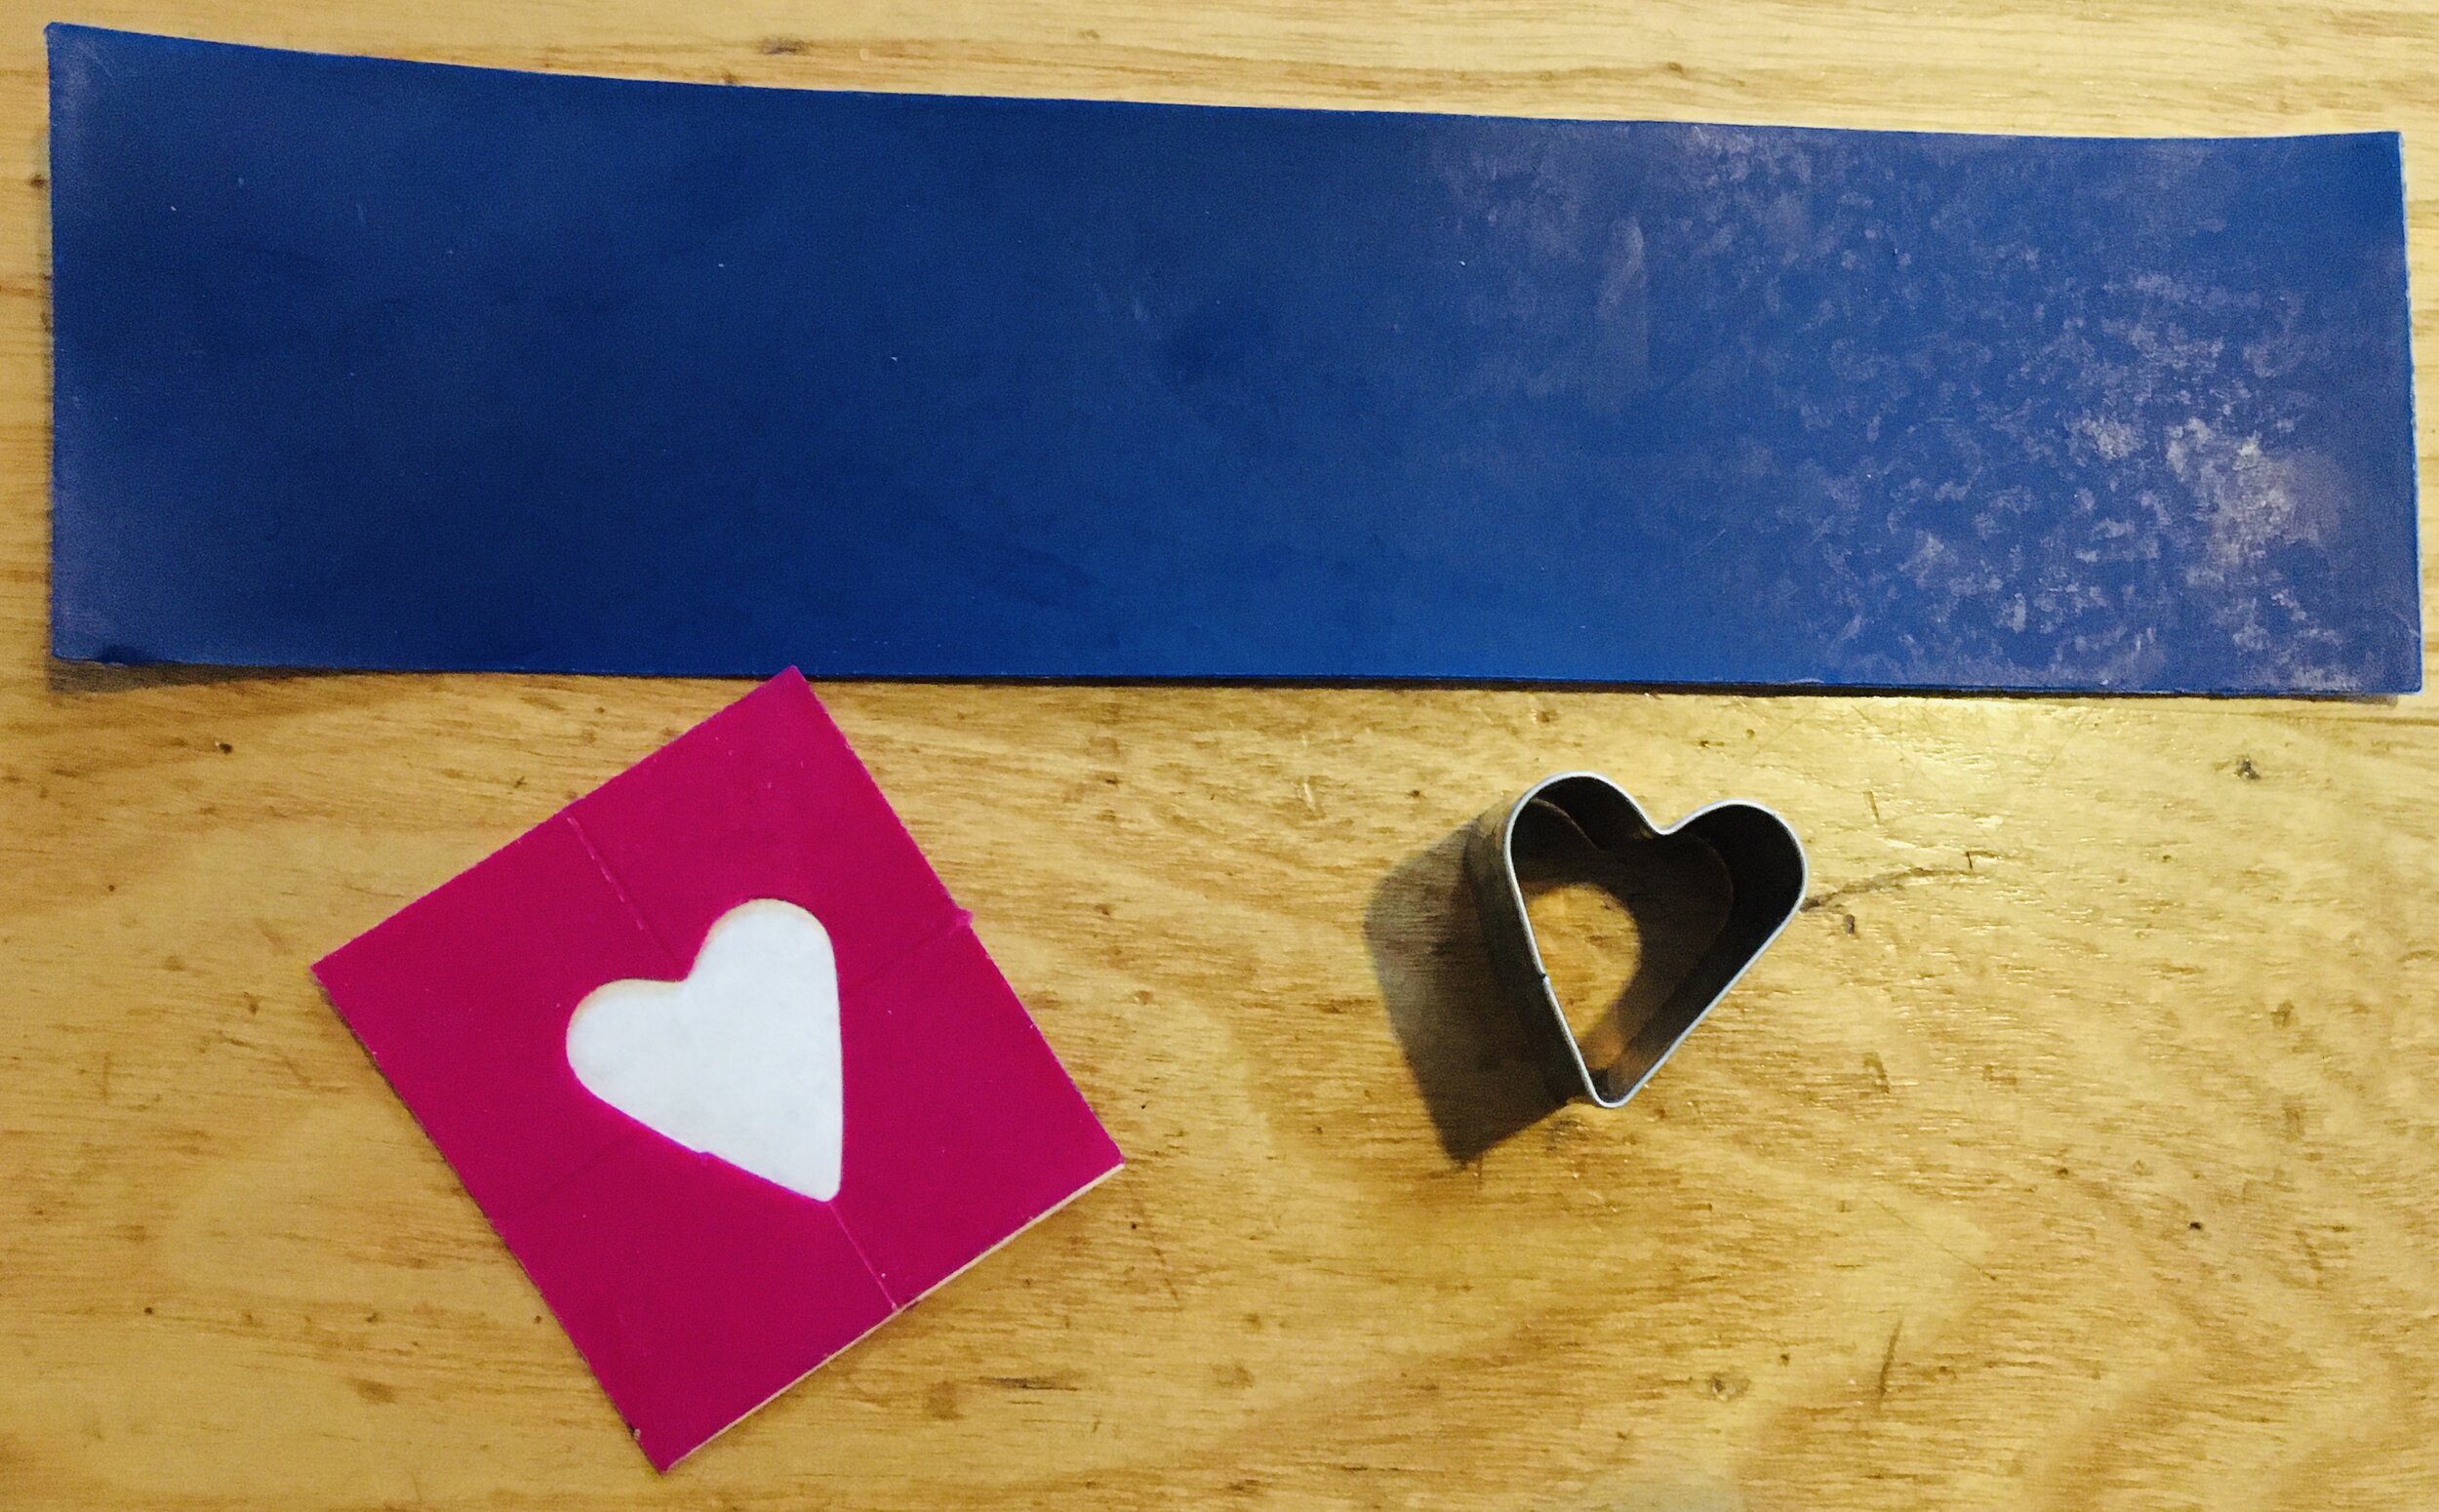
To make an impression of the things that you have found just roll out the clay, put the item on the surface and gentle roll it in. Then you can take it out and see what kind of impression has been left behind. We had a lot of fun experimenting with different things. When you make an impression you like you can cut around it using a cookie cutter.

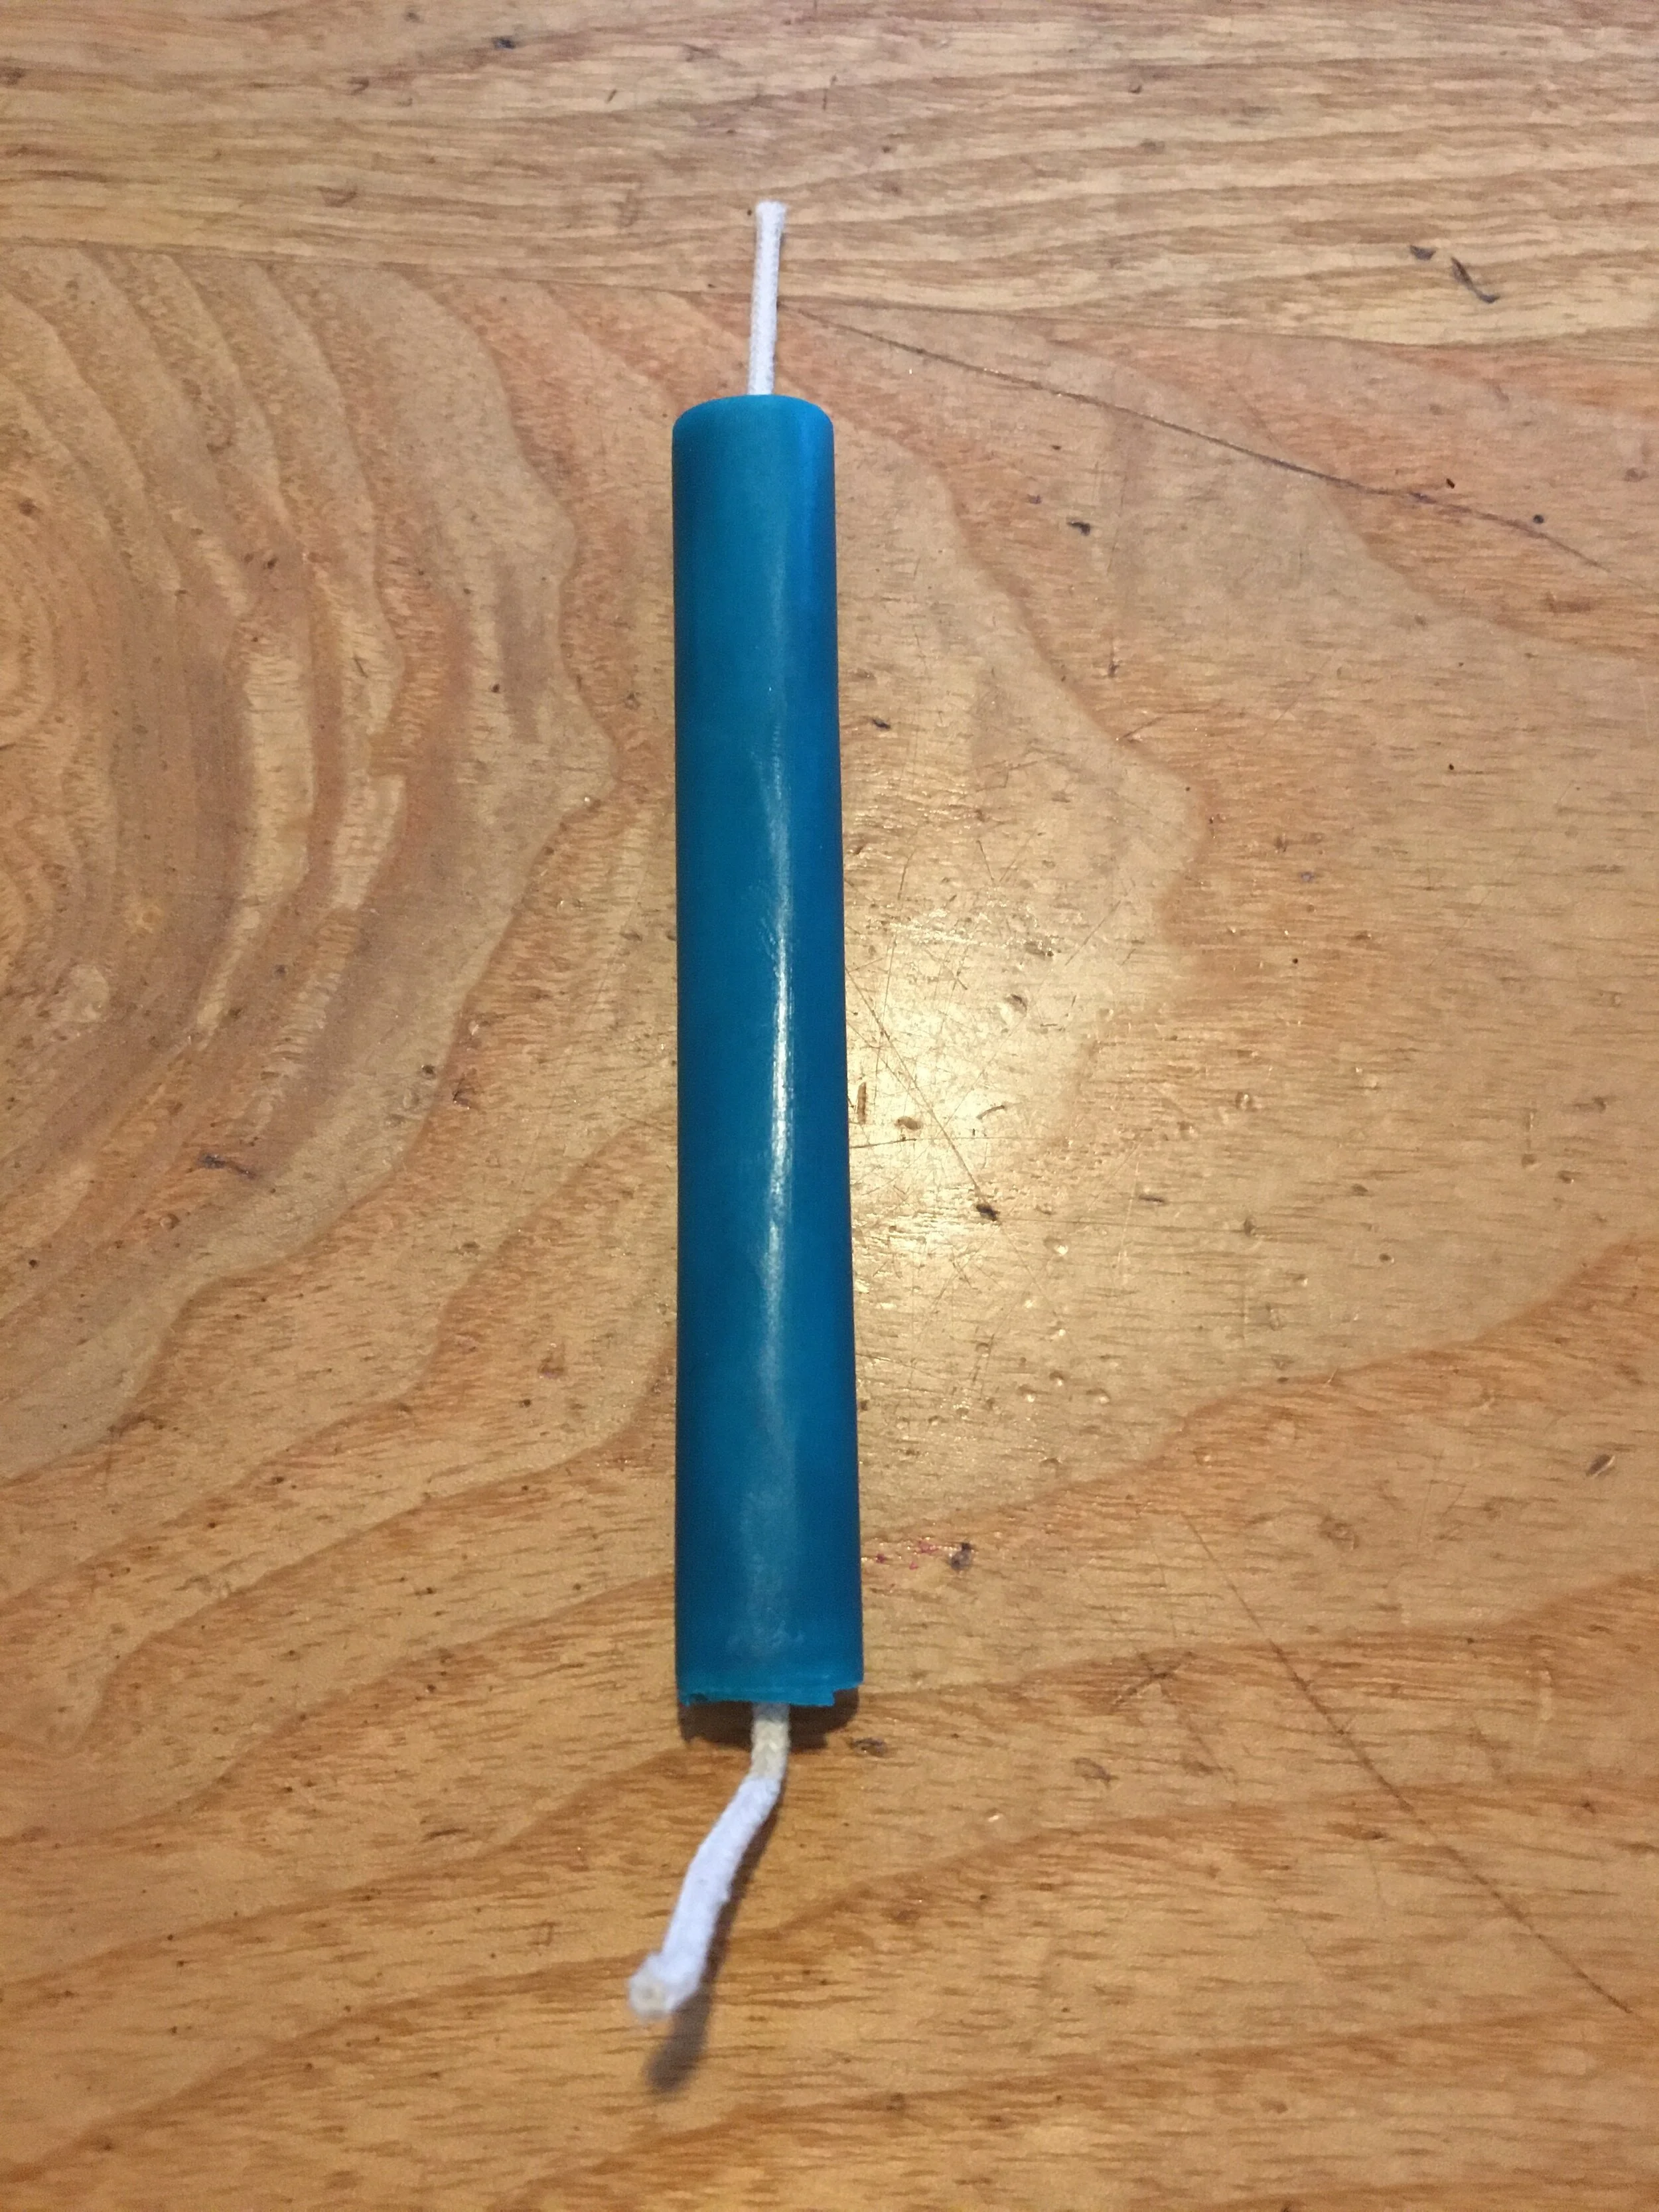
The shapes can then be left in a warm place to dry, turning occasionally. We found the best thickness to roll the dough was around 5 mm. If the dough was very thick then cracks appeared as it dried.

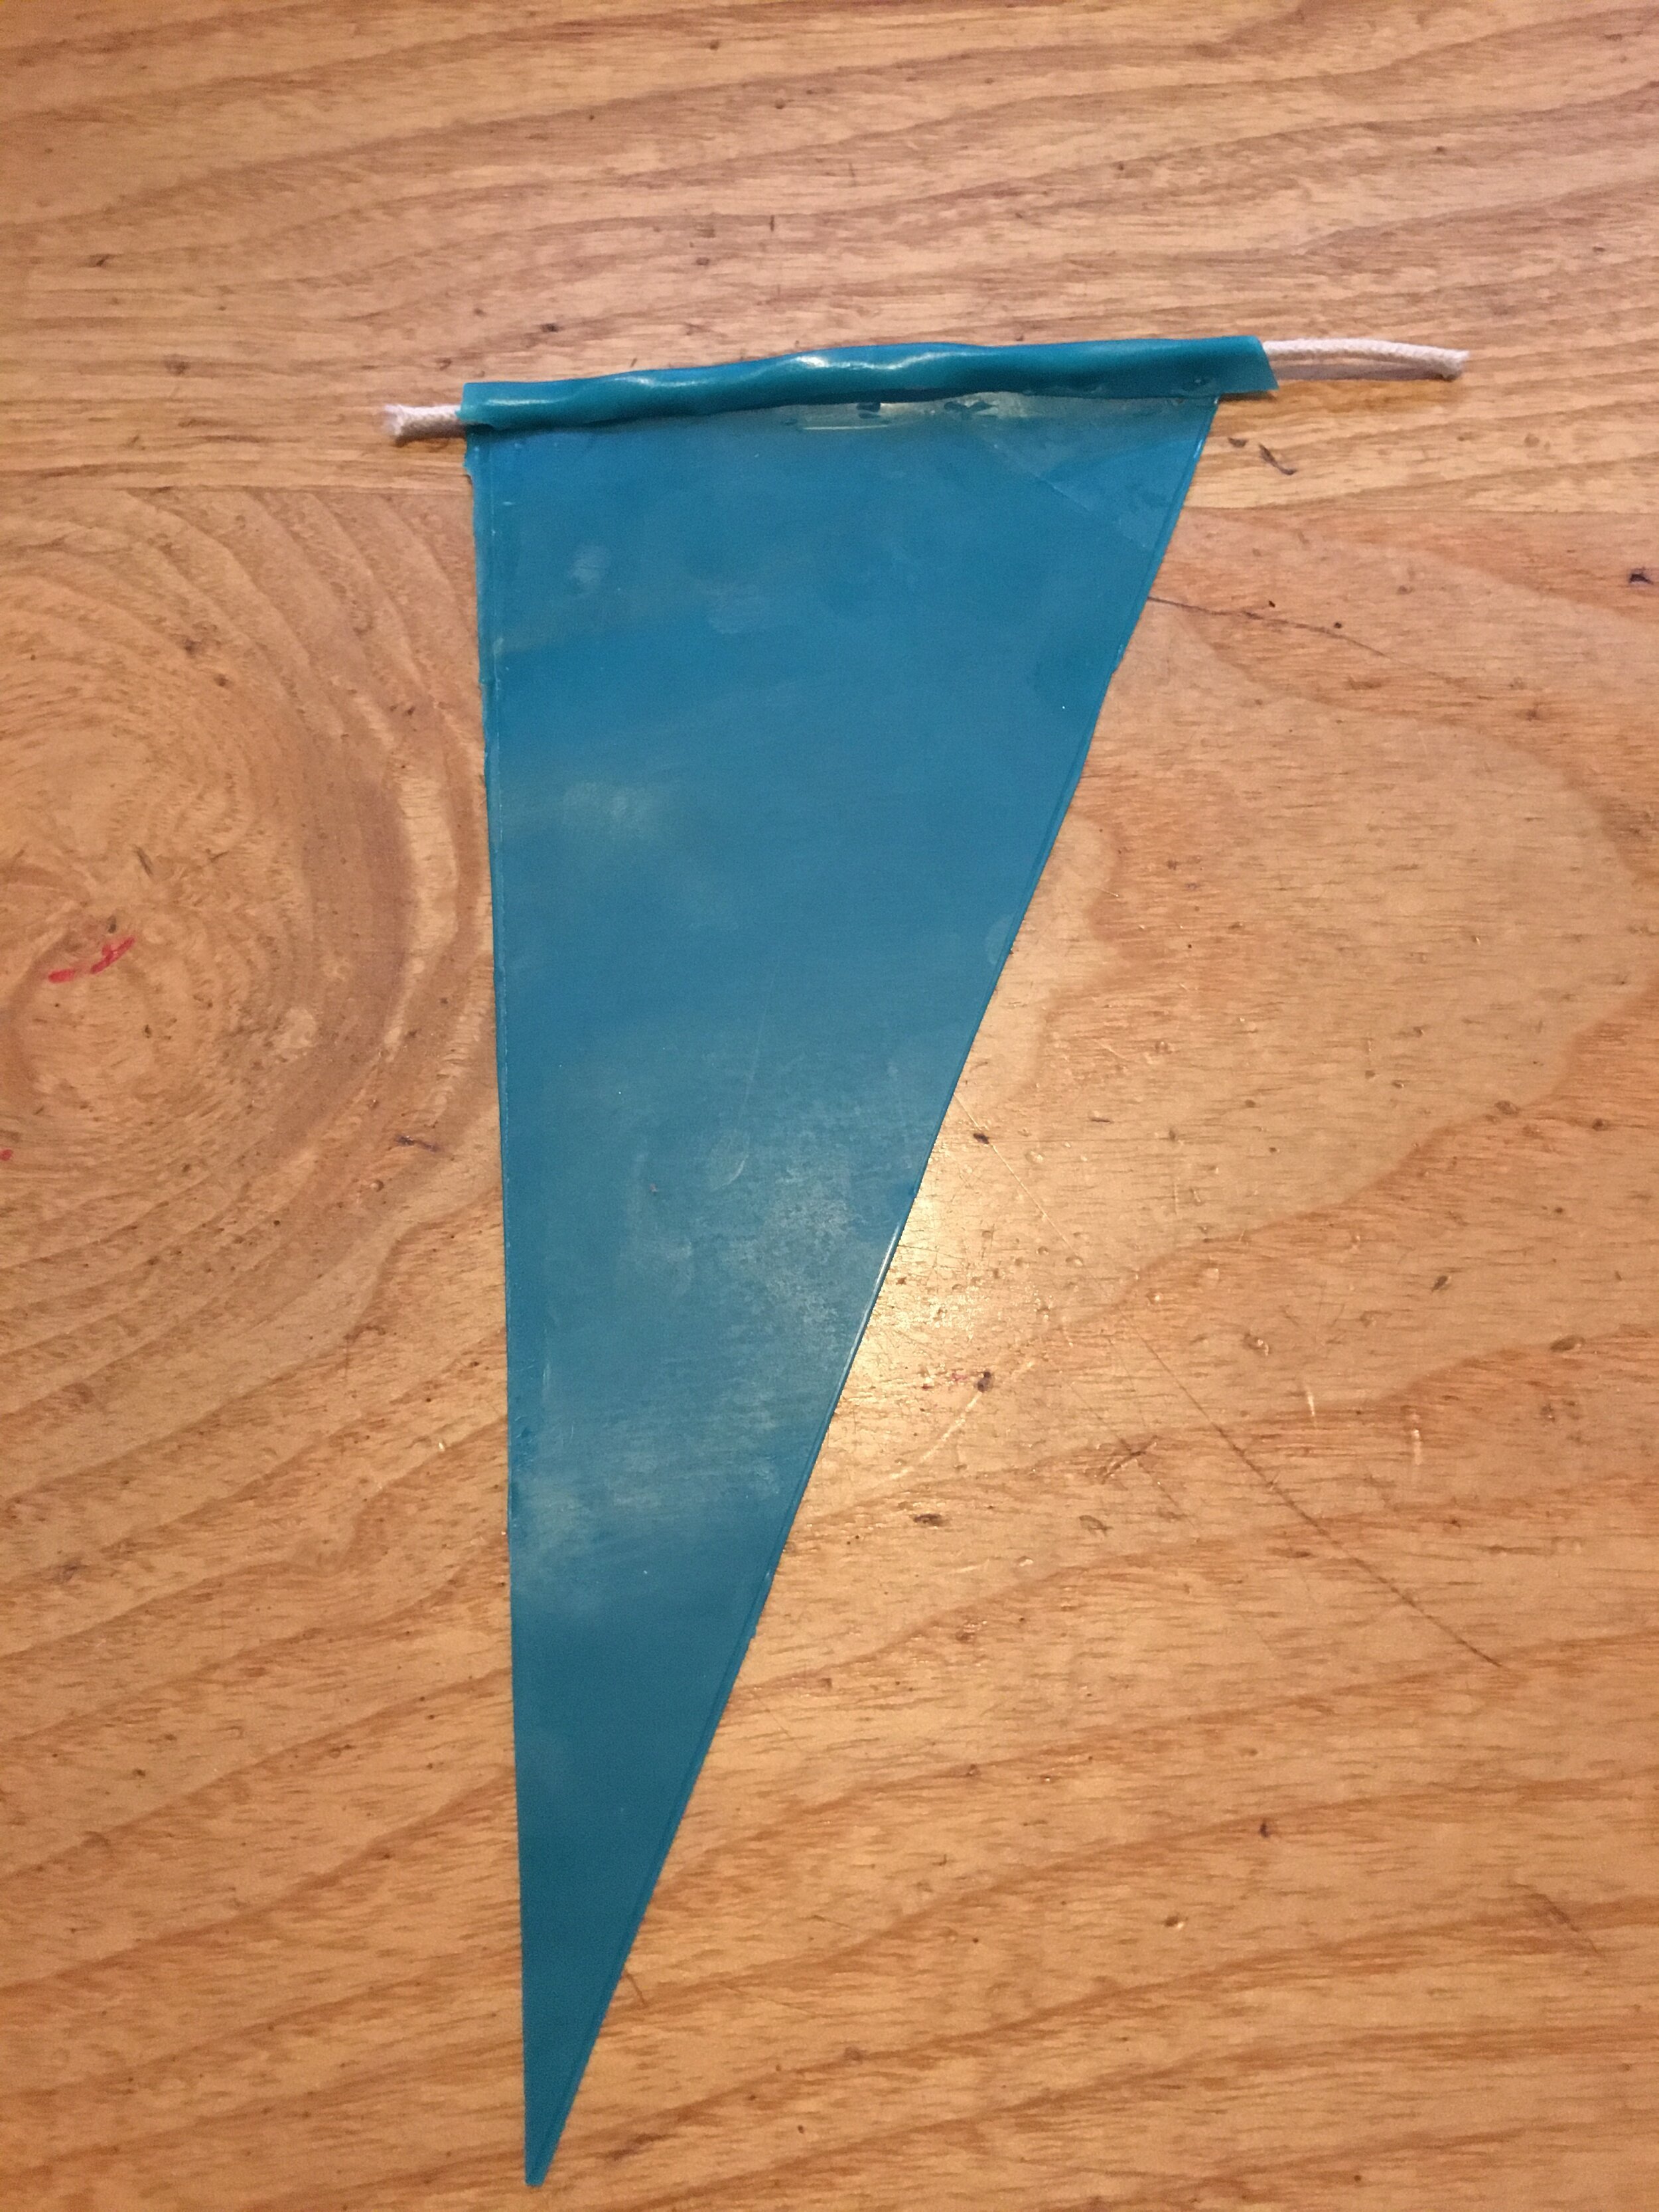
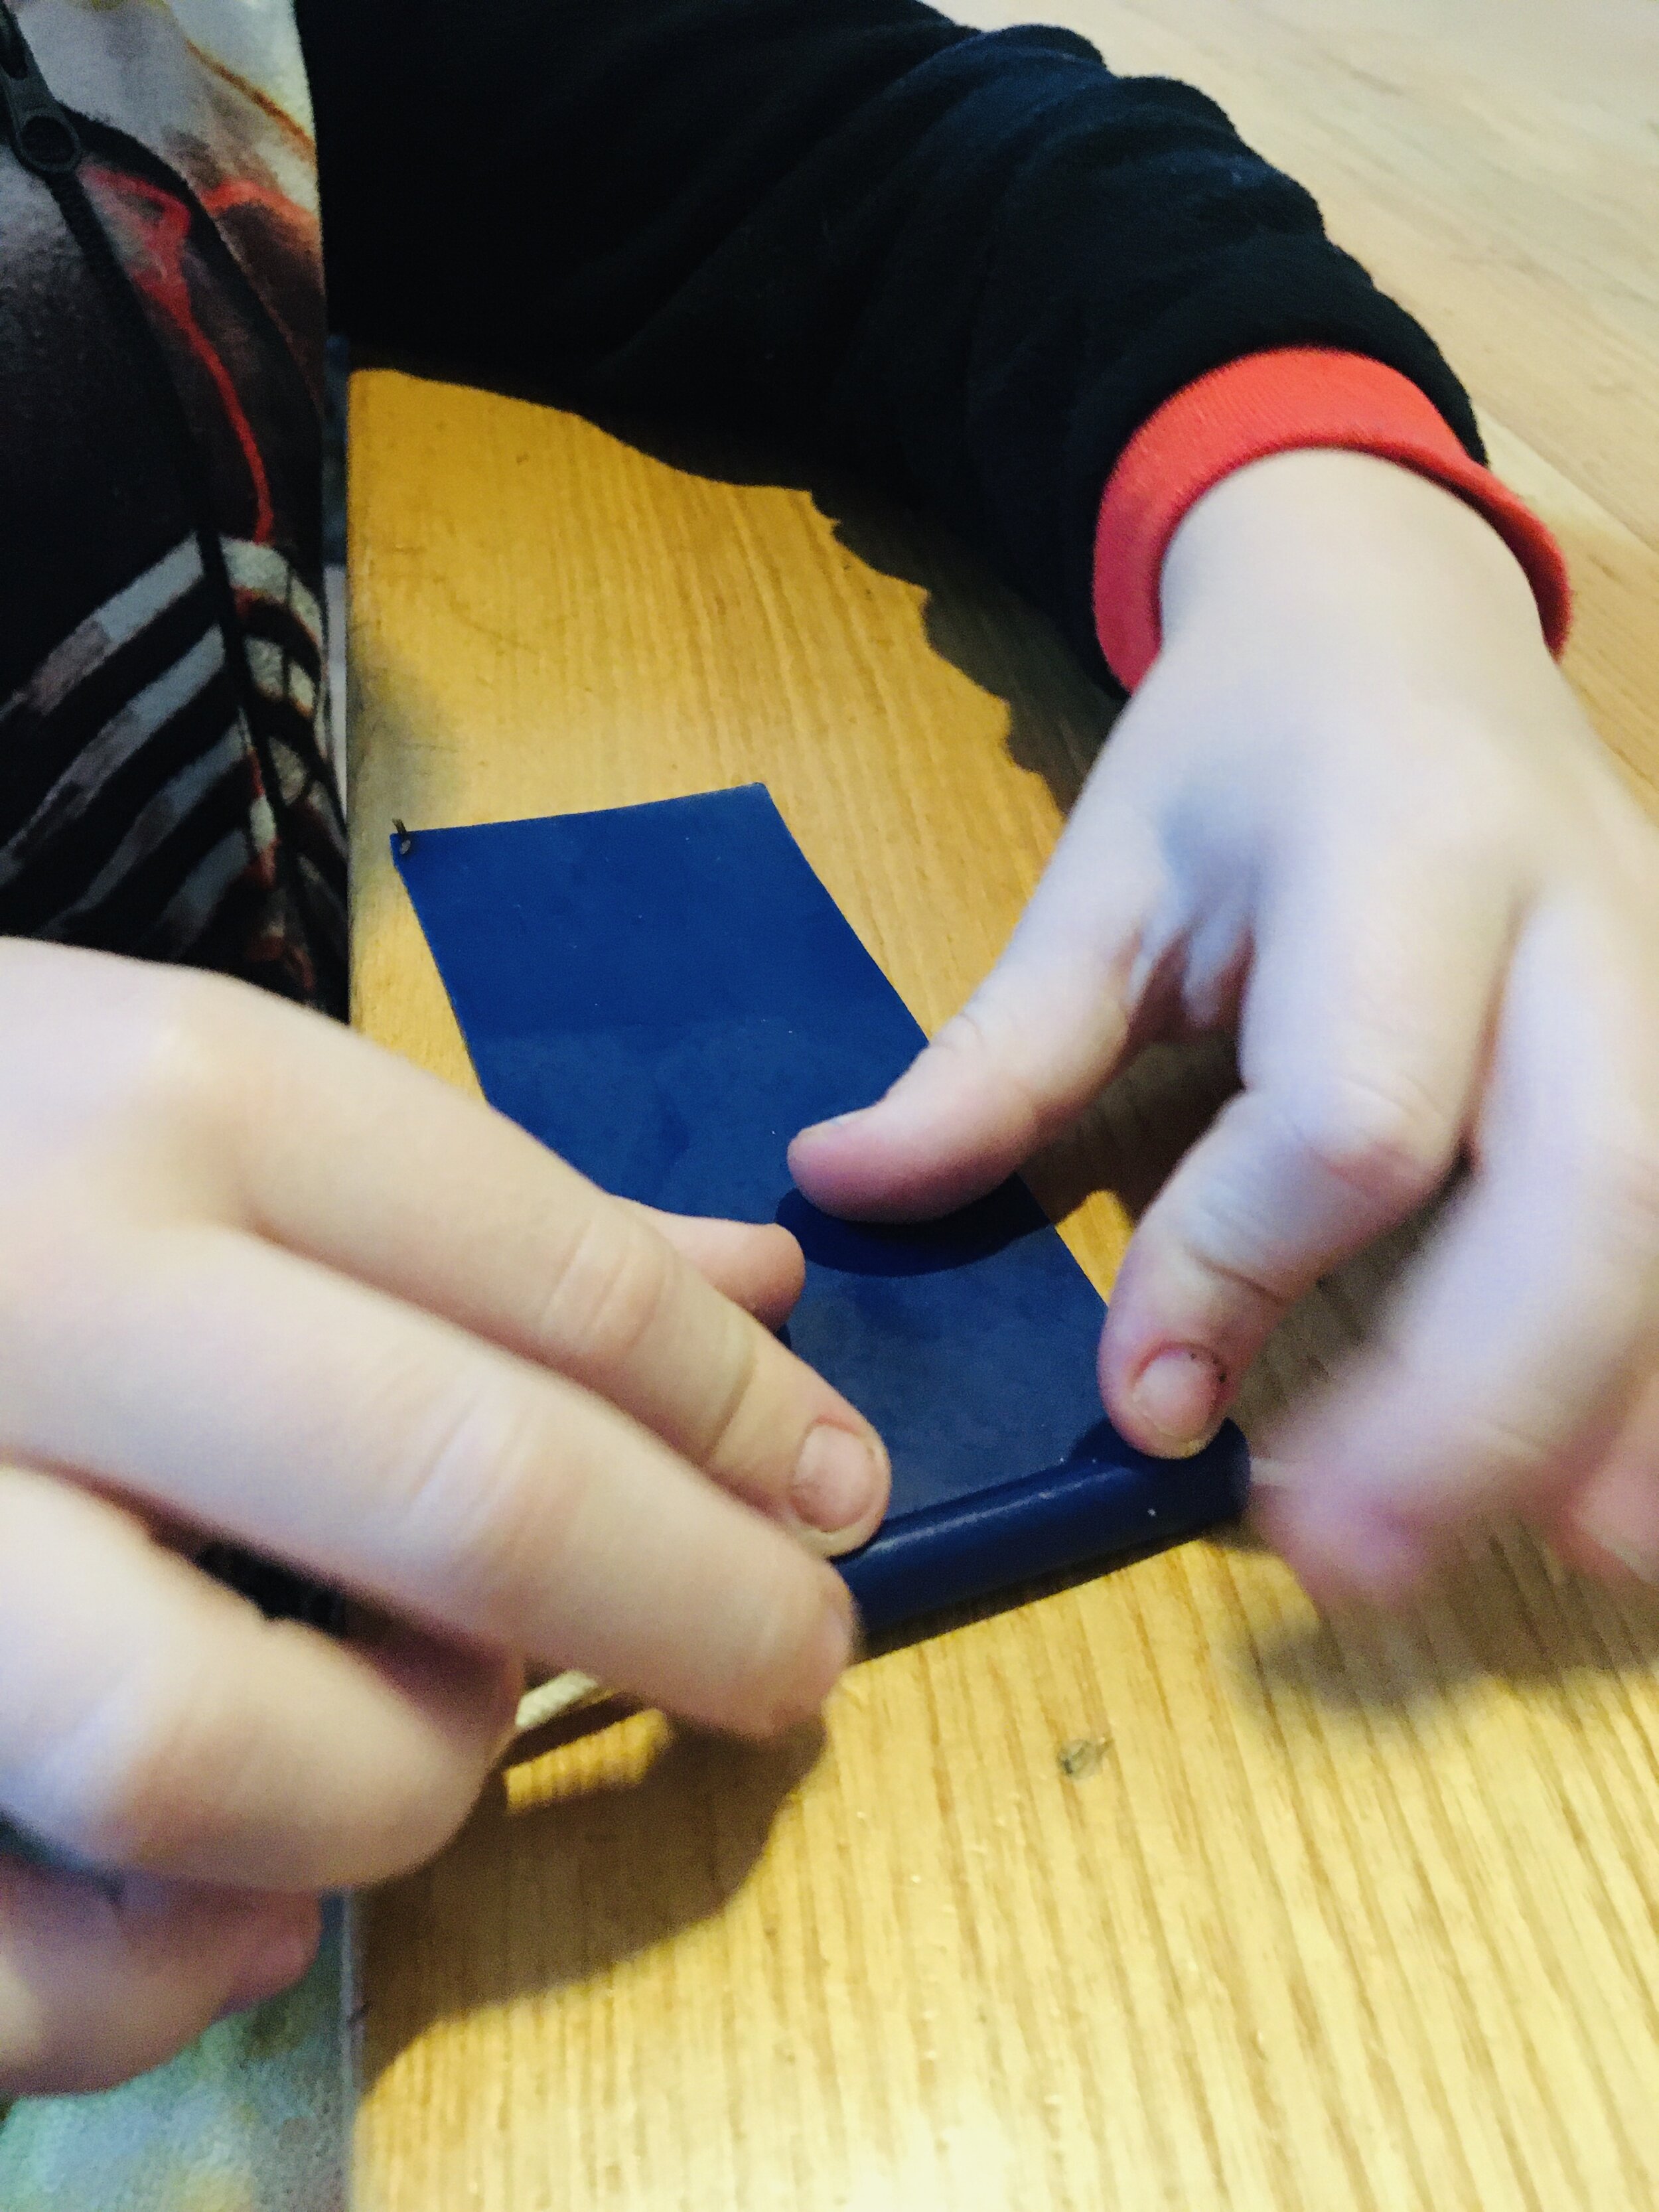
You can use the blue cloth included in the pack to roll the clay out on. This prevents it from sticking. There is also a straw which you can use to make a hanging hole in the shapes. If you don’t have a rolling pin then a bottle will work fine.

IMG_2990.jpg

You could paint your finished shapes, but the bright white dough looks beautiful left natural too.

Air Plants (Pack 3)

In Pack Three you will find a plant, but this plant is not growing in soil. This curious little creature is an Air Plant or Tillandsia.

These types of plants are native to Central America where they use their roots to cling to rocks, trees or other plants. They do not need roots to absorb nutrients, rather taking what they need from the air.

They do however, need water and sunlight to survive and to give your Air Plant the best chance you should soak it for several hours after you have unpacked it. Repeat this once a week.

Once you have done this you can go about deciding how to mount your Air Plant. One way of doing this is to look out for things you could mount your plant on while on a walk in the woods or at the beach. You can use a little wire (there is some in the pack) to help keep your plant in place.

Another idea is to make a Terrarium and the pack contains a glass jar and some gravel for this. The Air Plant can be placed into the gravel along with any other bits and pieces you might like to include.

If you look after your Air Plant it might flower one day.

Suncatcher (Pack 3)

At Forest School the focus is usually on natural materials. Often we use things we might find in the woods supplemented with other natural craft supplies such as Beeswax or Clay.

However, we do try and reuse the man made resources that find their way into our lives whenever we can. This ethos has led us to come up with this beautiful upcycled suncatcher.

FullSizeRender (5).jpg

You can make your own suncatcher using the resources provided in Pack Three. There is wire for threading on the beads, buttons and bottle tops that are also included. You can have a hunt around the house for any other bits you would like to add. Old keys, springs and washers all add to the effect.

You will also need a good stick to attach your strings of objects too, so keep your eyes peeled when you are on a walk.

We have also included everything you need to create your own decorations to add to your suncatcher. These shapes were formed using beads melted inside a metal cookie cutter in the oven. This is easier and not as stinky as you might expect!

FullSizeRender (6).jpg

To do this your simply put a piece of baking paper (included in the pack) on an oven tray and put the cookie cutter on top. Fill the cookie cutter with plastic beads (from the small bag) and move these around so the holes are all facing upwards. We found this a bit fiddly, but the plastic needle contained in Pack Two was great for moving the beads about. A metal nut (found in the bigger bag of beads) should be placed in the middle as this will form the hole to hang the decoration by. Once ready the tray should be placed in the oven at 180 Degrees Celsius for about twenty minutes or until the beads have melted. Remove the tray from the oven and allow the cookie cutter to cool before popping the shape out.

When your Suncatcher is finished ,you can hang it in a window or other sheltered sunny spot and watch it glisten in the Spring sunshine.

Flower Fairy Peg Dolls (Pack 3)

Shhhh! Do you believe in Fairies? We do! We often find signs in the woods that fairies might live there, but we have still never found a real life fairy! Then of course there are the Elves, not to mention the cheeky Troll that lived in the tree by our fire circle!

We spend a lot of time thinking about what the Woodland Fairies might look like. One of our favorite Fairy spotting books is the Fairy Wonderland Handbook, by Melissa Spencer. This book suggests the Woodland Fairy wears dresses made of beautiful flowers. Rather like Cicely Mary Barkers depiction of Flower Fairies.

IMG_2944.jpg

You can have a go at making your own Fairy, Elf or Cheeky Troll. In Pack Three we have included an old fashioned clothes peg. We have already attached the hair to this, but you might want to give your doll a little hair cut! You can also use felt tip pens to give your doll a face.

Next decide how you would like your Fairy, Elf or Troll to be dressed. We made our fairy by cutting wings out of the felt provided in the pack.. This was then attached to the peg using strong double sided tape. You will find a small piece of this tape in the pack as well. A Primrose made a great hat and was secured with a bit more tape.

Daffodils make fantastic Fairy skirts. You just need to snip off the stem and slide the fairy into the hole. You could experiment with different fairy fashions, such as tying on rose petals to make a dress.

IMG_2945.jpg

We made our elf a hat using the felt and some double sided tape. Then we found a green leaf for a shirt and held it in place with a belt made of string. The peg was coloured in using a felt tip pen to make his trousers..

IMG_2946.jpg

Once you have made your Fairy or Elf you could make it a Fairy garden or a house made of sticks. We would love to see a picture of your finished Fairies and Elves.

Flowery Biscuits (Pack 3)

We have been having lots of fun testing out biscuit recipes that incorporate flowers. This is such a fun way to celebrate the Spring and would be lovely for a picnic.

We have shared two of our favourite recipes below and have included cookie cutters and dried Lavender in our third pack to get you started.

IMG_3025.jpg

Lavender Shortbread

We used this recipe from Wallflower Kitchen. The dough was a little dry so we added extra milk.

IMG_2913.jpg

Primrose Biscuits

For these biscuits we started with a batch of Basic Biscuit Dough. We then selected some flowers to decorate them with. You can use any edible flower, but we have chosen to use Primroses as they are abundant right now and thrive in the wet Sussex soil. Yellow Primroses work fine, but do tend to blend in with the buttery colour of the biscuits. We chose to use pink cultivated Primroses from the garden. The colour does fade as the flowers are cooked so the vibrant pink worked well.

As a side note all flowers from the Primula family are edible so don’t worry too much if you can’t tell your Primroses from your Polyanthus.

When the dough is rolled out, place the flowers on top and then roll them gently with the rolling pin to push them in. The biscuits can then be put on a baking tray. Before the biscuits are cooked the flowers should be brushed with egg white as this will stop them burning. We kept an eye on out biscuits and removed them from the oven when they were golden but pale, so the flowers had full impact.

Happy baking!

Celebrate the coming of Spring (Pack 2)

The 1st to the 2nd of February marks Imbolc. This is an old Pagan festival celebrating the coming of Spring. The date is also significant in the Christian calendar as Candlemas and is the day the years candles are blessed.

It has always felt quite natural in the woods to recognise that Spring is on its way, To quietly celebrate the returning of the light, signs of new growth and the hope that brings.

One of our favourite ways of doing this is to create an Earth Candle. We dig a hole and add a wick, light a fire and melt wax and then pour it into the hole. Once the wax has set the candle is lit. The candle in the ground seems a fitting way to celebrate the coming of the light and give the earth a little nudge to wake up.

The children often decorate the ground around the candle with things to represent new life.

84729115_2618028351759663_7805885597695868928_n.jpg

This ritual seems even more relevant this year when we are looking for light, new growth and hope more than ever. We wanted to create a similar activity that could be done at home. We have, therefore included a candle rolling kit in our January pack.

IMG_2520.jpg

Candle rolling uses beeswax sheets rolled around a wick. As the wax doesn’t need to be melted this is the perfect way for children to make candles.

The pack contains two sheets of wax in two colours. One sheet is 5cm wide and the other is 10cm wide. You can chose to make a 5cm tall candle and a 10cm tall candle by leaving the sheets whole. You could choose to cut the 10cm sheet in two horizontally and make three 5cm tall candles. Alternatively you could cut the 10cm sheet into two triangles and make two 10cm tall waterfall effect candles as pictured above.

Once the wax is ready you take the wick and lay it across the width of the wax close to the edge. Fold the wax over the wick and push it down around it. Warm hands will make the wax pliable.

The wick can then be rolled so the wax wraps around it. The wick is then cut off at the bottom and trimmed at the top to finish off the candle.

You could choose to reserve some of the wax for decorating the candles. We found small cookie cutters worked well on the wax. We cut out shapes and used warm hands to attach them to the main candle. It is also possible to use scissors to cut out shapes.

Once the candles are finished you could seek out something natural to stand them on. A flat pebble, a log or a piece of bark would do the job.

You could then collect things from the house, garden or on a walk to decorate around the candles.

We really enjoyed doing this activity and finished it off by lighting the candles and having a go at toasting some mini marshmallow over the flames. We have included some in the January pack so you can try this too. Be warned though they do catch fire VERY easily!

IMG_2497.JPG

Five birdfeeders to make at home (Pack 2)

Even on a good year January, is a month to spend time at home and look after ourselves and each other. Usually around this time we extend our love and kindness to our feathered friends and pay special attention to the garden birds. Putting out food regularly and making sure there is a source of clean water that hasn’t turned to ice, can keep us connected to nature when we might prefer to be indoors.

The birds usually repay us by keeping us entertained as we watch them from the window. Putting out a variety of food and types of feeders can increase the diversity of birds you attract to your garden and thus increasing the fun!

With that in mind we have shared five different types of bird feeders you can make at home. Most of the resources to make these are contained in our January Care Package or can be obtained easily.

The Upcycled Mug

This is a great way to reuse chipped mugs. To make this you will need an old mug, string and bird seed, which are all contained in the January pack you will also need a block of lard or veggie alternative.

Put the lard in a pan and heat until it has melted. Gradually stir in some bird seed until you are happy with the consistency. Then spoon the mixture into the cup. You can push a stick into the lard as it is setting to make a perch. You will find one in the January pack or you can forage for your own. Allow the mixture to set then tie a string to the cup handle and hang outside.

Any excess mixture can be used to fill hollowed oranges as explained below.

The Lego Feeding Station

If (by chance) you have a large amount of Lego in your house you could use some of it to make a bird feeder. We had great fun doing this and it really turned into a STEM challenge as we tried to answer questions and over come problems. Where should the food go? Will it hold enough food? How can the food be kept dry if it rains? Where will the birds perch? Where should the string attach? How can we make it strong enough to withstand a windy day?

You can use the bird seed and the string from the January pack to have a go at this. Just add Lego!

The Orange Skin

A hollowed out orange is simple and effective. The skin can be pieced on both sides and a string threaded through for hanging. There is a handy needle in the January pack for doing this. The orange can then be filled with the lard and bird seed mixture as described above or filled with loose bird seed.

Lolly Stick Bird Feeder

These bird feeders were fun to make and very popular with the birds! We have included natural lolly sticks in the January pack and you could choose to paint or colour these in. The glue will probably work better if you do this at the end.

The pack also contains a pot of wood glue and some string.

Start by making the bottom of the bird feeder by lining up 11 lolly sticks on a table. Secure these by gluing three more lolly sticks on top at a right angle. Turn this over and then start building up the walls by gluing sticks opposite each other. Alternating after each pair of sticks is added Keep going until the walls are around 8 lolly sticks high.

To secure the string turn the bird feeder over and place two lengths of string in between the lolly sticks. Add three more sticks cross ways on top to secure the sting. Once the bird feeder has been turned back over all four lengths of string can be tied together.

We have included two large lolly sticks to form perches in our January pack. You can decide where you think these should go.

Once the glue has fully dried the bird feeder can be filled with bird seed and hung outside.

The Apple

We have been making this simple little bird feeder in the woods for years. Pushing seeds into an apple is rather therapeutic and great for fine motor skills.

To make this bird feeder you need to core an apple. Find a good stick and attached a length of string to it using a Larks Head Knot. Then thread the ends of the string through the hole in the apple. This creates a hanging sting and perch for the birds.

You can then get to work pushing the sunflower seeds contained in the January pack into the apple.

We hope you have fun experimenting with different types of bird feeders. We would love to hear what kinds of birds you spot!

Forest Friends (Pack 1)

We don’t always see the creatures we share the woods with, but we often see the signs that they have been there. Tracks in the snow (or more likely mud!), a nibbled pine cone and of course poo!

Then there are the animals we DON’T share the woods with too. The Bears, the Wolves and what about those elusive Wild Boar? During our sessions the children often delight in discussing what does and doesn’t live in English woods. Did Wolves ever roam these woods? What would happen if Bears were introduced? There is so much scope for discussion, imagination and free play!

This activity celebrates the animals we do (and don’t) share our native woods with. These Forest Friends decorations could adorn a Christmas Tree. They would also look lovely hanging from a bare fallen branch gathered in January.

Bear.jpg

The Winter Care packages will contain wooden disks, felt, string, eyes, glue and a spreader. Felt tip pens will also be handy.

Thread the string through the hole in the wooden disk and tie in a knot so the finished decoration can be hung up. Try and do this before the glue comes out as, if you have started sticking, this can get messy!

Felt shapes can be cut out and glued to the disk along with some eyes to create a fox.

This deer’s antlers are made from twigs collected in the woods

Deer.jpg

Children might find it easier to draw their design on a piece of felt. Once they have cut this out they can be shown how to layer other felt shapes on top to create their design.

While we hope our fox, bear and deer have given you some ideas on which woodland animals you could make, we know the children will have lots of their own ideas. The most important thing is to enjoy the process. Maybe take some time to remember the woods and the creatures that live there. Better still go for a walk in the woods to get some inspiration. Your own Forest Friends can be anything you like in any colour you like! We would love to see any pictures of your finished creations.

Mix.jpg

Snowman Scene (Pack 1)

Making Snowmen from wood is one of our favourite Winter Forest School activities. It is always enjoyed by the children. We have, therefore, created a ‘flat pack Snowman’ for our Winter care packages.

The kit will contain everything you need to create your very own Winter Woodland scene as demonstrated in the video below.

Among the craft materials provided is some desiccated coconut that can be used as snow. This can be avoided if it is an allergen.

Mulled Apple Juice (Pack 1)

We love making Mulled Apple Juice on the campfire in December. The smell always gets everyone talking about the festive season. Then we gather around to warm our hands on hot cups of juice.

Apple 1.jpg

We have included a Mulled Spice sachet in our Winter Care Packages so you can recreate this comforting drink at home.

You will need a litre of apple juice and if you have any spare apples, oranges, satsumas, lemons or cloves its fun to add these as a garnish. However, the Mulled Spice Sachet will flavour the juice perfectly well on its own.

Little fingers can push cloves into apples and oranges. The skin of the fruit should first be pierced with a cocktail stick or skewer.

Everything is placed in a large pan before pouring on the apple juice.

Apple 2.jpg

Heat to just below boiling point and hold this temperature for 10 minutes, stirring occasionally. Allow the juice to cool slightly, serve and enjoy with your family!

Lanterns (Pack 1)

Lanterns are associated with many of the Festivals that happen during the long Winter months such as Diwali, Martinmas, The Winter Solstice, Christmas and Chinese New Year.

However you decide to spend the Winter and whatever festivals you choose to celebrate, beautiful lanterns lighting the dark nights bring hope and joy in the depths of Winter.

Our Winter Care Packages will contain all the materials needed to create beautiful lanterns to light your home. If you are receiving a pack you will need to save a glass jar as this won’t be included. If you are not receiving a pack, and would like to make a lantern, you will need a glass jar, PVA glue and tissue paper. You might have other decorative items you could use, such as sequins or you might choose to forage leaves.

Before we made our Lanterns we went for a walk around the country lanes. We collected a few leaves, but also took in the colours nature was offering at this time of year. As it was November we were presented with a lot of oranges, yellows and browns and these were the colours we chose to use for our lanterns. A walk in December might have led us to use more greens and reds. We could have chosen whites and blues to represent the coldest months of January and February.

Back home in the warm we chose the tissue paper we wanted to use and snipped it into small pieces.

We also sorted out our leaves and used the bigger ones to make ‘leaf confetti’ using decorative hole punches.

IMG_1875.JPG

When all the materials are prepared it is time to get the PVA glue out and start sticking everything to the jar. You should paint glue onto the jam jar, add layers of tissue paper and leaves if you are using them, and then add more glue on top. This decoupage technique will result in a strong and beautiful lantern to light your way through the Winter.

IMG_1884.jpg