Bullroarers

By Mel Evans and Kevin Fuller

We love playing about with different ideas and the good ones are often shared as activities at our Family Forest School Sessions or our Dangerous Dads Sessions. We are tinkering around more than ever at the moment and testing ideas wherever we can.

Kev has taken inspiration from the Australian Aboriginal People and has been having a go at making Bullroarers. These were used to create ceremonial music as well as to communicate over long distances. It is worth noting that although these are most frequently associated with Australia (In no small part due to Crocodile Dundee) anthropologists have found examples all over the world.

Here is Mick Dundee in action.

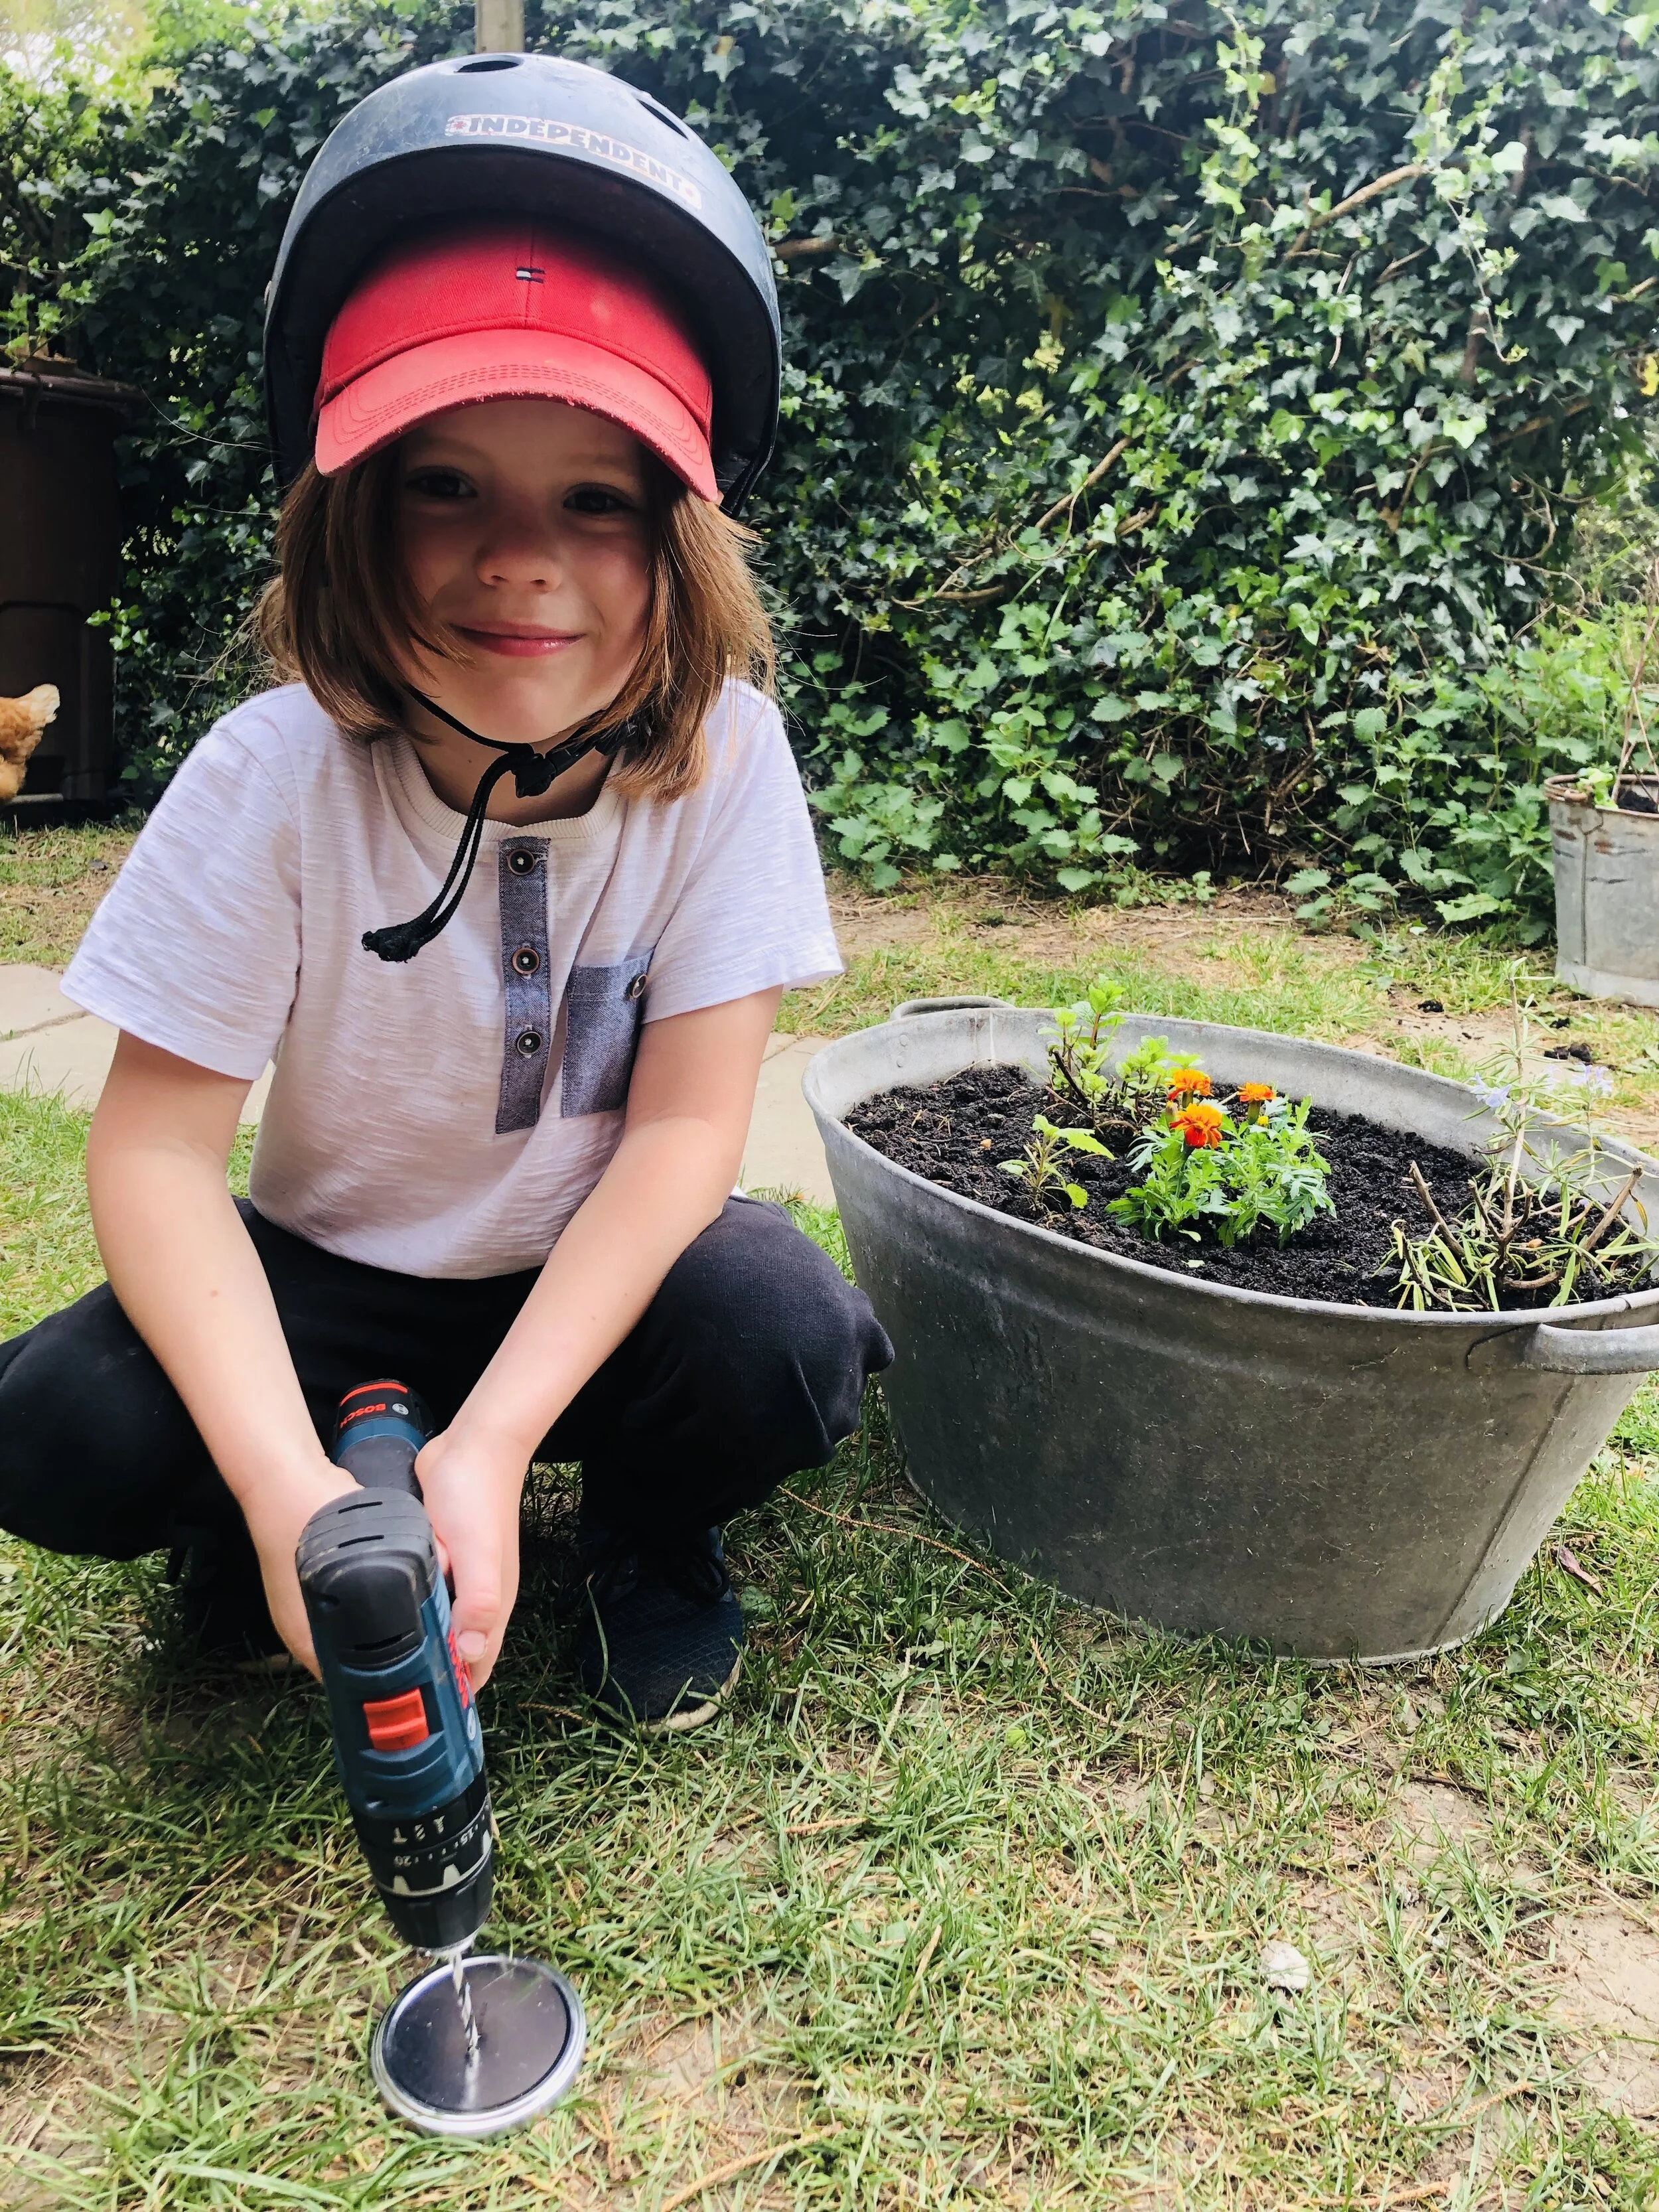
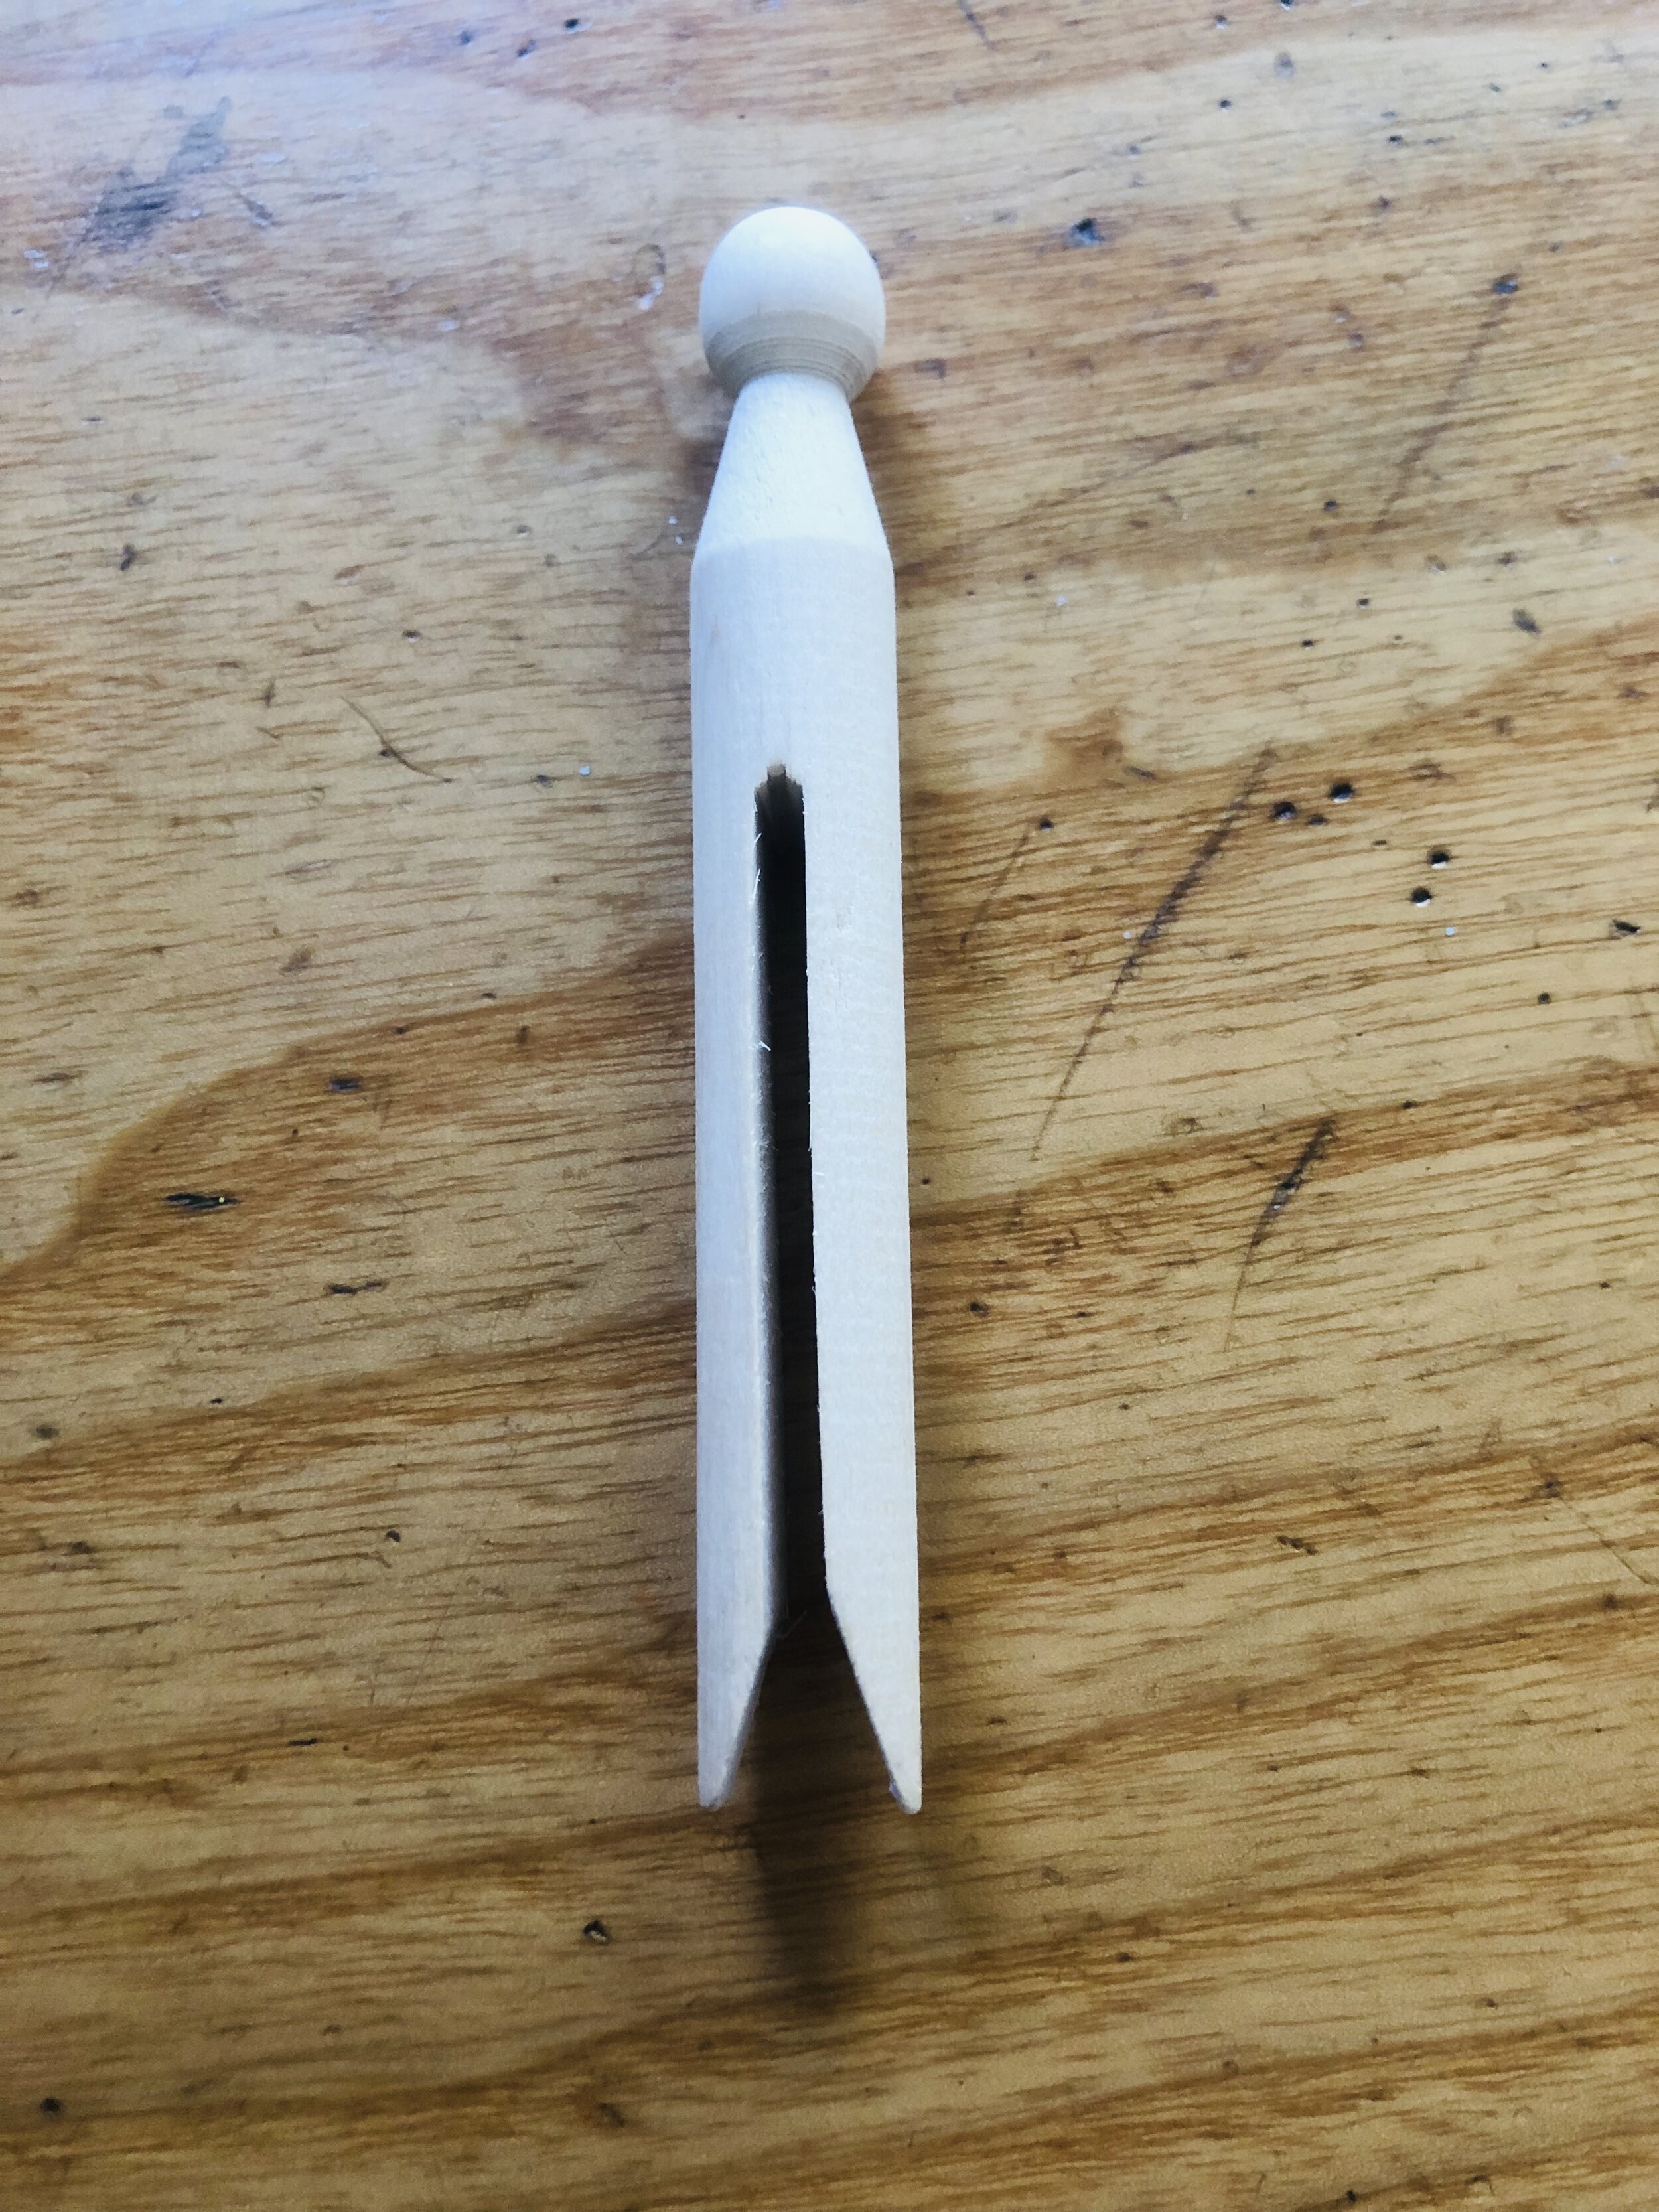
All you need to make a Bullroarer is a flat rectangular piece of wood with a hole drilled in it for the string to be threaded through. Historic Bull Roarers have been found in all different shapes, but this is more a mark of the culture they come from than their aerodynamic abilities.

94100754_2537882906424345_2851488724083015680_n.jpg

We are looking forward to making these in the woods. We plan to cleave slices from a beautiful chestnut log with a billhook. However, in reality a piece of pallet will do and Kev even got good results with a cardboard Bullroarer.

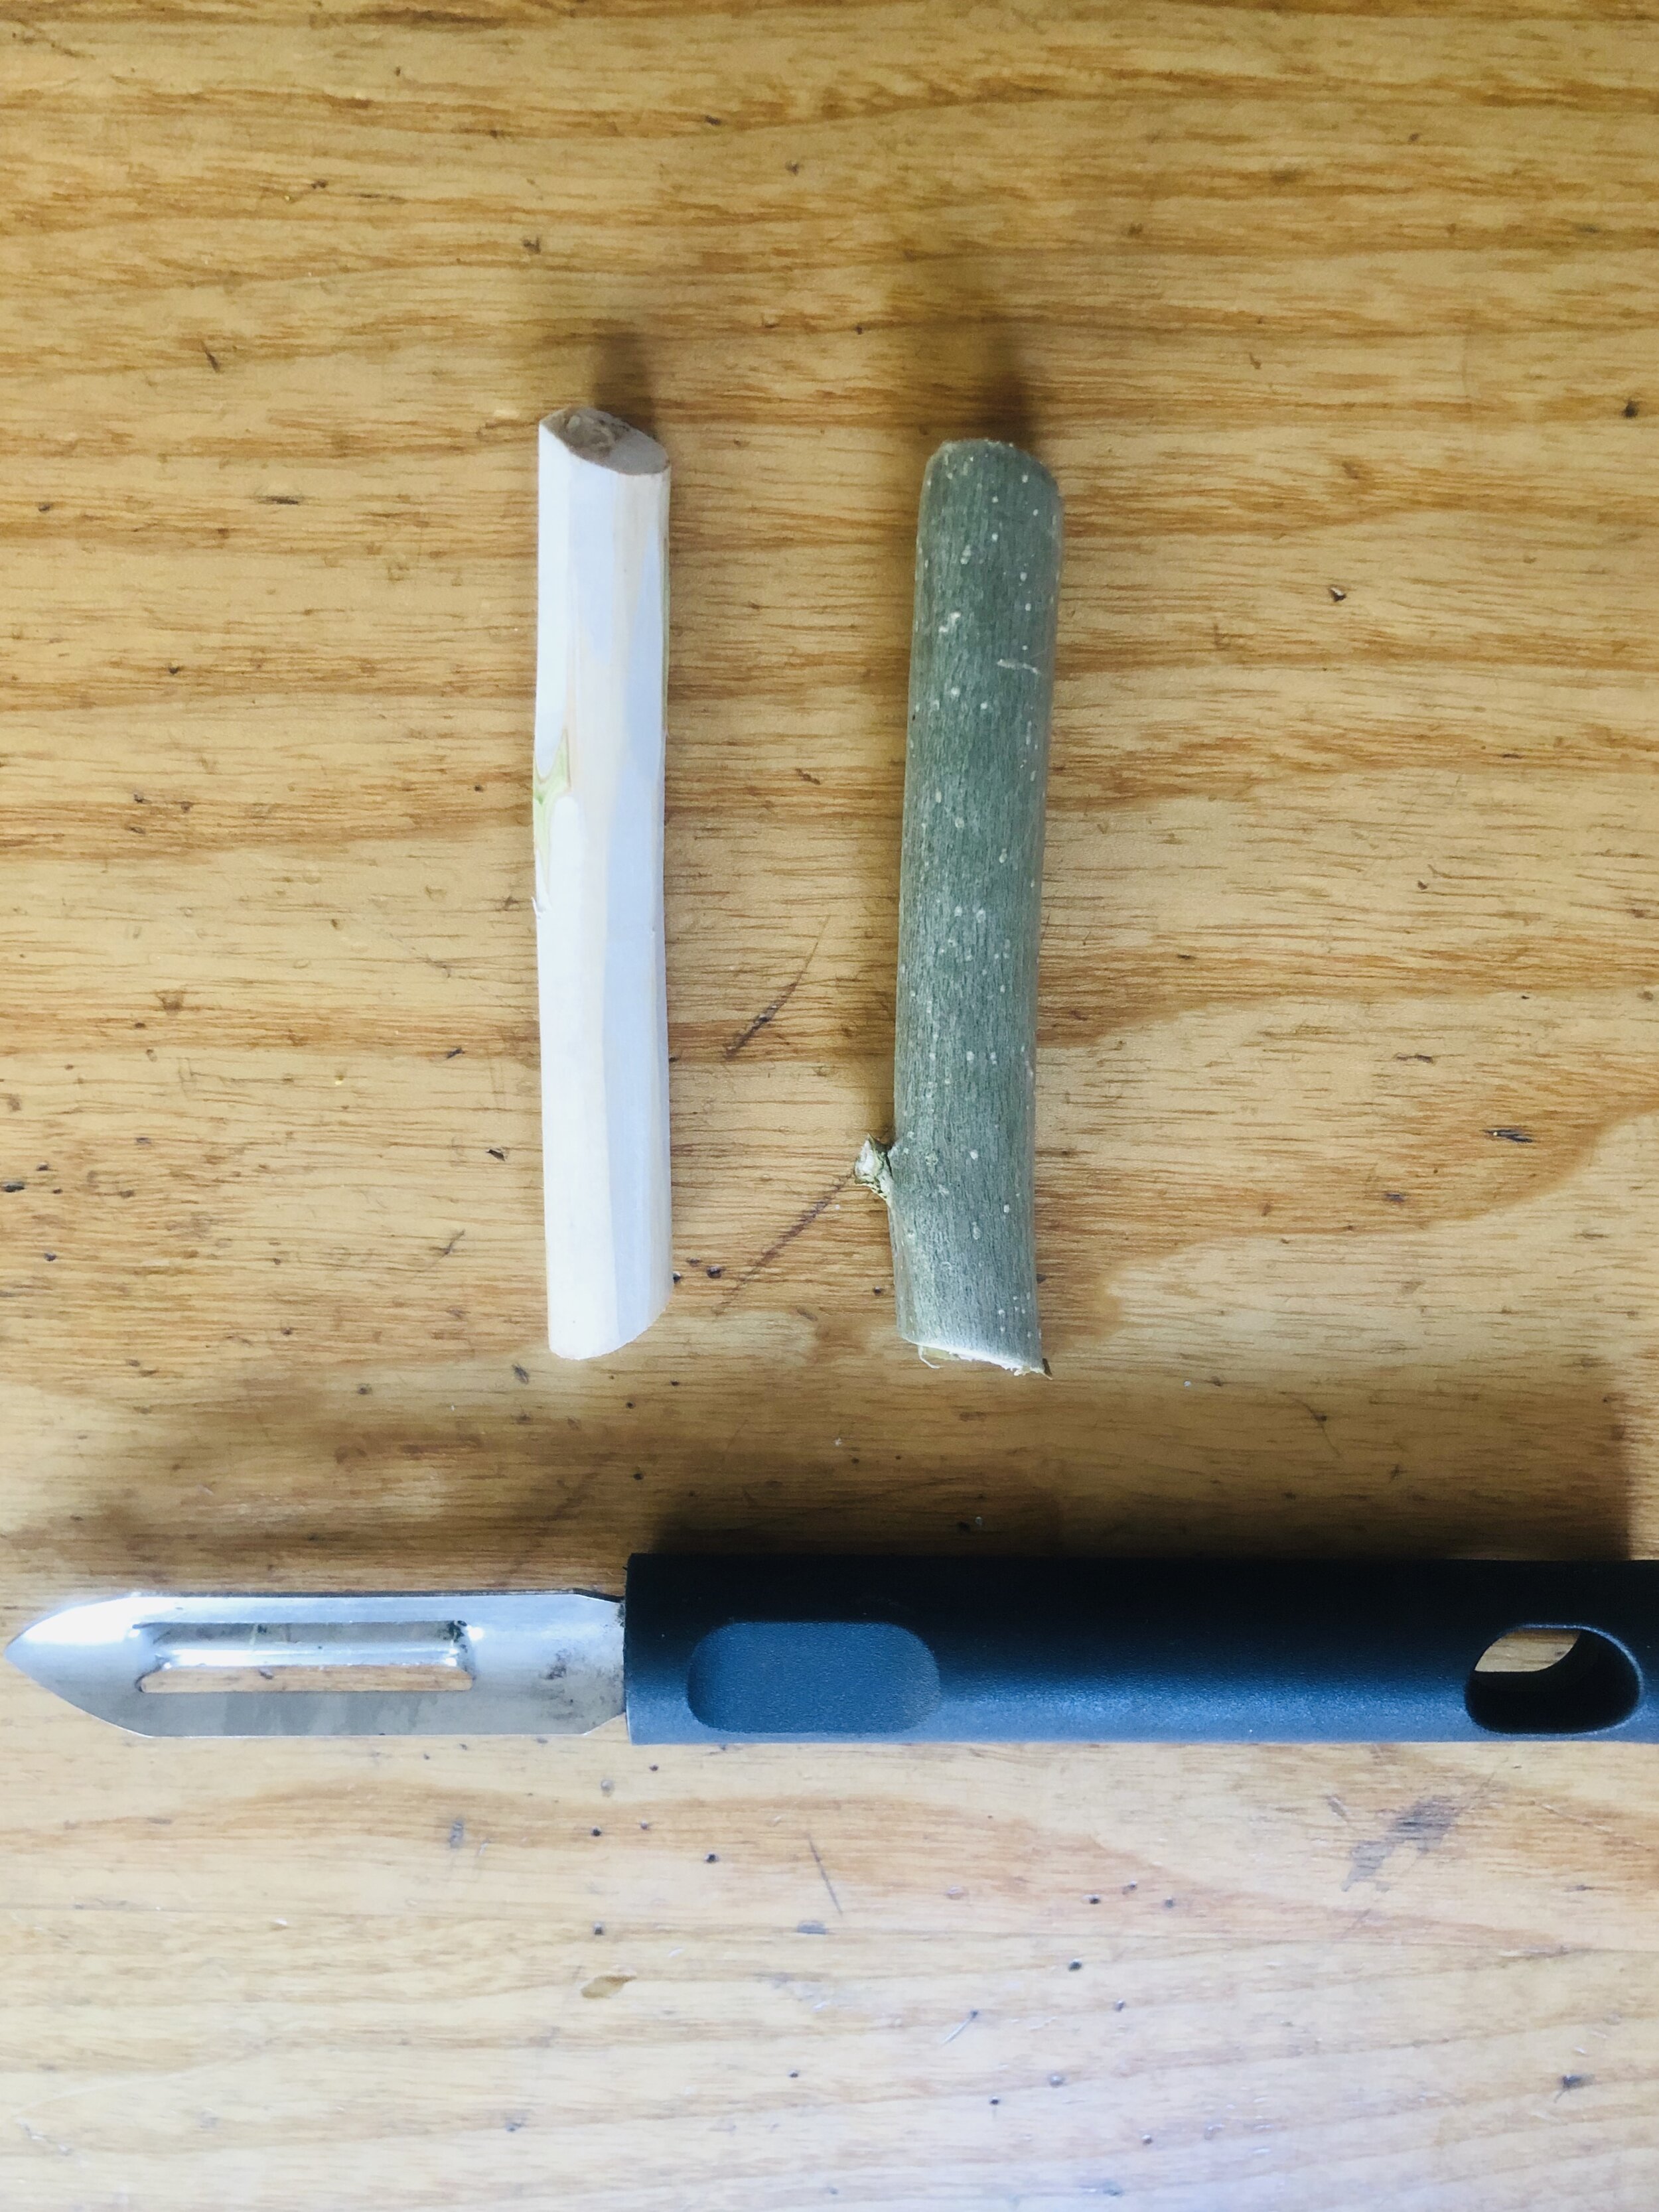
If you want to whittle your Bullroarer into an interesting shape the grain must run the length of the piece of wood. We supervise children closely when whittling and make sure they wear a rigger glove on the hand holding the wood. An alternative is to shape the wood with a potato peeler, although a glove on the ‘helper hand’ is still useful.

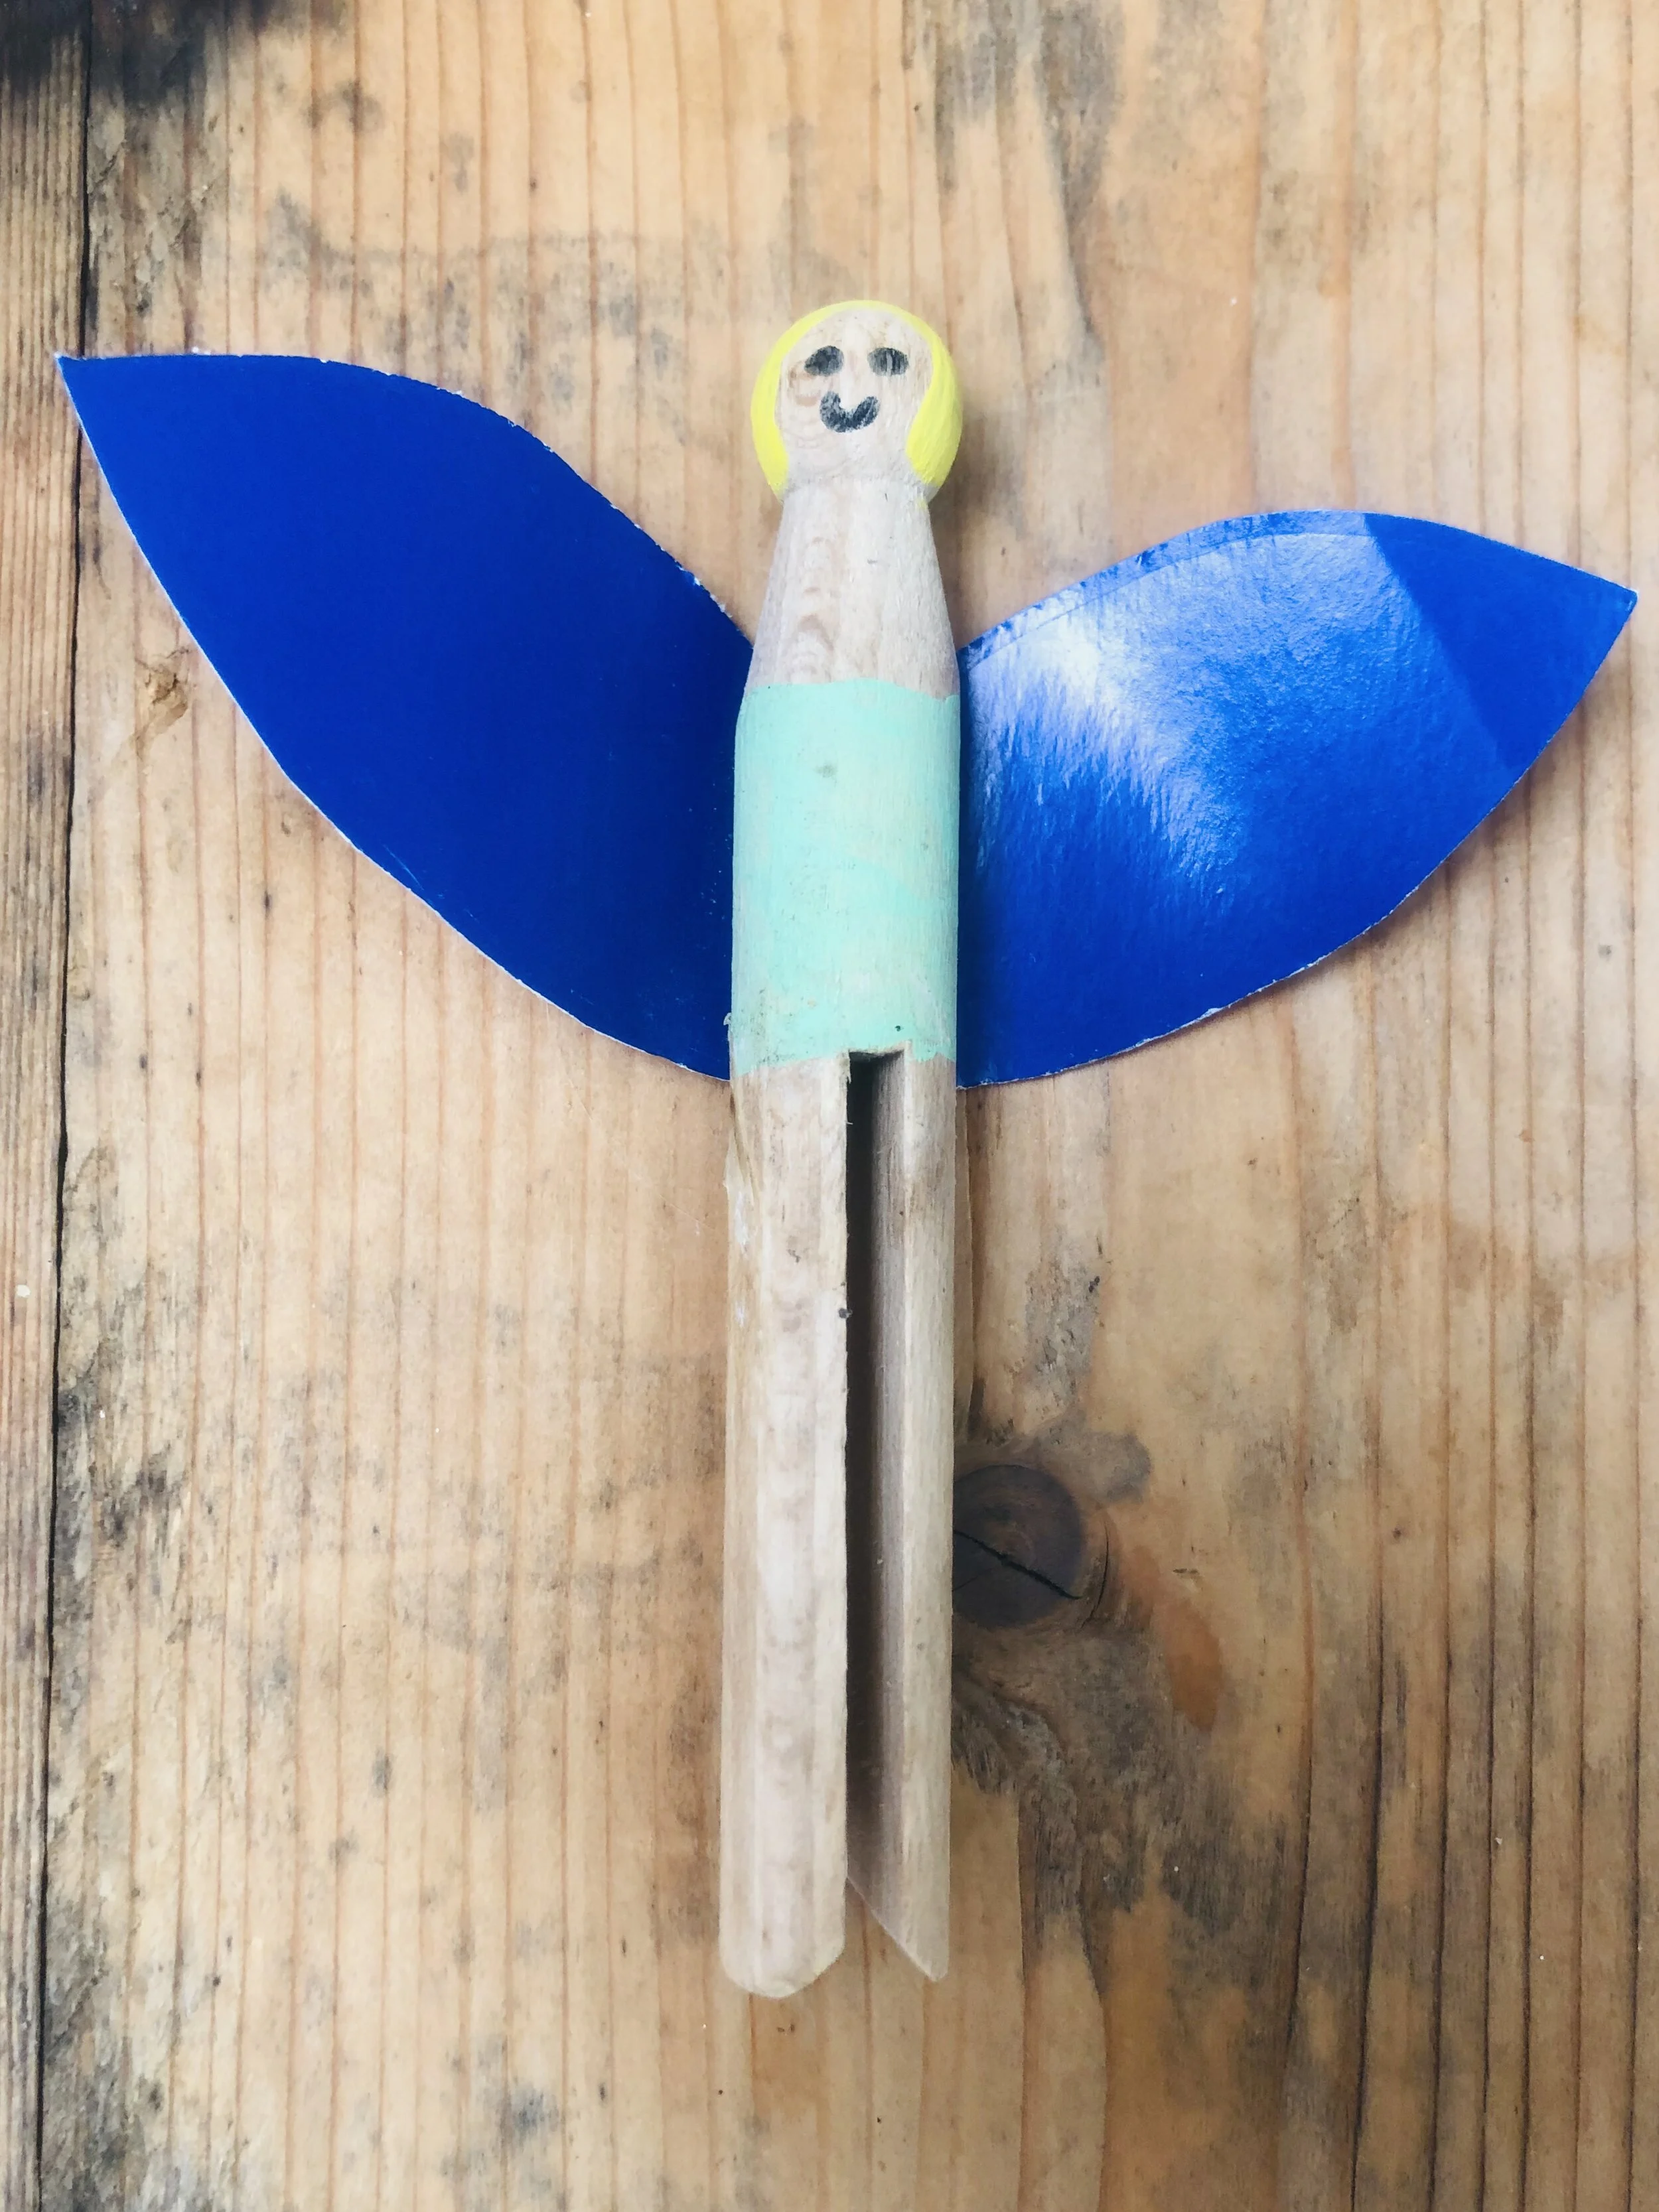
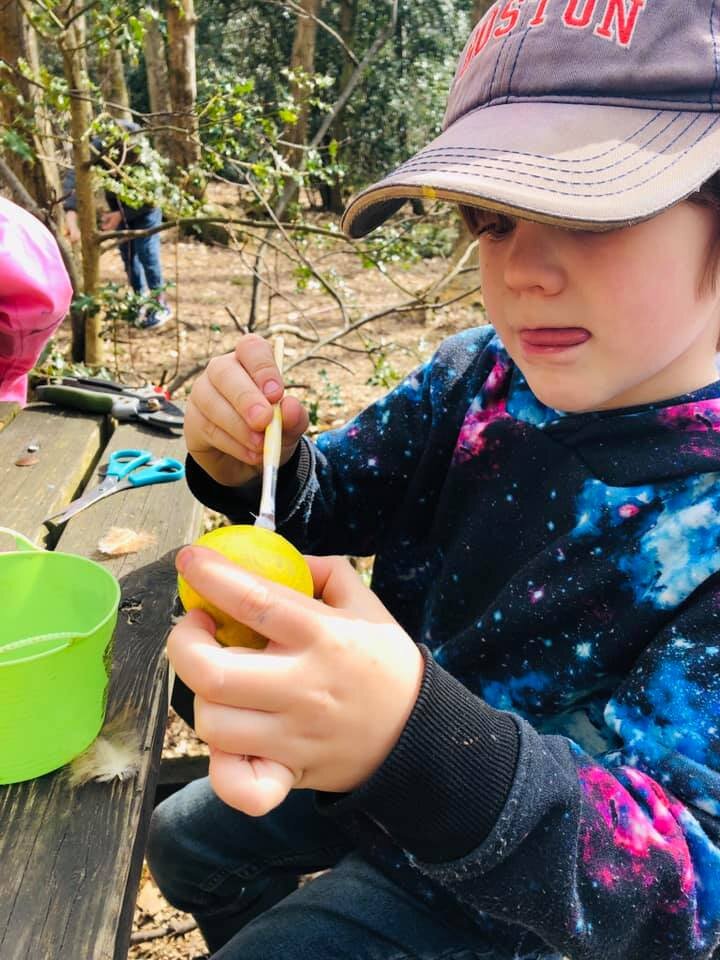
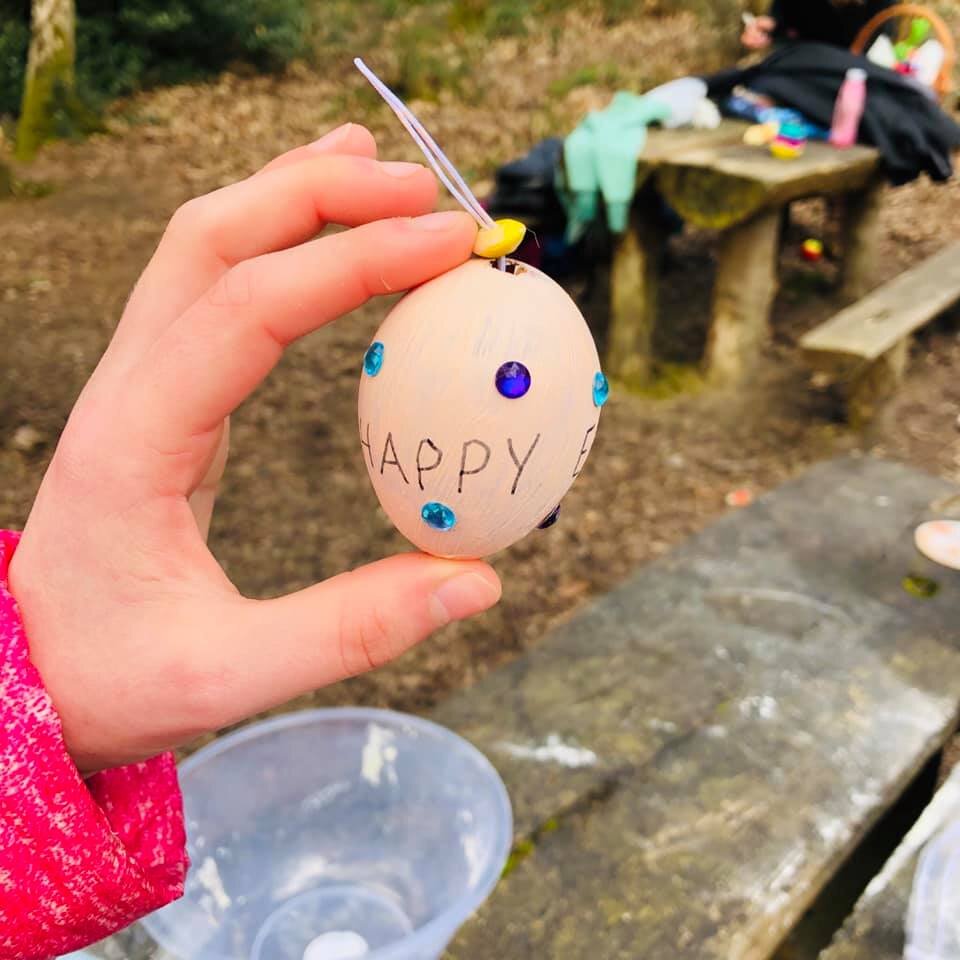
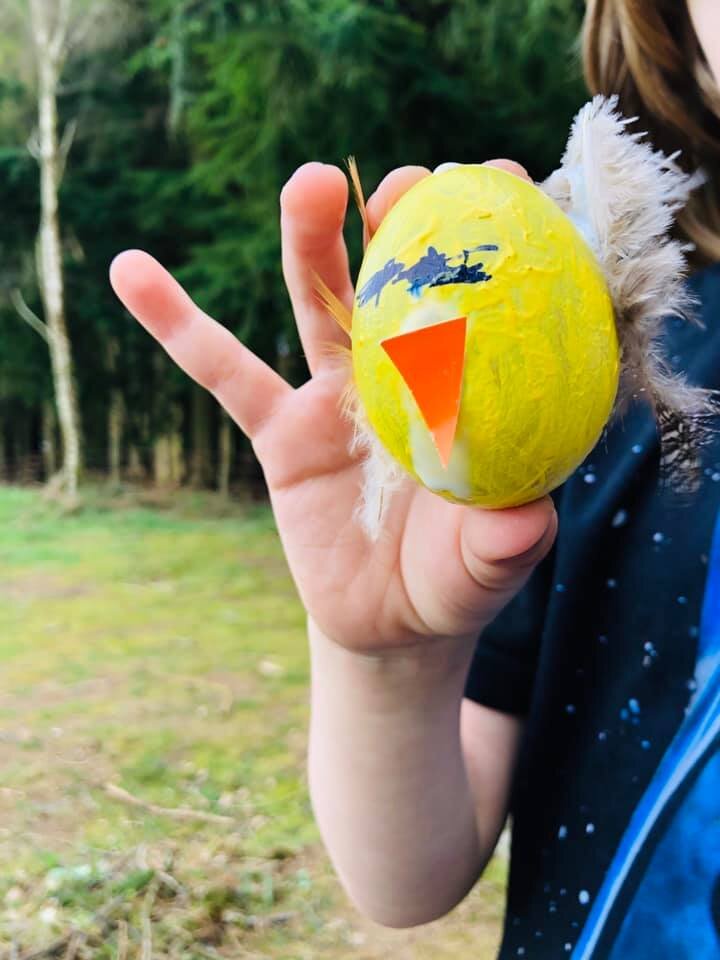
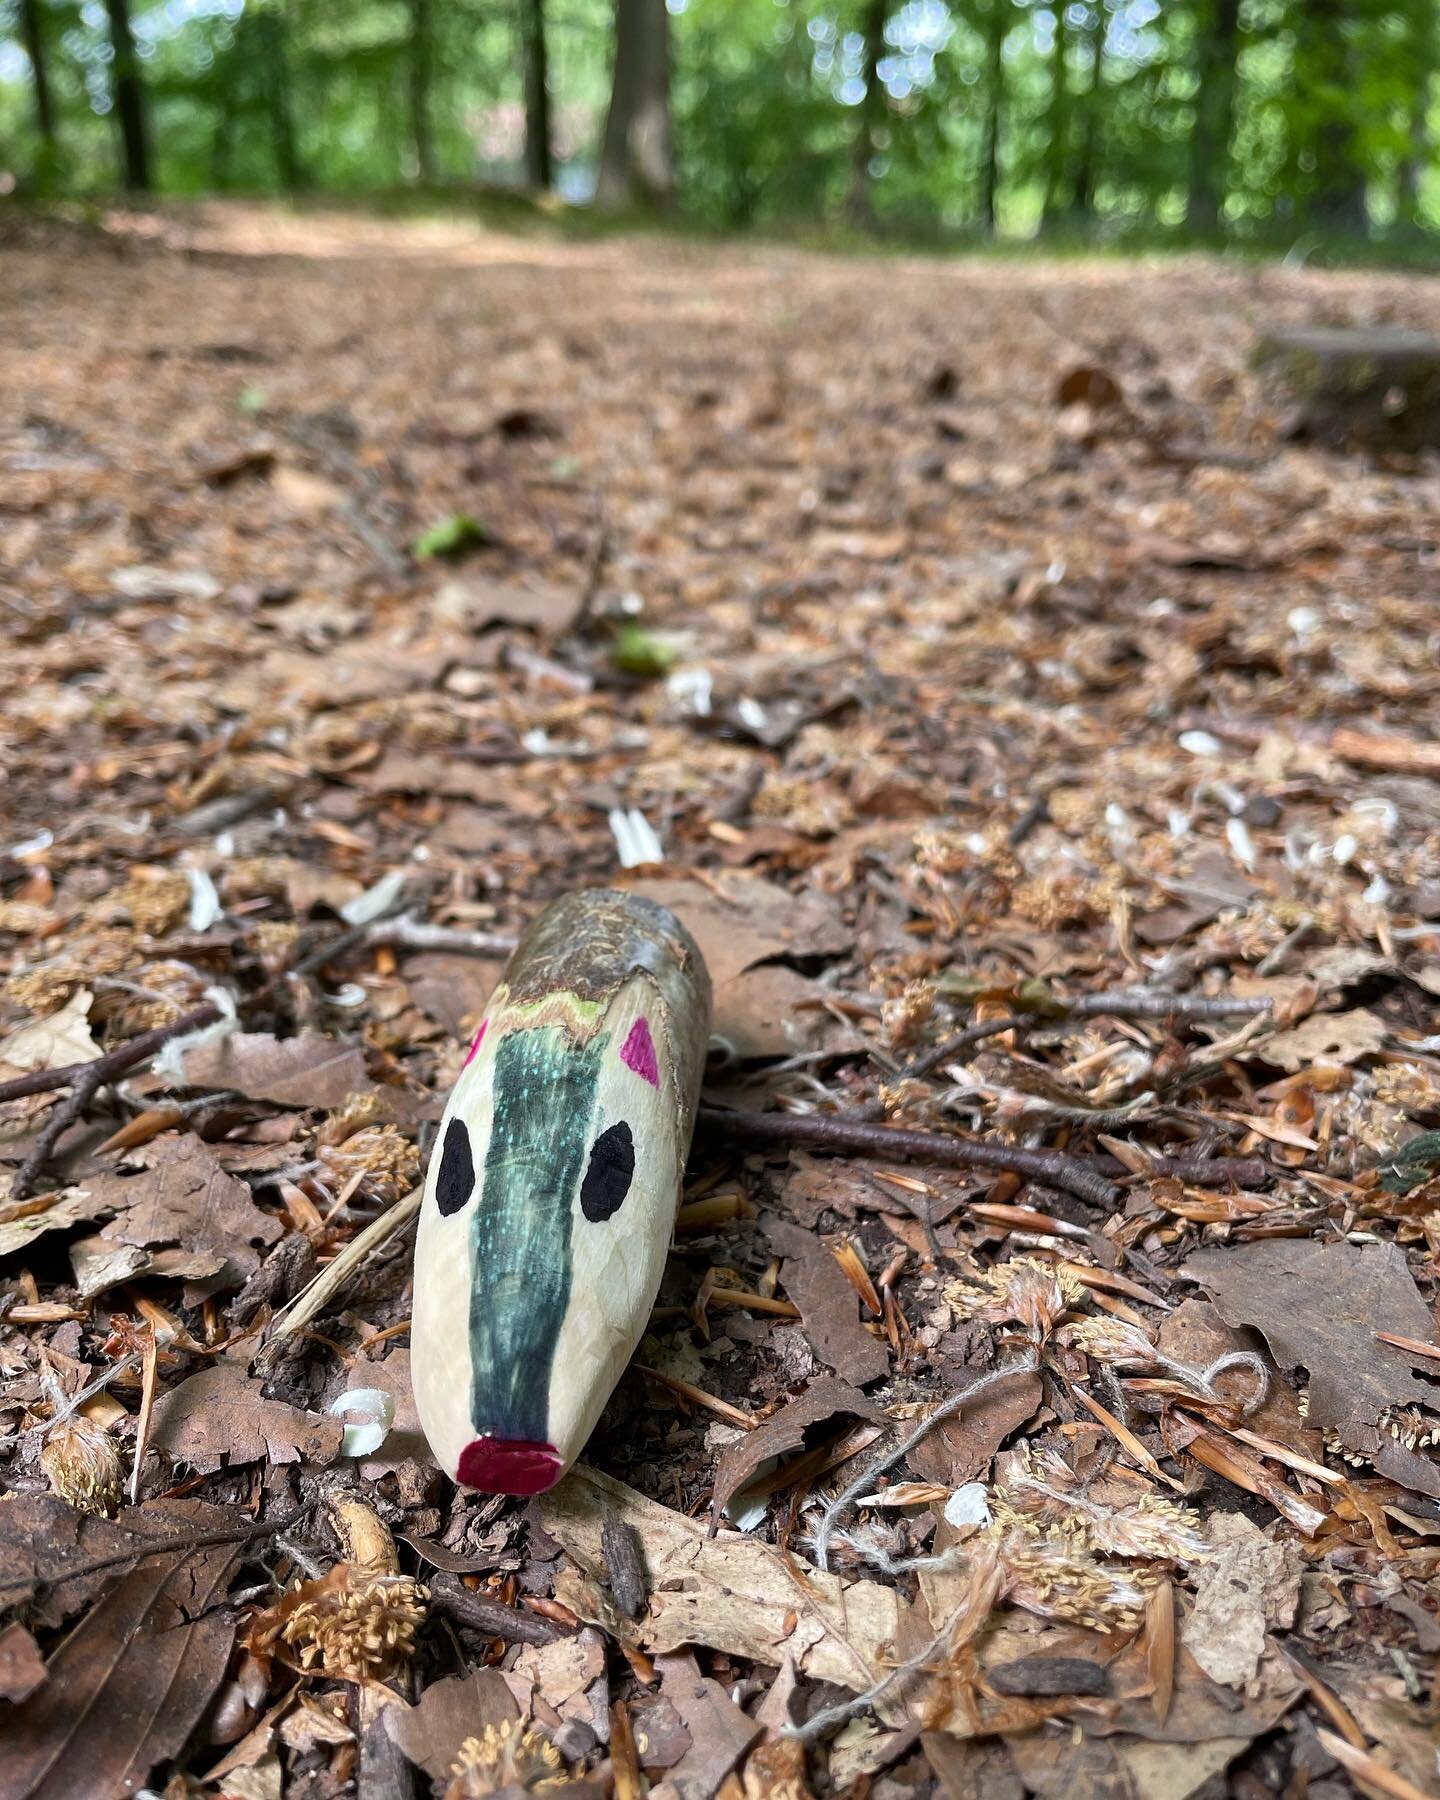
You don’t have to shape your Bullroarer and could spend the time decorating it ornately with paint or felt tip pens instead.

94192409_2537883199757649_319809419548295168_n.jpg

This Bullroarer was shaped using a potato peeler

93859012_2537883253090977_1233601683578159104_n.jpg

The cardboard Bullroarer was made with a piece of card folded over and some Duct tape wrapped around it.

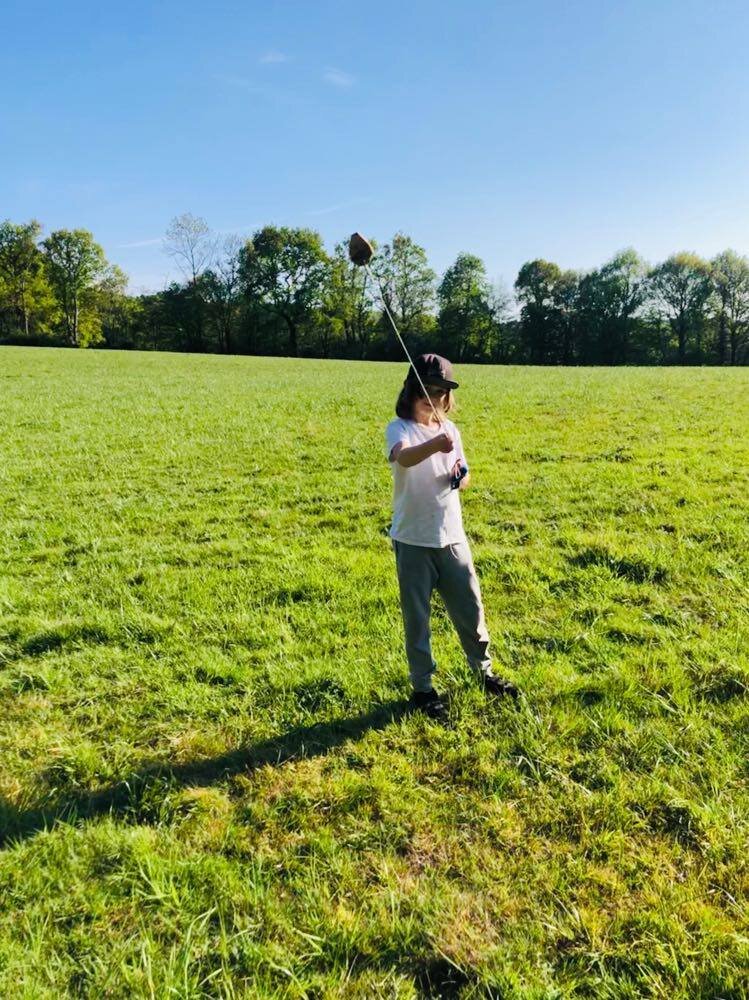
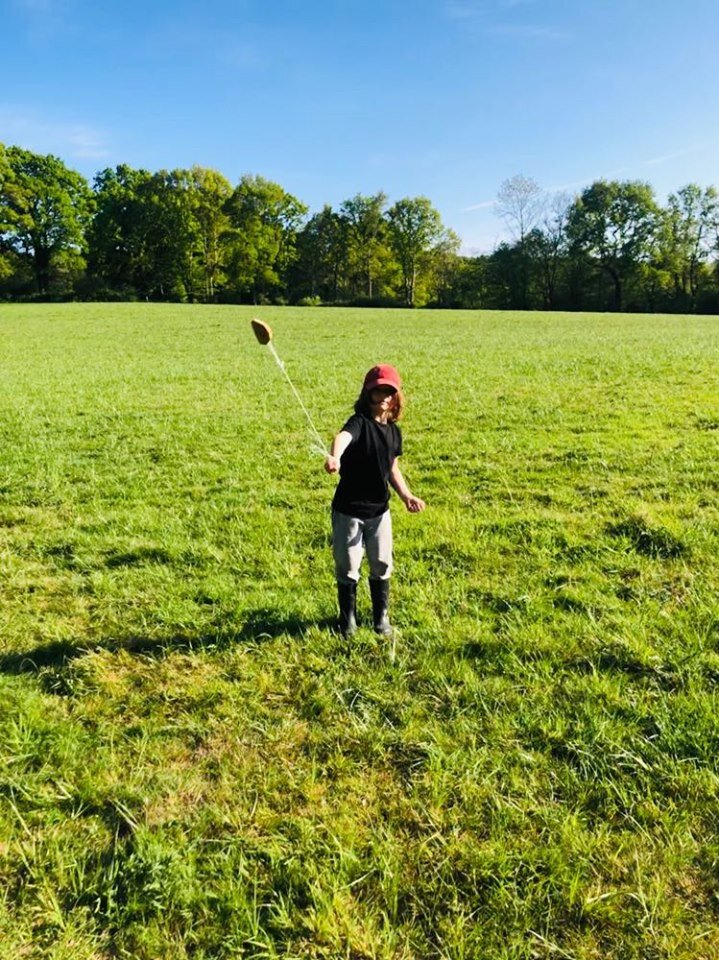
When its time to test your Bullroarer there are two important things to remember. Firstly stand far enough from the rest of the family so you don’t hit anyone! Secondly twist the string before you start swinging. This means the Bullroarer will turn as the string untwists, re-twists and untwists again as you swing it around. It is this that creates the sound. The noise is of such a low frequency that it wan carry for many miles.

Here is Kev demonstrating one of his Bullroarers.

We had lots of fun trying this out and think it will make a great activity for a Dangerous Dads Session once we are back in the woods, Let us know if you give it a go!

Pickled Wild Garlic Buds

By Mel Evans

We are big fans of Wild Garlic here and have previously shared recipes for Wild Garlic Bread and Stinging Nettle and Wild Garlic Fritters.

Blank Facebook Post (3).jpg

Judging by the pictures we have received it looks like we are not alone in our appreciation of Wild Garlic!

As Wild Garlic has proven so popular we thought we would have a go at pickling some Wild Garlic Buds. Now is a great time to collect the buds as the flowers are just starting to bloom. The first job is to take a clean jar and fill it with the buds.

We brought the jar home and made the pickling liquor. We heated 50 ml water, 50 ml of white wine vinegar and 50 g of sugar in a pan until the sugar had dissolved. We let the mixture cool and then poured it over our Wild Garlic Buds.

IMG_10741.jpg

We added black peppercorns to our Wild Garlic Buds, but you could experiment with other herbs or spices.

The Wild Garlic Buds will be ready to taste in a couple of days and should keep for six months in the fridge. They can be used in sauces or sprinkled over salads. We made a yogurt dip using fresh finely chopped Wild Garlic, Jack By The Hedge, cucumber and the pickled Wild Garlic Flowers. Let us know how you use yours.

Tree Guardians

By Mel Evans

The weather has broken, the rain is here and everything is growing! For us rain means welly walks, puddles to splash in, cozy shelters and lots of lovely mud!

Its no secret that we LOVE mud and you will find a mud kitchen at most of our sessions. You might have some top quality mud in your garden. You might stumble upon a mole hill on a walk (moles make the best mud by the way.) If your really lucky (or unlucky if you are a keen gardener) you might even have some clay in your garden.

IMG_1093.jpg

We found a great source of clay a few days ago while digging manure for the garden.

We worked the clay we found with a little water until it was a good consistency You can do this with mud too. If you take a little mole hill mud or mud from the garden and add a little water you can make mud firm enough to model with.

IMG_1097.jpg

We added water until the clay was just right.

We decided to use the clay to make a Tree Guardian, a face on a tree to look after it. The most important thing to remember is to make a key to get the mud or clay to stick to the tree. You basically break a bit off and smear it on the tree and then use this to stick the rest of the mud or clay on.

IMG_1098.jpg

Making the key that will hold the rest of the mud or clay in place.

Once the mud or clay is in place you can go about modelling a face and adding natural materials for features. Working with clay allows you to be really creative, but mud gives good results too. The main thing is to enjoy the process. You can get imaginative, enjoy being outside, connect with a tree and experience the feel of the mud or clay between your fingers.

You can visit your Tree Guardian and see how they fair through the sun and the rain. Obviously as they are made of natural materials they will cause no harm when they eventually drop off the tree. I love the idea of other families finding them on their walks and the stories they might make up to explain them!

Journey Sticks

By Mel Evans

Sometimes we all need a bit of motivation to go on a walk. Especially if, because of circumstances, we are treading the same old path.

We have found that children enjoy a walk much more if they have a focus. You could hunt for Gruffalos, collect ingredients for magic potions or look for wind blown treasures to use in crafts.

This weekend, we decided to use Journey Sticks as a focus for our walk. We planned a route from home to the patch of Wild Garlic at the bottom of the woods.

We started off outside the house each armed with a good stick. I took a bunch of elastic bands to attach things that would mark our journey. Of course string would be an ecological alternative, but I had a stash of elastic bands I had saved from cut flowers. The advantage of using elastic bands is if you wind a few around a stick the children can tuck their treasures into them and won’t need to wait for a grown up to do the knots.

IMG_1028.jpg

We each choose something from around our front gate to mark the start of our journey.

As we walked we continued to collect markers to add to the stick at points that felt significant for us. We only picked things that were appropriate and did not pick wild flowers like Bluebells. When we got to the gate at the start of the bridle path we collected something else. My eldest son, who is 10, said it felt like we were on a quest in a film or computer game!

The Journey Sticks not only kept them motivated, but helped them notice things in the woods and talk about them. We commented my youngest Son had chosen only green things for his Journey Stick. He told us it was because the woods are so green in the Spring.

IMG_1045.jpg

His favourite treasure was a huge Sycamore leaf that didn’t seem to exist a few weeks ago.

We noticed Sheep wool on the fence where the cows now live and added some to our Journey Sticks. We watched the ducklings on the pond and each took a Hazel leaf growing near the water.

We ended our ‘Quest’ at the Wild Garlic patch and I added a Wild Garlic flower to my Journey Stick to mark the end of our walk.

This was a really lovely way of connecting with each other and the woodland. I think children of any age could engage with this activity. it was a great way to stimulate conversation and promote mindfulness.

Elder Flower Sugar

By Mel Evans

I talked a lot about the Elder tree in an earlier post about using Elder branches to make beads. You can find it here.

Right now we are watching and waiting for the beautiful fragrant frothy creamy white Elder Flowers to bloom. They have many uses ranging from Elder Flower Fritters to Cordial and even Champagne, but I like to use the very first flowers to make Elder Flower Sugar.

Here at Nature Nurture Sussex we all have are own nature traditions. These are important and they help us feel grounded. They give us a place in nature and they remind us to be mindful of tiny every day miracles. You might have seen Kev talking about always starting the Spring with a glass of Birch Sap (if not find it here) and everyone knows Sarah ALWAYS looks for pine cones after a storm!

One of my traditions is to pick the very first Elderflower blooms to infuse into sugar. You only need two or three heads to infuse a whole jar of sugar so its a great use for the first flowers. It means we can start to enjoy the lovely aromatic taste while we wait for the main crop.

Sometimes getting the first blooms means going the extra mile and that is part of the fun too.

33460068_2140003372895499_536233057816936448_n.jpg

One year I picked the early blooms by climbing a ladder, placed in Stinging Nettles on a river bank, Maybe not one to try at home!

60068417_2389934421235725_4999774199527505920_n.jpg

Having a confident tree climber in the family is a great asset come Elder Flower season!

Once you have obtained your blossoms you simply give them a shake to allow any bugs to escape and layer in a clean jar with caster sugar. You should shake the jar periodically and remove the flowers after a few days.

The finished sugar can be used in lots of ways including in baking, but we like to use it to add a seasonal twist to some of our favourite camp fire treats! Its great sprinkled on campfire popcorn served from a sycamore leaf cone.

Its also yummy on our much loved campfire toffee apples. You could experiment baking apples at home with Elder Flower Sugar. Let us know what you make!

Fire Tins

By Mel Evans and Kevin Fuller

Fire is a key part of Forest School especially when working with Families. On a very primal level the campfire allows us to access the woods all year round. There is nothing like keeping warm around a roaring fire on a cold Winters day or huddling together under a tarp as the rain drips off the edges. If we are blessed with a dry hot summer then we might not light any fires for a while. But come the Autumn the scent of wood smoke is as much a part of the changing seasons as the smell of Chrysanthemums or mushrooms pushing through the soil. It helps remind us of where we are in the earths cycle.

The campfire allows us to make hot drinks and many friendships are formed or cemented while sipping hot chocolate and watching the flames. We love to cook on the fire using foraged, seasonal and homegrown ingredients. You can show me a hundred team building games, but not one will be as effective as a group of people cooking together and sharing food around an open fire,

Of course fire is to be respected and we have clear ways of doing things to keep everyone safe. The children learn to understand this and learn how to take appropriate risks. Everyone can help make the fire, if they wish, irrespective of their age and this encourages a mutual ownership.

With all this importance placed on the fire it is very important that we succeed in getting it to light! Ray Mears talks about this and advises that, in a survival situation, if you don’t think you have a reasonable chance of starting a fire don’t even try. This is because failure would be more detrimental in loss of moral than living without a fire.

We have off course learned lots of tricks to get a fire started in adverse conditions. Birch bark, Pine Resin and feather sticks are all useful. As is stashing kindling in a dry spot on a sunny day.

Kev has been experimenting with making fire tins as an emergency means of starting the fire. Some of our Dangerous Dads have already had a go at making these using Kev’s tutorial.

Now is a great time to start making some at home ahead of the Winter when (fingers crossed) we will all be spending lots of time in the woods.

MAKING THE FIRE TIN

DEMONSTRATING THE FIRE TIN

Kev Says - I secure tins and kit using "Ranger Bands" they are basically strong rubber bands originally thought up by the US Rangers to secure kit. I make mine from an old push bike inner tube. They have 2 uses on my fire tins. Firstly to secure the lid and secondly being rubber they burn easily even when they are wet and can be used to start fires

94569262_2537766866435949_6621704376215928832_o.jpg

Wild Flower Bingo! (April)

By Mel Evans

Do you remember our Mothers Day Wild Flower Bingo in March? Well we had so much fun spotting Wild Flowers on daily walks we thought we would make one for April. How many can you spot? I have added some ‘clues’ to help with you identification.

“Take only Photos and Leave only Footprints.”

IMG_0922.jpg

Greater Stitchwort (The five pairs of conjoined petals are a give away sign of this flower)

IMG_0923.jpg

Red Campion (Deep pink flowers grow on a hairy stem.)

IMG_0925.jpg

Bluebells (The star of the season!)

IMG_0924 (1).jpg

Yellow Archangel (Two lipped yellow flowers and toothed leaves)

IMG_0954 (1).jpg

Herb Robert (Nick names Stinky Bob after the pungent aroma when you crush the leaves)

IMG_0956.jpg

Bugle (Flowers spike up 10-30 cm tall)

IMG_0972.jpg

Ground Ivy (Kidney shaped leaves have a strong pleasant smell)

Bannock Bread

By Mel Evans and Kevin Fuller

Yesterday evening a message appeared in our inbox that really made us smile.

Back in the winter my daughter and I came to the festive forest school which we both really enjoyed. Ever since then she has asked to make the lovely bread that the ‘man’ made over the fire during the session. Would you happen to have the recipe please? Every time we smell a bonfire she always mentions the bread and says how nice it was.

Of course the ‘Man’ was Kev and the ‘Bread’ was his famous campfire Bannock Bread.

78213173_2162337414070976_7561562616376590336_n.jpg

There is a Bannock recipe for every season!

We love Bannock Bread because it is as delicious as it is versatile and it requires very few ingredients. It often surprises people that the basic bread dough is just self raising flour and water. However it can be flavoured with pretty much anything (as Kev has proven over the years!)

This really suits us at Forest School as we love to experiment. This recipe allows us to do just that with ingredients that are seasonal, foraged or just in the back of the cupboard!

The recipe requested used Ginger Nut biscuits and Kev made it at a family Forest School session in January. We have given this recipe below. This is followed by some pictures of our favourite seasonal Bannock breads to inspire you. Don’t be afraid to experiment with the ingredients you have available to you or food combinations you love. Finally there is a video from Kev demonstrating how to make and cook Bannock.

Ginger Nut Bannock

1 cup of self raising flour is combined with a packet of crushed ginger nut biscuits. 1 cup of water is added slowly to form a dough. You may not need all the water. The dough is then fried in a hot, lightly oiled pan. Turn regularly until cooked. Once done the top of the bread can be sprinkled with brown sugar. Kev likes to caramalise the sugar with a blow torch, but you could do this under a grill.

81607633_2193889097582474_649907626527686656_n.jpg

We put the Ginger Nut Biscuits in a bag and smashed them with a log!

78332204_2162337124071005_4942348944886726656_n.jpg

Kev caramalises the top with a blow torch

81680156_2193888994249151_534019053715456_n.jpg

The finished Bannock Bread never lasts long!

We like to change our ingredients by the season and use foraged or home grown ingredients where possible. Right now a Cheese Bannock with Wild Garlic pesto on the side would be delicious or you could serve a plain Bannock with Dandelion Jam. Here are a few other combinations to inspire you.

79383257_2162337187404332_1064794561013874688_n.jpg

Mince Pie Bannock made with a jar of mincemeat and served with cream

79083208_2162337337404317_1704859166176182272_n.jpg

Christmas Cake Bannock using dried fruit and mixed spices

70328121_2104446433193408_8758636281707102208_n.jpg

Orange and Elderberry Bannock

66593622_2061316457506406_7363575988514455552_n.jpg

Lemon Bannock with Lavender Syrup

69366527_2091232791181439_1328273036343771136_n.jpg

Plain Bannock served with homemade strawberry jam.

84508306_2476598815886088_856916189677355008_n.jpg

Cheese Bannock wrapped around frankfurters.

In the videos below Kev demonstrates how to make a cheesy-herby bannock bread using store cupboard ingredients.

Nettle Pakoras

By Mel Evans

If you have been following our posts you may have realised that we are big fans of Stinging Nettles! They are abundant, versatile and very, very easily recognisable. This makes them a great thing to forage for with children.

Of course the cloud to this silver lining is the sting! The Nettles have to be picked with a firm grasp or tough gloves to avoid the pain. Tradition has it that stings can be treated with a dock leaf and although this seems to work it is nothing more than a placebo. Hunting for Dock Leaves distracts the child (or adult) long enough to forget about the sting. Plantain leaves are more likely to actually relieve the pain.

Plantain(Ribwort)_2005_04_25_LancasterCanal.jpg

You can treat Nettle stings with a Plantain poultice.

Once you have collected your Nettles they can be blanched in boiling water to remove the sting and then you are ready to get cooking! The recipe below calls for Chickpea flour, also known as Gram flour, which means it is gluten free.

Untitled.jpg

We love cooking these on a campfire in the woods, but of course they work just as well in a conventional kitchen.

They are extra delicious served with Dandelion Jam. If you haven’t has a go at making this yet, you can find all the details here.

59203755_2019048175066568_6183248817282875392_n.jpg

Wormery

Super Worm is super-long, Super Worm is super-strong, Watch his wiggle! See him Squirm! Hip, hip hooray for SUPERWORM!

One of our favourite Julia Donaldson books features an Earth Worm, but did you know all worms are superheros? They are 1000 times stronger than a human (relatively speaking), they can reproduce all on their own without a mate and even if you accidentally cut them in half they can go on living! You don’t, however, get two worms as the myth suggests. The part with the saddle (the fatter pink part) is the only half to survive.

The Earth Worm’s biggest superpower is their ability to make compost. They eat their body weight in dead organic matter everyday and then poop out beautiful soil! You might see these worm poos or casts in your garden.

You can observe a worm’s super composting powers if you make a Wormery.

All you need is a clean jar. You then layer up organic matter inside. In the woods we collect soil from Mole hills and layer with sawdust. We add in leaves, veggie peelings or over ripe fruit. You could use soil and sand, or even different colours of soil. The important thing is to create clear layers so you can observe the worms work. Keep these layers moist. Worms breath through their skin and need to be kept damp.

33683119_1813383282299726_4937263978486169600_n.jpg

Its a little bit like making a worm lasagna!

Once you have made your ‘worm lasagna’ you need to make some worm ‘curtains’. We need to trick the worms into thinking they are deep underground. To do this you make a tube of black paper to slide over the jar. Don’t actually attach the tube to the jar as you will need to move it up and down to peak inside. You will also need a lid to stop the worms escaping! You can drill a few holes in the lid with a power drill. Alternatively cover the top of the jar with a piece of foil and pierce some holes in it.

IMG_0875.jpg

You can drill a few holes in the lid.

Next you need to find a few worms to put in your Wormary. Did you know ‘Grunting’ or ‘Worm Charming’ is a sport in its own right? Contestants have to find as many worms as they can in an allotted area, in an allotted time. They can use many means to charm the worms out of the ground, but they are not allowed to dig.

Techniques include sending vibrations into the ground to try and raise the worms. You can do this by inserting a garden fork into the ground and twanging it or by dancing or drumming on the ground. Another trick is to water the grass with a watering can to get the worms to rise up. You can add things to the water as well, such as mustard powder or soap. Although these things won’t hurt the worms, they will irritate them enough to get them to surface.

IMG_0877.jpg

Vibrations and secret potions can get the worms to surface.

Once you have found a few worms have a really good look at them. They have tiny hairs on their bodies that help them move about. You can see these through a magnifying glass. If you put the worm on a piece of paper you can hear the hairs scratching as they wriggle along. Then you can pop them into the Wormary so they can get to work! Keep checking the jar to see what they are up to and don’t forgot to release them after a week or so. Happy Grunting!

Dandelion Jam

By Mel Evans

We love making Dandelion Jam in the woods in the Spring! Its delicious on Dandelion Fritters or spread on crumpets toasted on the fire.

58019447_2014229252215127_8790235636004028416_n.jpg

Its very easy to make and the main ingredient is (you guessed it!) Dandelions! If you want to make Dandelion Jam your first job is to collect some Dandelions and snip off the petals with scissors. You need around two cups of petals

30727715_2123442611218242_427201115965487669_n.jpg

The green stalk is bitter and should be discarded.

Dandelions are an important source of food for Bees so it is important not to pick them all. Foraging etiquette suggests picking one in twenty. Sometimes we combine this activity with making pine cone bumble bees in order to reinforce this point. You can see how we make a bumble bee from a pine cone here.

Once the petals are prepared they should be covered with two cups of boiling water. This mixture needs to be left until cold and then the petals can be strained out. You then put this in a sauce pan and add four cups of sugar, the juice of a lemon and a sachet of pectin. This should be heated gently until the sugar has dissolved and then brought to a rolling boil. The mixture should be boiled for 15-20 minutes and then put into sterilised jars. You might need to tweak the method depending on the type of pectin you have, but there should be instructions on the box. Pectin can be bought easily in supermarkets and is usually found near the sugar.

IMG_0863.jpg

The method uses this brand of pectin. I bought this in Waitrose.

The finished jam can be enjoyed in many ways, but if you would like to try it with Dandelion fritters you simply make a tempura batter, dip whole flowers in and fry in a little oil.

58698552_10161493652340237_7305329037910474752_n.jpg

Tempura Batter can be made with 50 g corn flour, 75 g plain flour, 5 g baking powder and sparkling water.

Cherry Blossom

By Mel Evans

Pink Cherry Blossom against a blue sky really is one of the most beautiful sights. I noticed today, while driving to the supermarket, how many gardens boast them. The different shades of pink look so striking right now. Our ancestors must have been just as taken with the blossom as April’s ‘Pink’ full moon was named after the it.

The fruit on these ornamental and wild Cherry Trees is always a bit of a let down and often best left for the birds. You can, however, make a delicious syrup from the blooms. You simply fill a bowl with flowers and pour on hot water to cover them. After 24 hours you strain out the flowers and make a 50/50 syrup. You do this by measuring the liquid and adding the equivalent of sugar. For example we had 400 ml of liquid so we added 400 g of sugar. Then the mixture was gently warmed in a sauce pan until the sugar had dissolved, before being poured into a sterilised bottle.

IMG_0859.jpg

The finished product is delicious drizzled over pancakes or ice cream and added to drinks. How about adapting your favourite Lemon Drizzle Cake recipe to use Cherry Blossom Syrup?

If you are not lucky enough to have one of these beautiful trees in the garden, you could try making your own. We found a small broken branch when out for a walk. We brought it home and decorated it with tissue paper blossom. We cut circles from old tissue paper and layered these together before gluing them on with PVA glue. We have hung the bees and butterflies we made for our Easter Tree onto the branches. You can find the Easter Tree post here.

Flower Fairy Peg Dolls

By Mel Evans

Shhhh! Do you believe in Fairies? We do! We often find signs in the woods that fairies might live there, but we have still never found a real life fairy!

We spend a lot of time thinking about what the Woodland Fairies might look like. One of our favorite Fairy spotting books is the Fairy Wonderland Handbook, by Melissa Spencer. This book suggests the Woodland Fairy wears dresses made of beautiful flowers. Rather like Cicely Mary Barkers depiction of Flower Fairies.

il_570xN.823155847_6oii.jpg

Ciceley Mary Barkers Flower Fairies.

IMG_0844.jpg

Woodland Fairy from Fairy Wonderland Handbook, by Melissa Spencer.

You can have a go at making Flower Fairies of your own using an old fashioned clothes peg. Craft suppliers sell these, but if you don’t have any at home there is an alternative. You can find a stick and remove the bark using a potato peeler. This works best with green wood so, if possibly, cut something fresh from the garden. Children often ‘Whittle’ with potato peelers at our Forest School sessions as a precursor to using a knife. You will have to decide if this is suitable for your child and if not prepare the sticks for them. Protect the hand holding the stick with a gardening glove of similar.

We then prepared our peg by painting a top and some hair onto it. We drew on a face with a felt tip and glued on wings cut from card. There are many other ways to prepare your peg depending on the resources available. You could make hair from wool or wings from leaves.

Our naked fairy ready to be dressed.

Next comes the really fun bit. Dressing the Fairy! For this you need a few Spring flowers. Tulip Petals can be tied around the peg with a ribbon to make a skirt. Alternatively if you carefully snip the middle out of a Daffodil you can slide it up the peg to make a two layered skirt. A Primrose makes a great hat and the wings can be decorated with sequins, biodegradable glitter or leaf confetti.

IMG_0841.jpg

Daffodil Fairy in a Primrose hat.

IMG_0843.jpg

Tulip Fairy.

IMG_0842.jpg

Leaf confetti made using a shaped hole punch.

There aren’t really any rules to Fairy fashion. The best thing to do is collect a few flowers and have fun experimenting with different looks!

Sugared Primulas

By Mel Evans

Wild Primroses, cultivated Primroses and Polyanthus are part of the Primula family. Although professional foragers debate which are tastiest, they are all edible.

IMG_0592 (1).jpg

Cultivated Primroses come in all sorts of colours.

IMG_0597.jpg

Polyanthus have a number of flowers on one long stem, unlike Primroses.

This year has been a fantastic year for Wild Primroses as they have benefited from the mild wet Winter we experienced.

IMG_0513 (1).jpg

Wild Primroses are in abundance right now.

We don’t generally advocate picking wild flowers, but you may have the cultivated form in your garden.. You might even have some in the house or in a window box.

We love using flowers in our Forest School sessions and I try to grow flowers to use. Obviously they all have to be taste safe or better still edible! Last year I planted lots of Primulus to use in Forest School sessions. They are looking beautiful right now, so we decided to have a go at sugaring some.

This is a Victorian technique of preserving flowers and sugared Primulas make the perfect decoration for an Easter cake.

The technique is really very simple. You pick your blooms, shaking each one to get any bugs out. Then you get together some eggs, caster sugar, tea spoons and a pastry brush.

IMG_0608.jpg

We sieved our sugar so it was really fine and separated the eggs.

Next we dipped the flowers in the lightly whisked egg whites and painted it onto the back of the petals with a brush. The flowers then got coated in sugar using the tea spoon.

The flowers then need to be laid out in a warm place to dry. We put ours in a sunny room near the window and they dried in a few hours. Initially the flowers were laid out on a piece of baking parchment, however as they dried they felt like they might stick. We transferred half the flowers onto a clean piece of parchment and half onto a cooling rack. We found the ones on the parchment dried flatter, but were more prone to sticking than those on the rack. Both resulted in some nicely preserved flowers however. It is worth keeping an eye on the flowers as they dry and moving them around if they feel like they might stick.

Once your flowers are dry its up to you how you use them. You could bake cupcakes or biscuits, but we went for a Victoria Sponge as it seemed most fitting for our Victorian flowers!

Easter Wreath

By Mel Evans

Wreaths aren’t just for Christmas and can be made for other holidays too. In the past I have made Easter Wreaths as well as Harvest Wreaths. Its lovely walking around and seeing doors dressed with seasonal wreaths as they look so cheerful and inviting. Something that people might value a little bit more right now.

57736483_2376010269294807_7885835082471047168_n.jpg

Last years Easter Wreath looked beautiful with lots of fresh Spring flowers. Sadly it wilted quickly in the heat!

This year we have been thinking of ways to make an Easter Wreath that doesn’t wilt in the Sun. We started to wonder if pine cones might make good ‘flowers’. It turns out that painted pine cones make very effective flowers! Here I am going to explain how we made our pine cone wreath.

The first job was to prepare the pine cones. We went on a walk as a family and collected a basket full They were beautifully dry and open after all the sunshine we have had. Later we painted the cones with acrylic paint.

IMG_0440.jpg

The children enjoyed painting the pine cones.

Once the pine cones were dry I took them and found a quiet spot in the garden to assemble the wreath. I decided to do this all by myself WITHOUT the help of the children!

Shhh! If you have been to any of our family Forest School sessions you might have figured this out already. If not, i will let you in on the secret. Forest School is not just for the children! Grown ups have so much to benefit from creating and playing in nature too. In fact sometimes the activities we offer aren’t even for the children! Activities can help parents unwind and connect with nature and each other. Often giving the children a bit more space to have their own fun. Under the watchful eye of the Forest School leader of course!

Firstly I found all the wreaths I had in the shed. Three Christmas wreaths and a Harvest Wreath! You might not be quite as obsessed with Wreaths as me, but maybe you have last years Christmas Wreath hanging around. (If not there are other ways of making a wreath, and I will explain later.)

IMG_0630.jpg

I stripped the Wreaths back to the moss layer, carefully keeping any wire to use on my Easter Wreath.

IMG_0628.jpg

The chickens quite enjoyed deconstructing the Harvest Wreath!

Then I cut lengths of Crack Willow and wound them around the moss base. If you can’t access a suitable type of willow then anything bendy would do. Ivy or honeysuckle would certainly do the job. Finally the pine cones were secured into the wreath using the lengths of wire I have saved earlier.

92811798_2673449299550901_2046421942243688448_n.jpg

Willow was twisted around the moss base.

An alternative way of creating a wreath without the need of an old Christmas Wreath is to create a ring out of bendy sticks. These can be bent into a circle and twisted around themselves so they hold in place. Although willow or thin hazel are idea you can experiment with whatever you have to hand.

After created the ring I added layers of willow before securing the pine cones with wire.

Don’t forget to show us your wreaths!

Compass Easter Egg Hunt

By Mel Evans

How about planning an Easter Egg hunt with a difference this week? We have found including a compass in a traditional Easter Egg hunt is a lot of fun and makes things more interesting for older children.

For this you will obviously need a compass, but i know lots of little explorers own one. If you have have never used it before you simply line the red end of the needle up with the N (North). If you don’t have a compass you could no doubt find an app on a mobile phone. Instead though, why not try figuring out which way is North, South, East and West using the sun? The sun rises in the East and sets in the West. Once you have figured out which way is which you could draw a compass on a piece of paper and secure it on a table in position.

IMG_0575.jpg

The red arrow lines up with the N to indicate North.

Once everyone has mastered how to use a compass, the designated Easter Bunny of the family can set about leaving a trail. A series of clues can be left around the garden or the house using compass directions.

29594768_2114883055407531_7374300363913633831_n.jpg

There is a warm dry place in the North East. Here clues and mini eggs were left in egg boxes and they led to a big chocolate egg!

29597703_2112857605610076_3611174969468875294_n.jpg

Here felt bunnies and clues were hidden in zip lock bags to protect from the rain.

We hope you have fun Easter Egg hunting!

Wild Easter Afternoon Tea

By Mel Evans and Kevin Fuller

56497146_2005540403084012_99194889631170560_n.jpg

We are really going to miss whipping up afternoon tea in the woods this year. Hot cross buns toasted on the campfire and served with a foraged tea is the best. Its even better when enjoyed in the woods as the first leaves appear on the trees and the Bluebells start to emerge.

You can recreate this at home however. Maybe you are lucky enough to have a garden space where you can have campfires. If so toasting hot cross buns on a grate or simply on a stick is so much fun and delicious. Be careful though as they do toast VERY quickly. We learnt that the hard way!

If you are not able to have a campfire you could toast them inside and serve them with Wild teas and still feel connected to the outside.

Below are three of our favourite Wild teas using easily recognisable ingredients that can be found in the garden or on a walk. They should all be steeped in hot water for as long as possible to get the strongest flavour, and then strained out. The teas taste quite subtle and if you are used to drinking heavily flavoured drinks you might have to tune in your taste buds. When we do this in the woods the children usually come up with all sorts of adjectives to describe the tastes! Let us know what words you come up with!

30727715_2123442611218242_427201115965487669_n.jpg

Dandelion Tea - Snip the petals away from the green stalk before steeping in water.

31059570_10160133909580237_6029620001768472576_n.jpg

Nettle Tea - Carefully pick the Stinging Nettles using gloves (or your mettle) and add to hot water.

57034722_10161456520570237_2159096878791131136_n.jpg

Birch Tea - Pick a handful of the young leaves from a Silver Birch and put them into hot water.

When we make these teas in the wood we often boil the water in a Kelly Kettle. This is an invaluable piece of kit allowing us to make hot drinks in any weather. If you are interested in how the Kelly Kettle works then Kev has put together this video demonstration.

Easter Tree

By Mel Evans

IMG_0568.jpg

Why not bring a bit of nature inside this Easter and make a cheerful Easter Tree? All you need is a few twigs or branches arranged in a vase or a plant pot filled with a little soil, and you can get to work making decorations to hang on it.

IMG_0562.jpg

We found a few different types of Willow when we were walking and collecting some branches.

If you followed our previous post on egg blowing you should have a few egg shells ready to decorate. If not you can find it here.

We have found painting blown eggs with acrylic paint works really well. Once the paint has dried they can be draw on with felt tip pens or embellished with any crafty bits you might have at home, such as sequins and gems. You can attach a string to hang the egg by tying a length of thread to a short piece of matchstick and poking it through the larger hole in the egg. Once inside it should flatten out and wedge across the hole.

You could also make some colourful bees and butterflies to hang on your tree alongside your eggs.

To make a bee you need to find a few pines cones. You might be able to find some on a walk, but if you are anything like us you probably have a stash at home! Appropriate coloured wool can be wound around the pine cone to make the bee’s stripes.

IMG_0546.jpg

Little fingers can weave the wool around the pine cone

A hanging string is then tied around the pine cone and the wings are tied into it to secure them.

IMG_0547.jpg

Wings can be cut from old packing materials or a washed out plastic milk bottle.

IMG_0561.jpg

The finished bees can be hung on the tree using the string

To make butterflies we use pipe cleaners and wool roving. The pipe cleaners are folded in half and twisted together trapping a loop of the fluffy wool in between. A string can then be attached to the pipe cleaner ‘body’.

IMG_0556.jpg

The spots on the purple butterfly have been secured using a felting needle. The stripy butterfly was not felted at all.

If you don’t have any wool roving at home, how about experimenting with other materials? You could use tissue paper or card folded in a concertina. We have found coffee filters to be effective as if you draw on them with a felt tip pen the colours bleed together. We would love to see what you make!

Egg dyes

By Mel Evans

Over the years we have experimented with lots of different ways of dying eggs. The basic principle is that you add your dye materials to a pan of water and bring to the boil. This can be left simmering until the water starts to change colour. At this point raw eggs can be added to the dye bath you have created. Once the eggs are hard boiled they can be removed from the water and (fingers crossed) they should have changed colour. These colourful eggs can make a really impressive Easter breakfast.

The list of natural dyes is endless ranging from red cabbage to coffee. We have tried them all to differing results. One of the drawbacks of dying eggs in the UK is that the eggs we buy here are general brown. A lot of the egg dying guides you see online originate in America where commercial hen eggs are typically white. This means we can’t hope to get the same results, unless you can get your hands on white eggs.

56721627_2002587430045976_8885408168503410688_n.jpg

These dyes produce great results on white eggs.

29790686_2116300101932493_8051502890343347695_n.jpg

Some of our experiments using brown eggs.

The most consistent dyes we have found are red cabbage and brown onion skins. You can get some beautiful results, by using leaves and flowers to make patterns on the eggs. You simply place the flower or leaf on the eggs, then put it inside a length of old tights to hold it in place. Once this has been tied up the egg in can be put in the dye bath.

An alternative is the Latvian method of dyeing eggs. The onion skins are moistened to make pliable and wrapped around the eggs and put into a length of tights. Leaves and flowers can be layered between the eggs and the onion skins too. The whole thing is boiled until the egg is cooked. This results in a marbled pattern.

57581537_2010256009279118_245594437667782656_n.jpg

In Latvia the first eggs of Spring are dyed in this traditional manner.

During one session last year our campfire was too hot and the pan boiled too rapidly. The eggs bounced around inside the pan and cracked. When the eggs came out the pan the children were delighted that we had '“Made Dragons Eggs!”

57425230_2010257335945652_7365363145881157632_n.jpg

You can recreate our Dragons Egg ‘mistake’, by taking your hard boiled eggs out the pan, cracking the shells and then putting them back in for a while longer.

We hope you have as much fun eggsperimenting as we usually do in the woods!

Birds Nest Challenge

By Mel Evans

At this time of year the birds are so busy building nests to raise their young in. We love to challenge the children (and their parents) to have a go at making a cosy nest out of materials around us in the woods. They are always surprised at just how tricky it is! Now try making a nest with no hands and just a little beak. It really makes you appreciate how clever nature is!

29598303_1794046737566714_3210743533231677266_n.jpg

Before we start we share some examples of real nests and let everyone have a good look. You can look at some nests from different types of birds here.

If you would like to have a go at making a nest yourself you will need to gather some natural materials from the garden or while on a walk. I can’t tell you how to make the nest as the joy of this activity, is in finding out for yourself. You will need to become a nature engineer and experiment with the materials you have collected. I CAN give you some top tips however.

IMG_0498.jpg

Bendy sticks such as willow, thin hazel or even lengths of honeysuckle or ivy are great to get you started.

IMG_0499 (1).jpg

You can use moss to line the bottom of the nest and fill in any gaps.

IMG_0419.jpg

How about adding some sheeps fluff to make it nice and cosy? You sometimes find this caught on fences.

Once you have finished your nest you could use it as a table centre piece. In the past we have painted blown eggs yellow and turned them into chicks to add to the nest. You can find out how to blow eggs here.

Maybe you could find a good place for your nest in the garden. While it is unlikely that any real birds will move into your nest you might spot them stealing some of the materials for their own nests! With that in mind you should only use materials that are safe for the birds. Yarn or anything that might entangle the birds should be avoided and you should only use pet hair if the animal has not been treated with grooming/worming/flea products.

If your very lucky a Rainbow Bird might visit your nest over Easter and lay some colourful chocolate eggs!