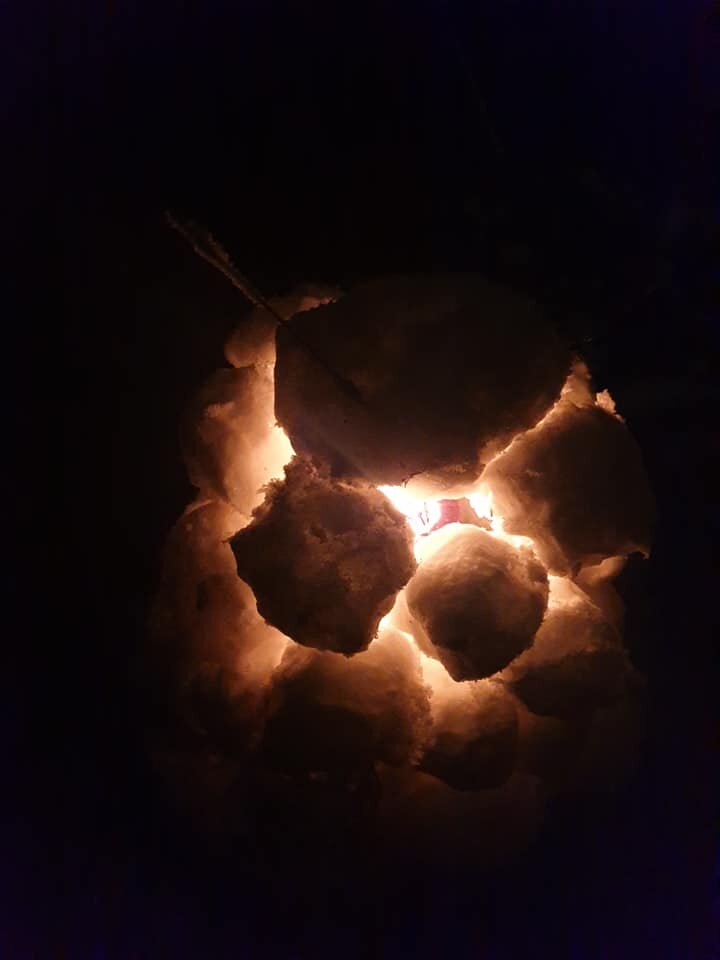
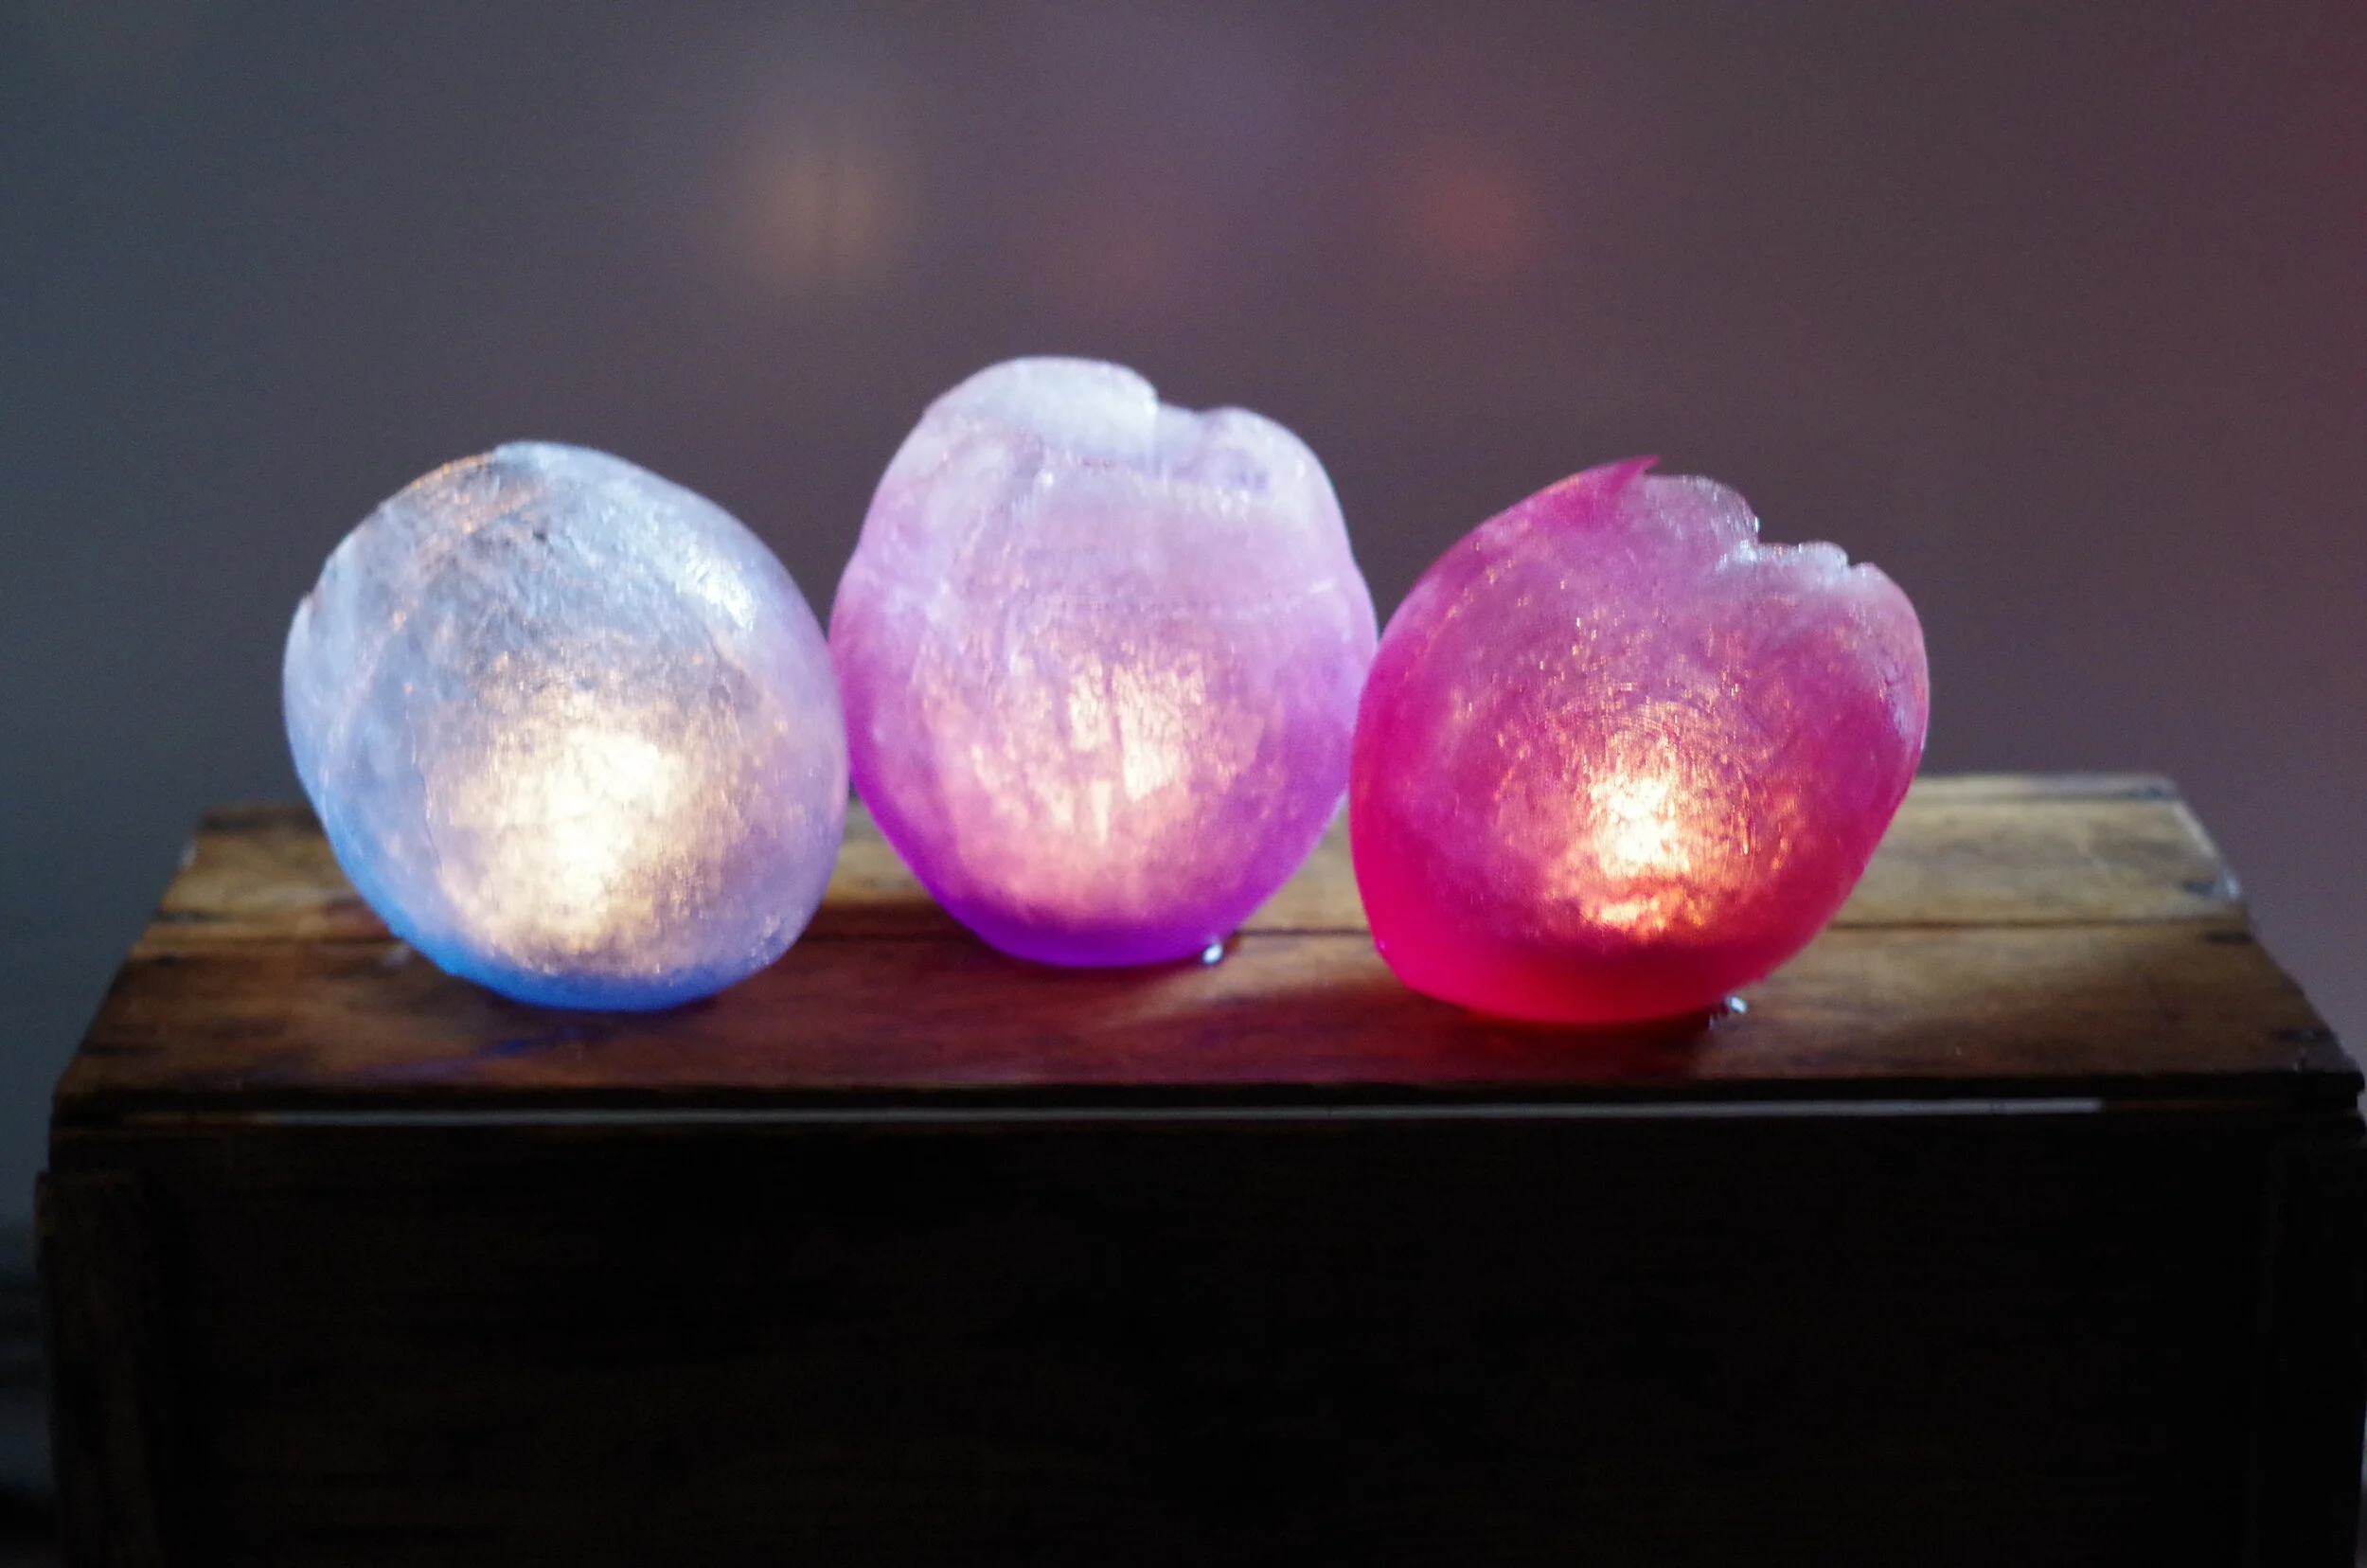
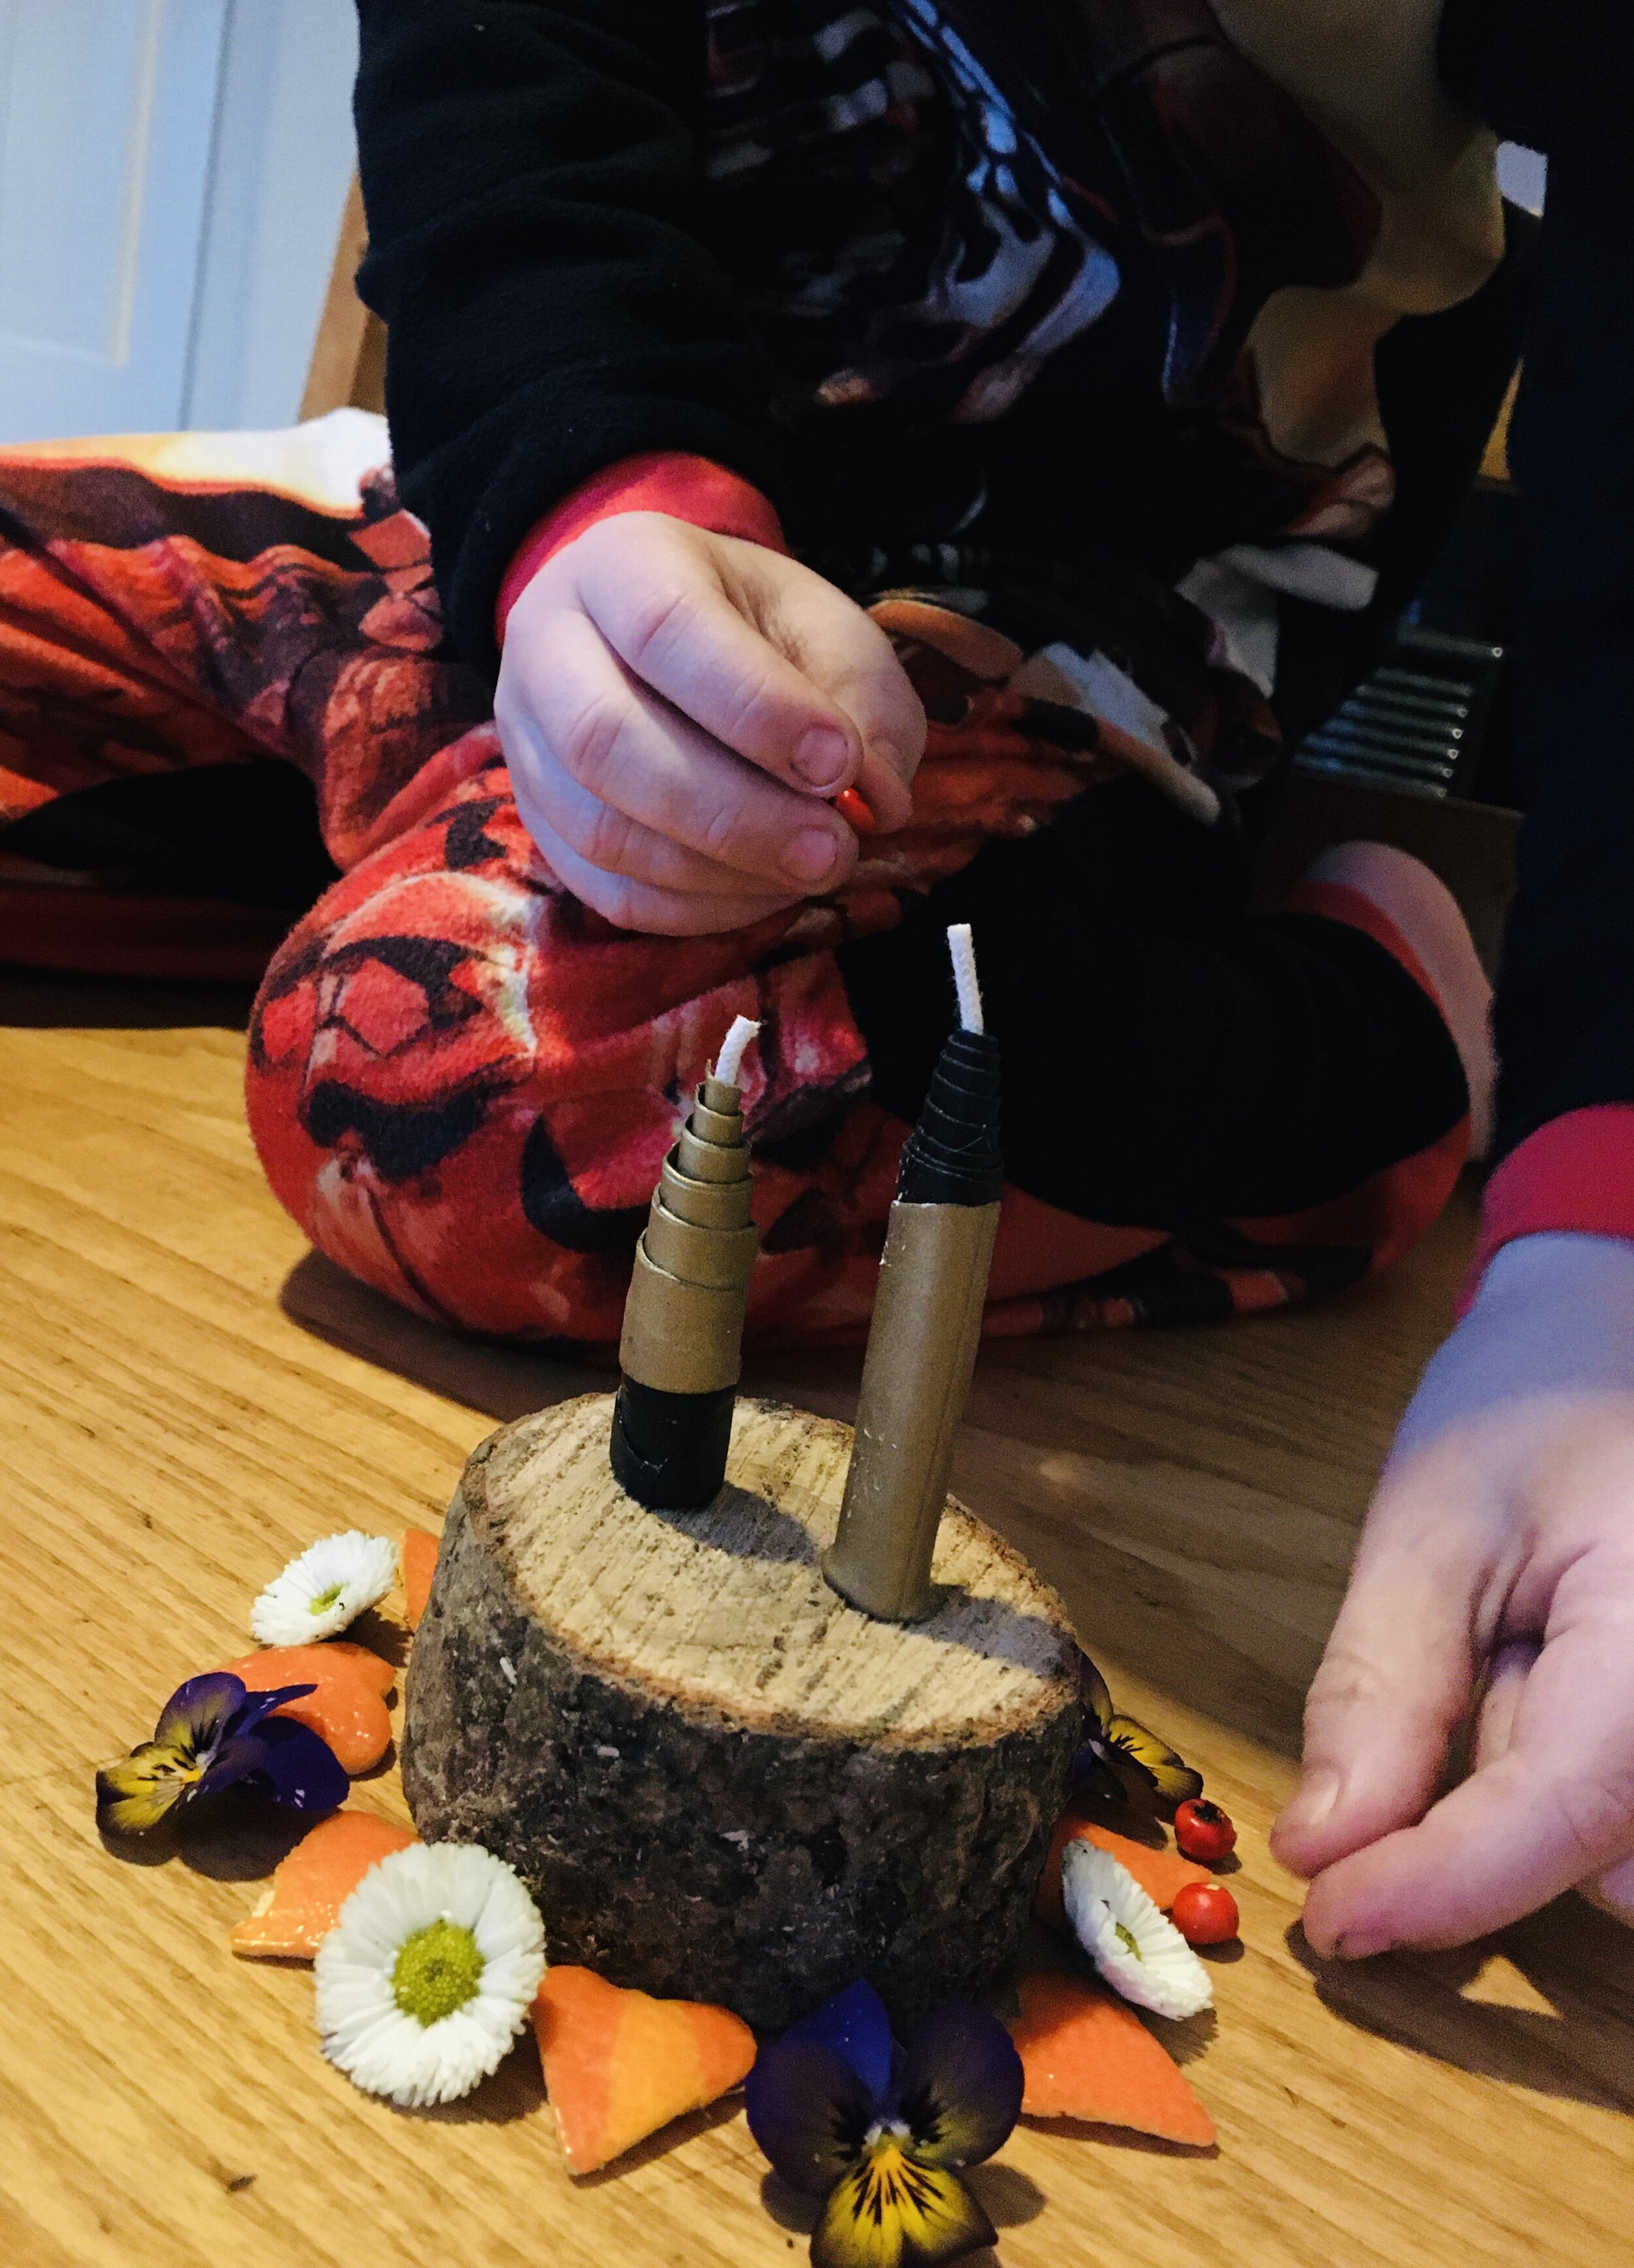
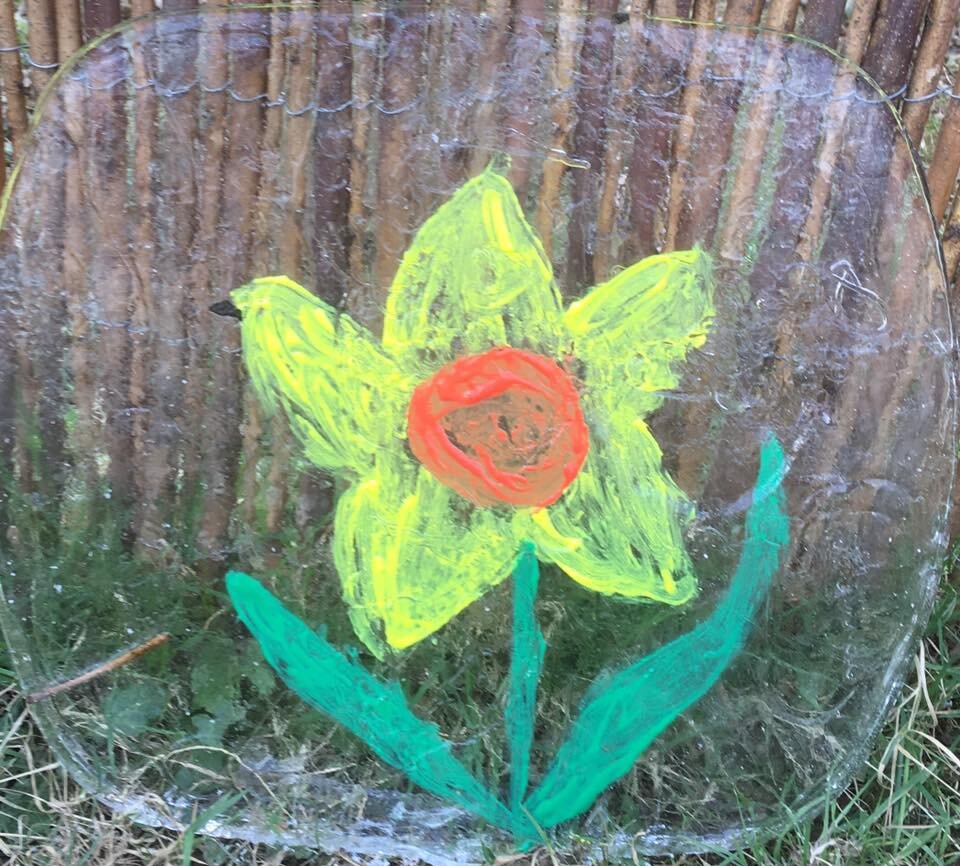
Mini Shelters

We love building dens in the woods, but if time or resources are against you then mini-shelters make a great alternative.

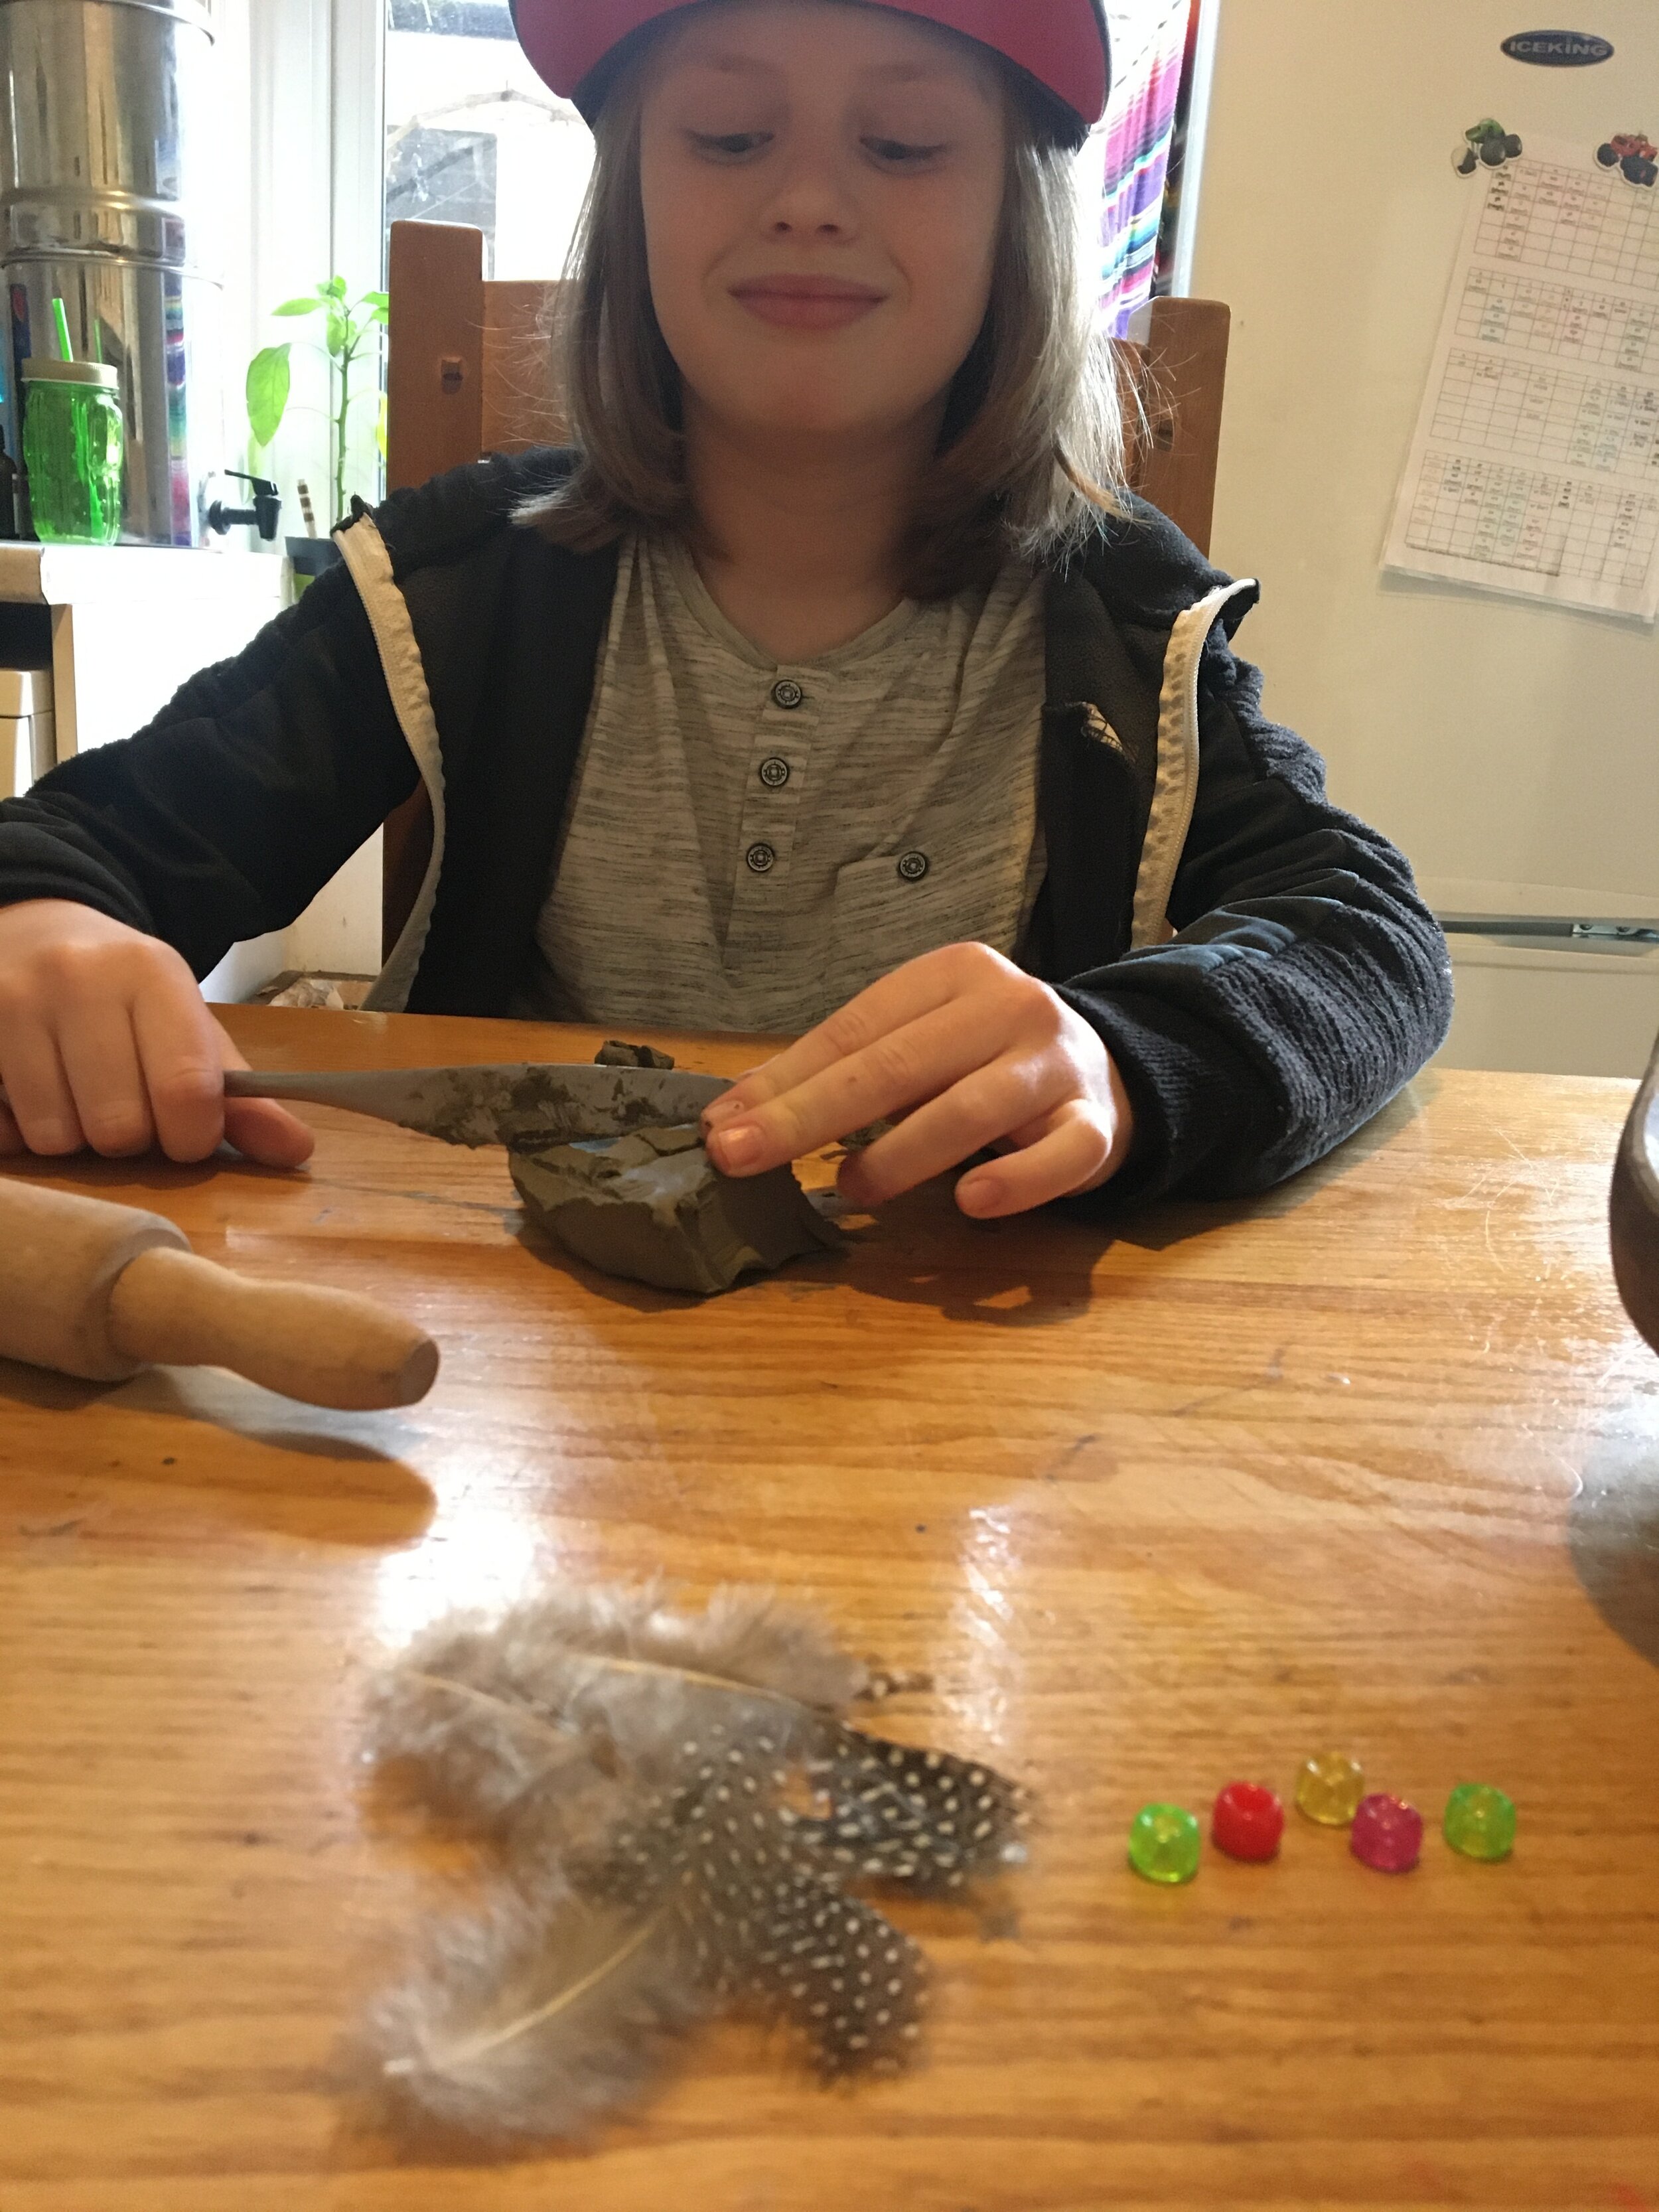
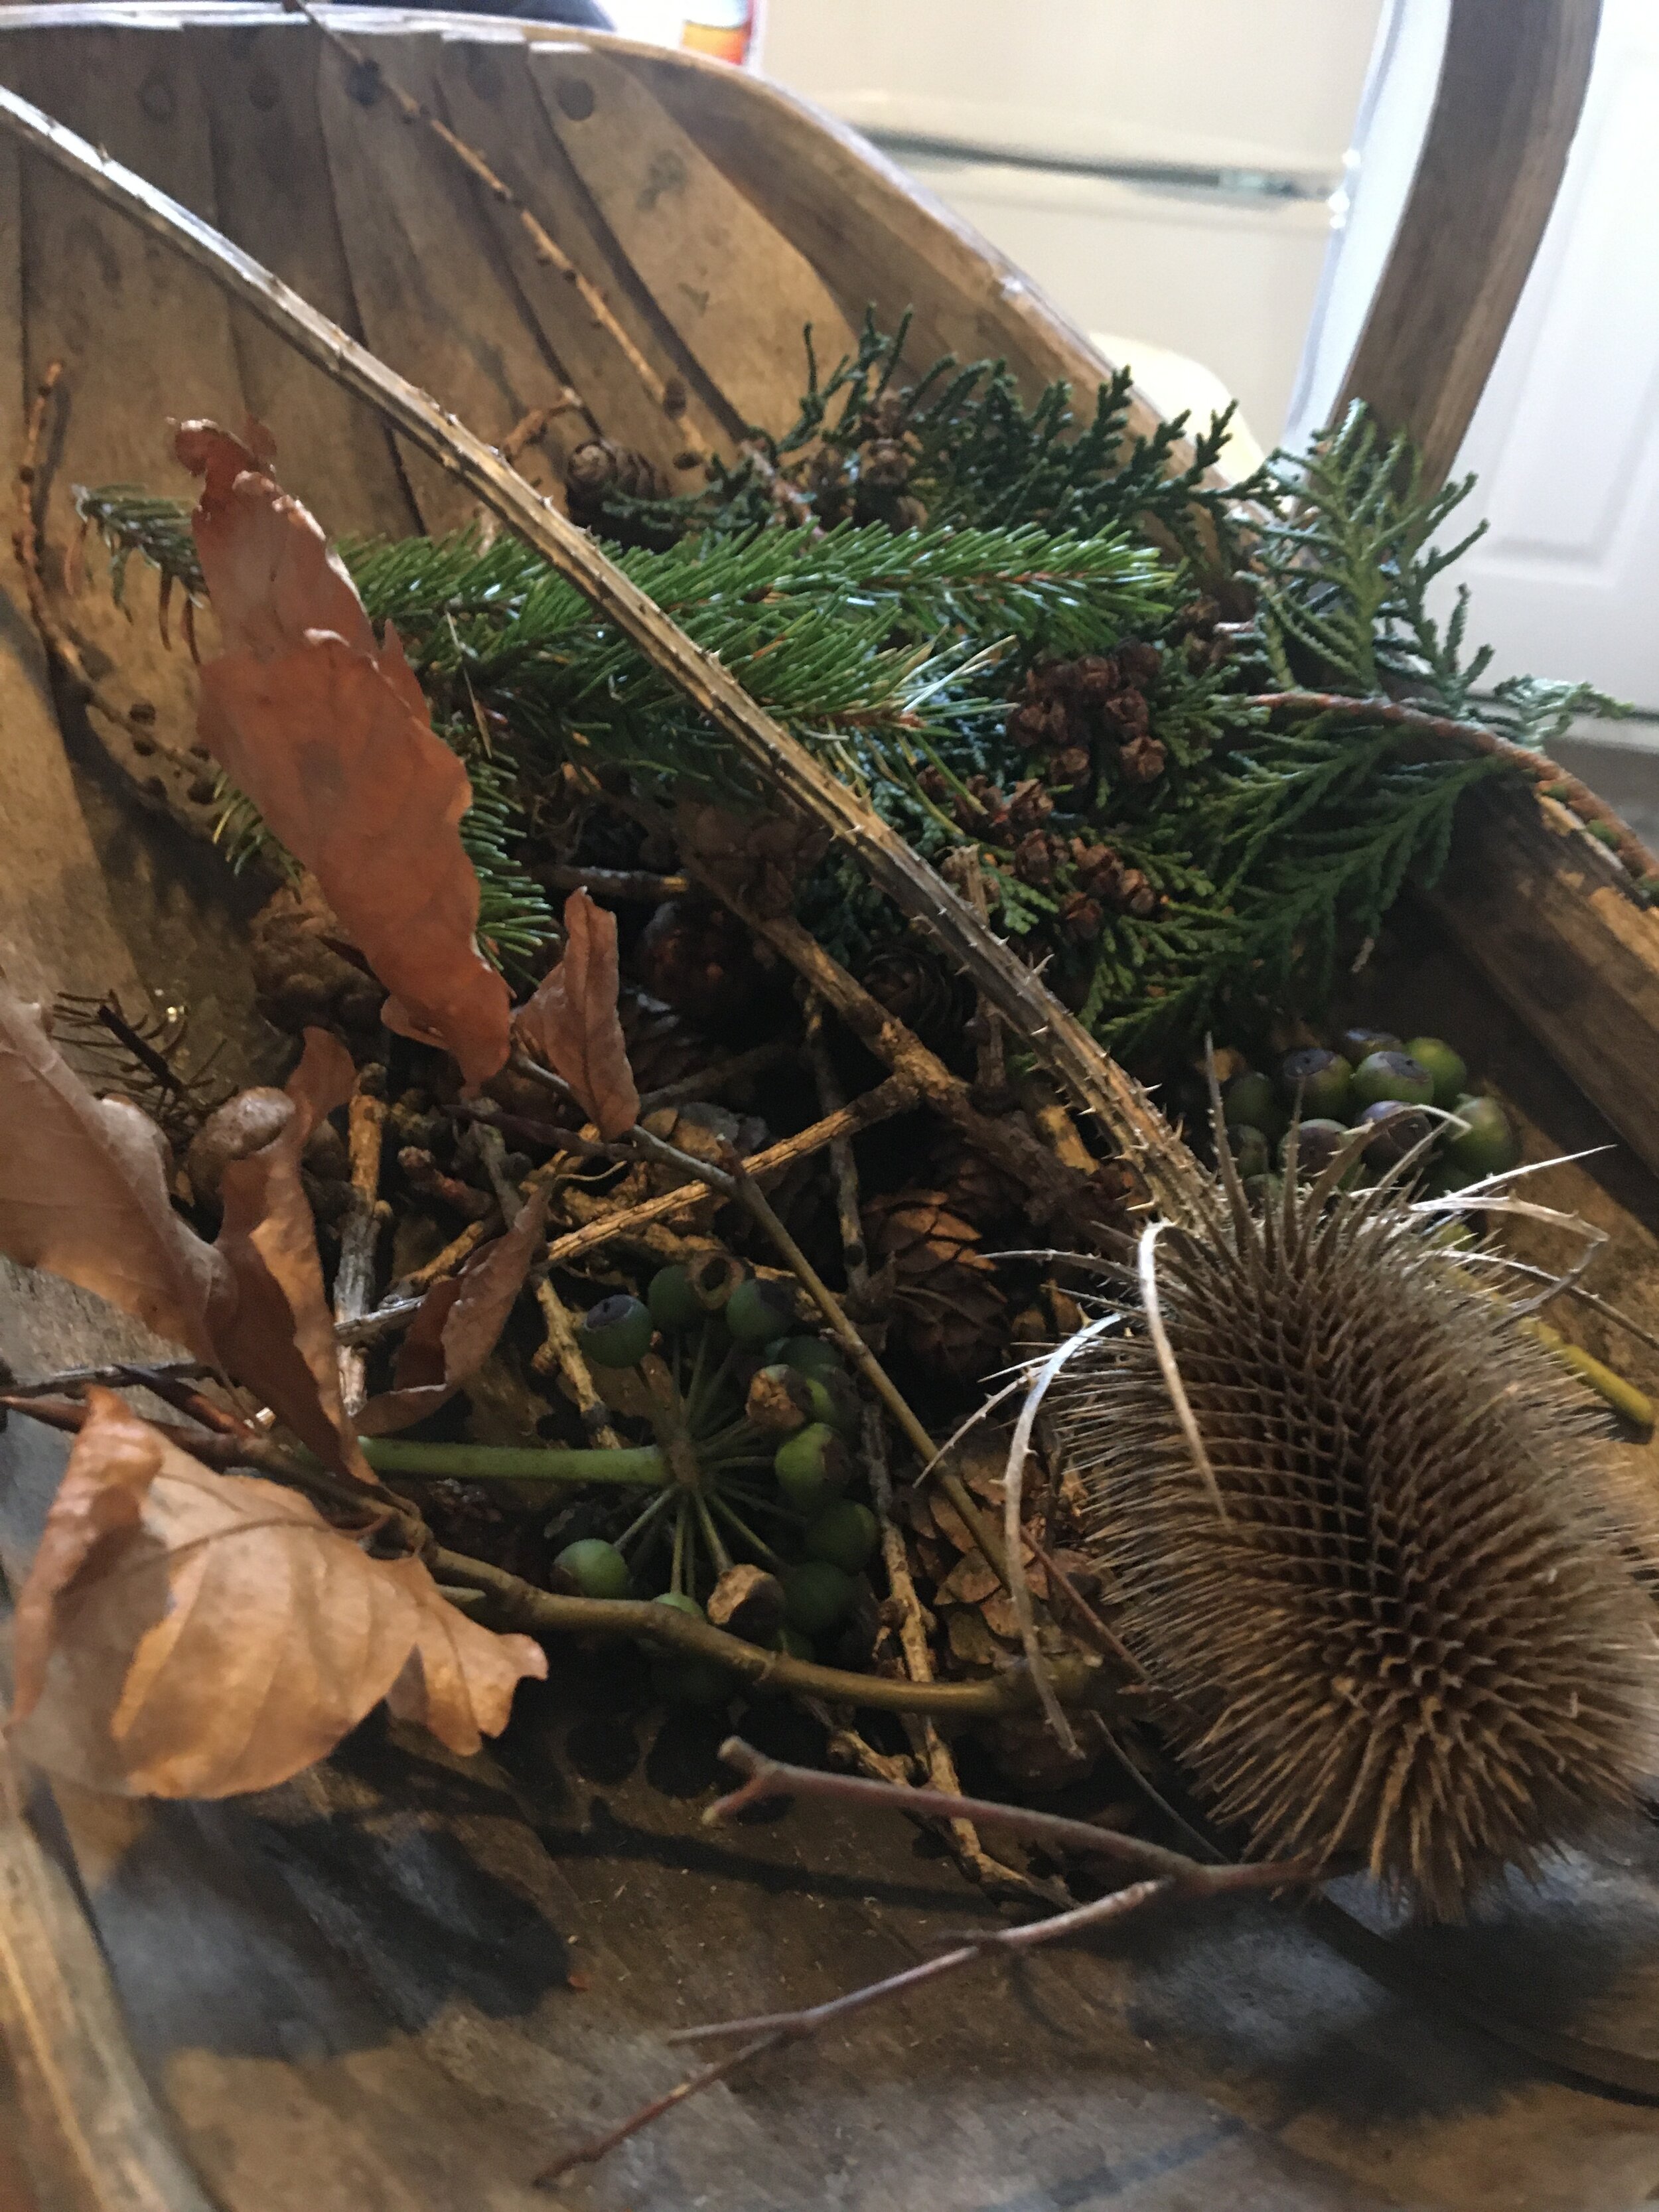
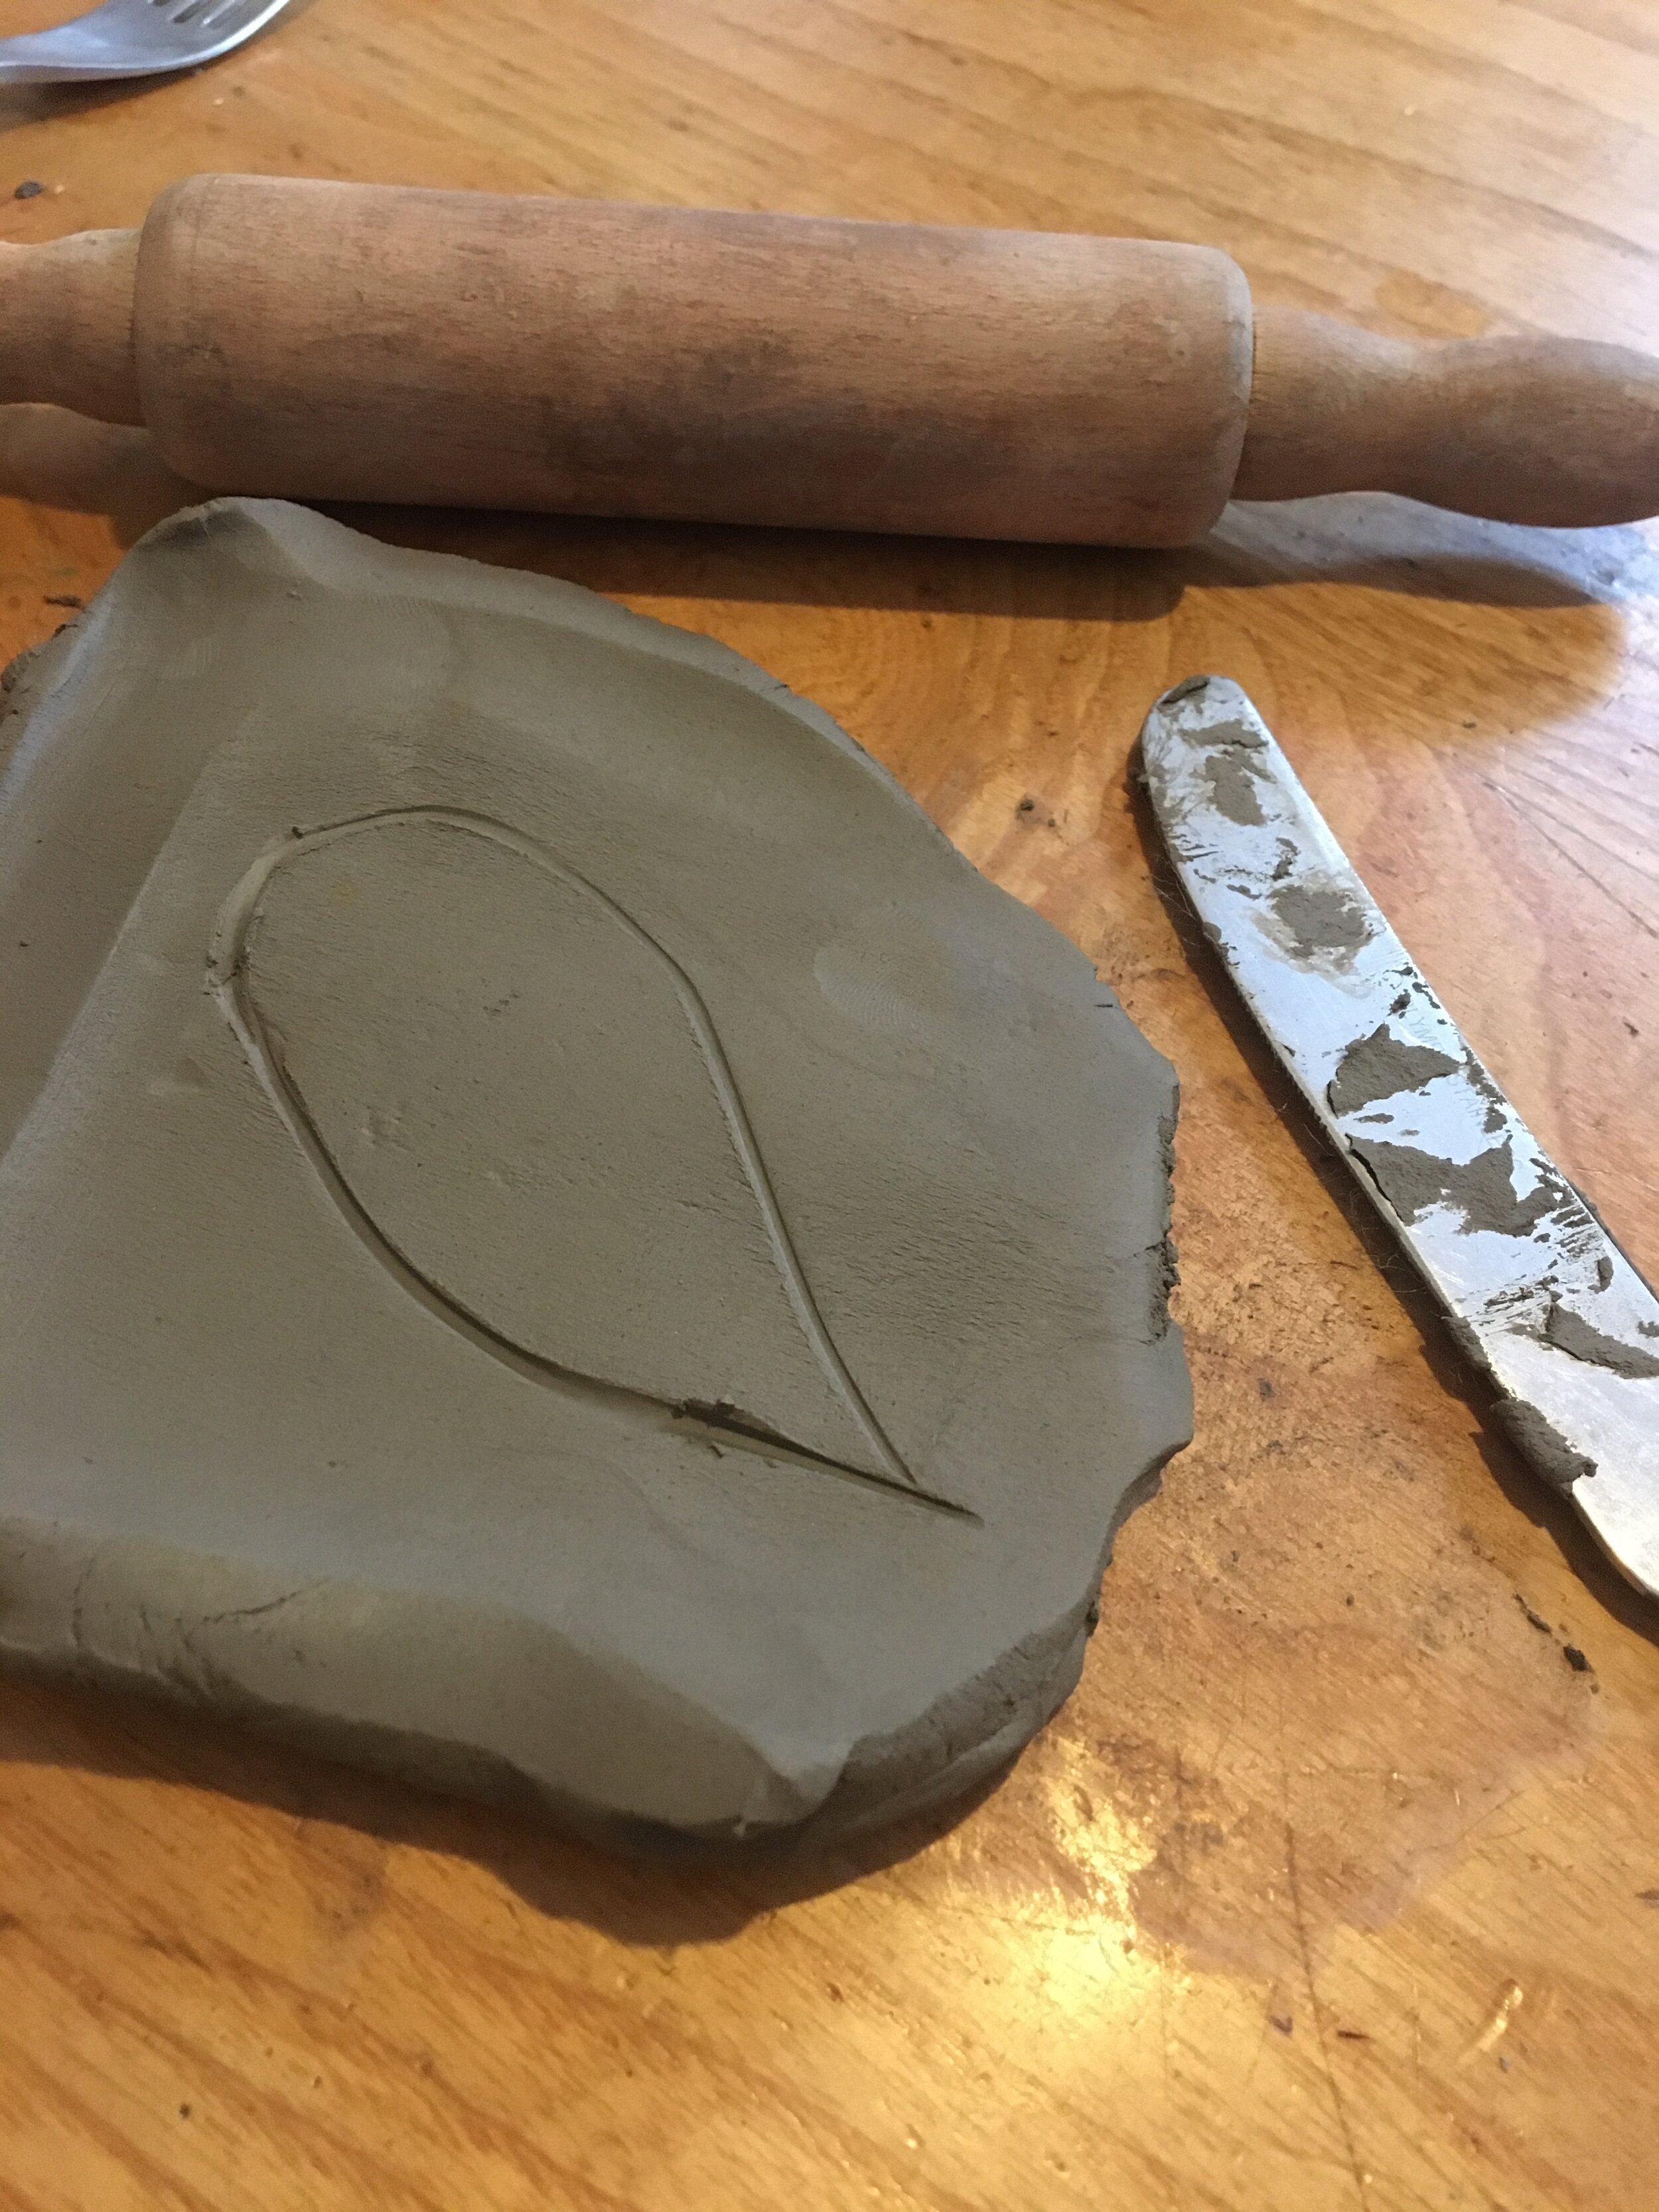
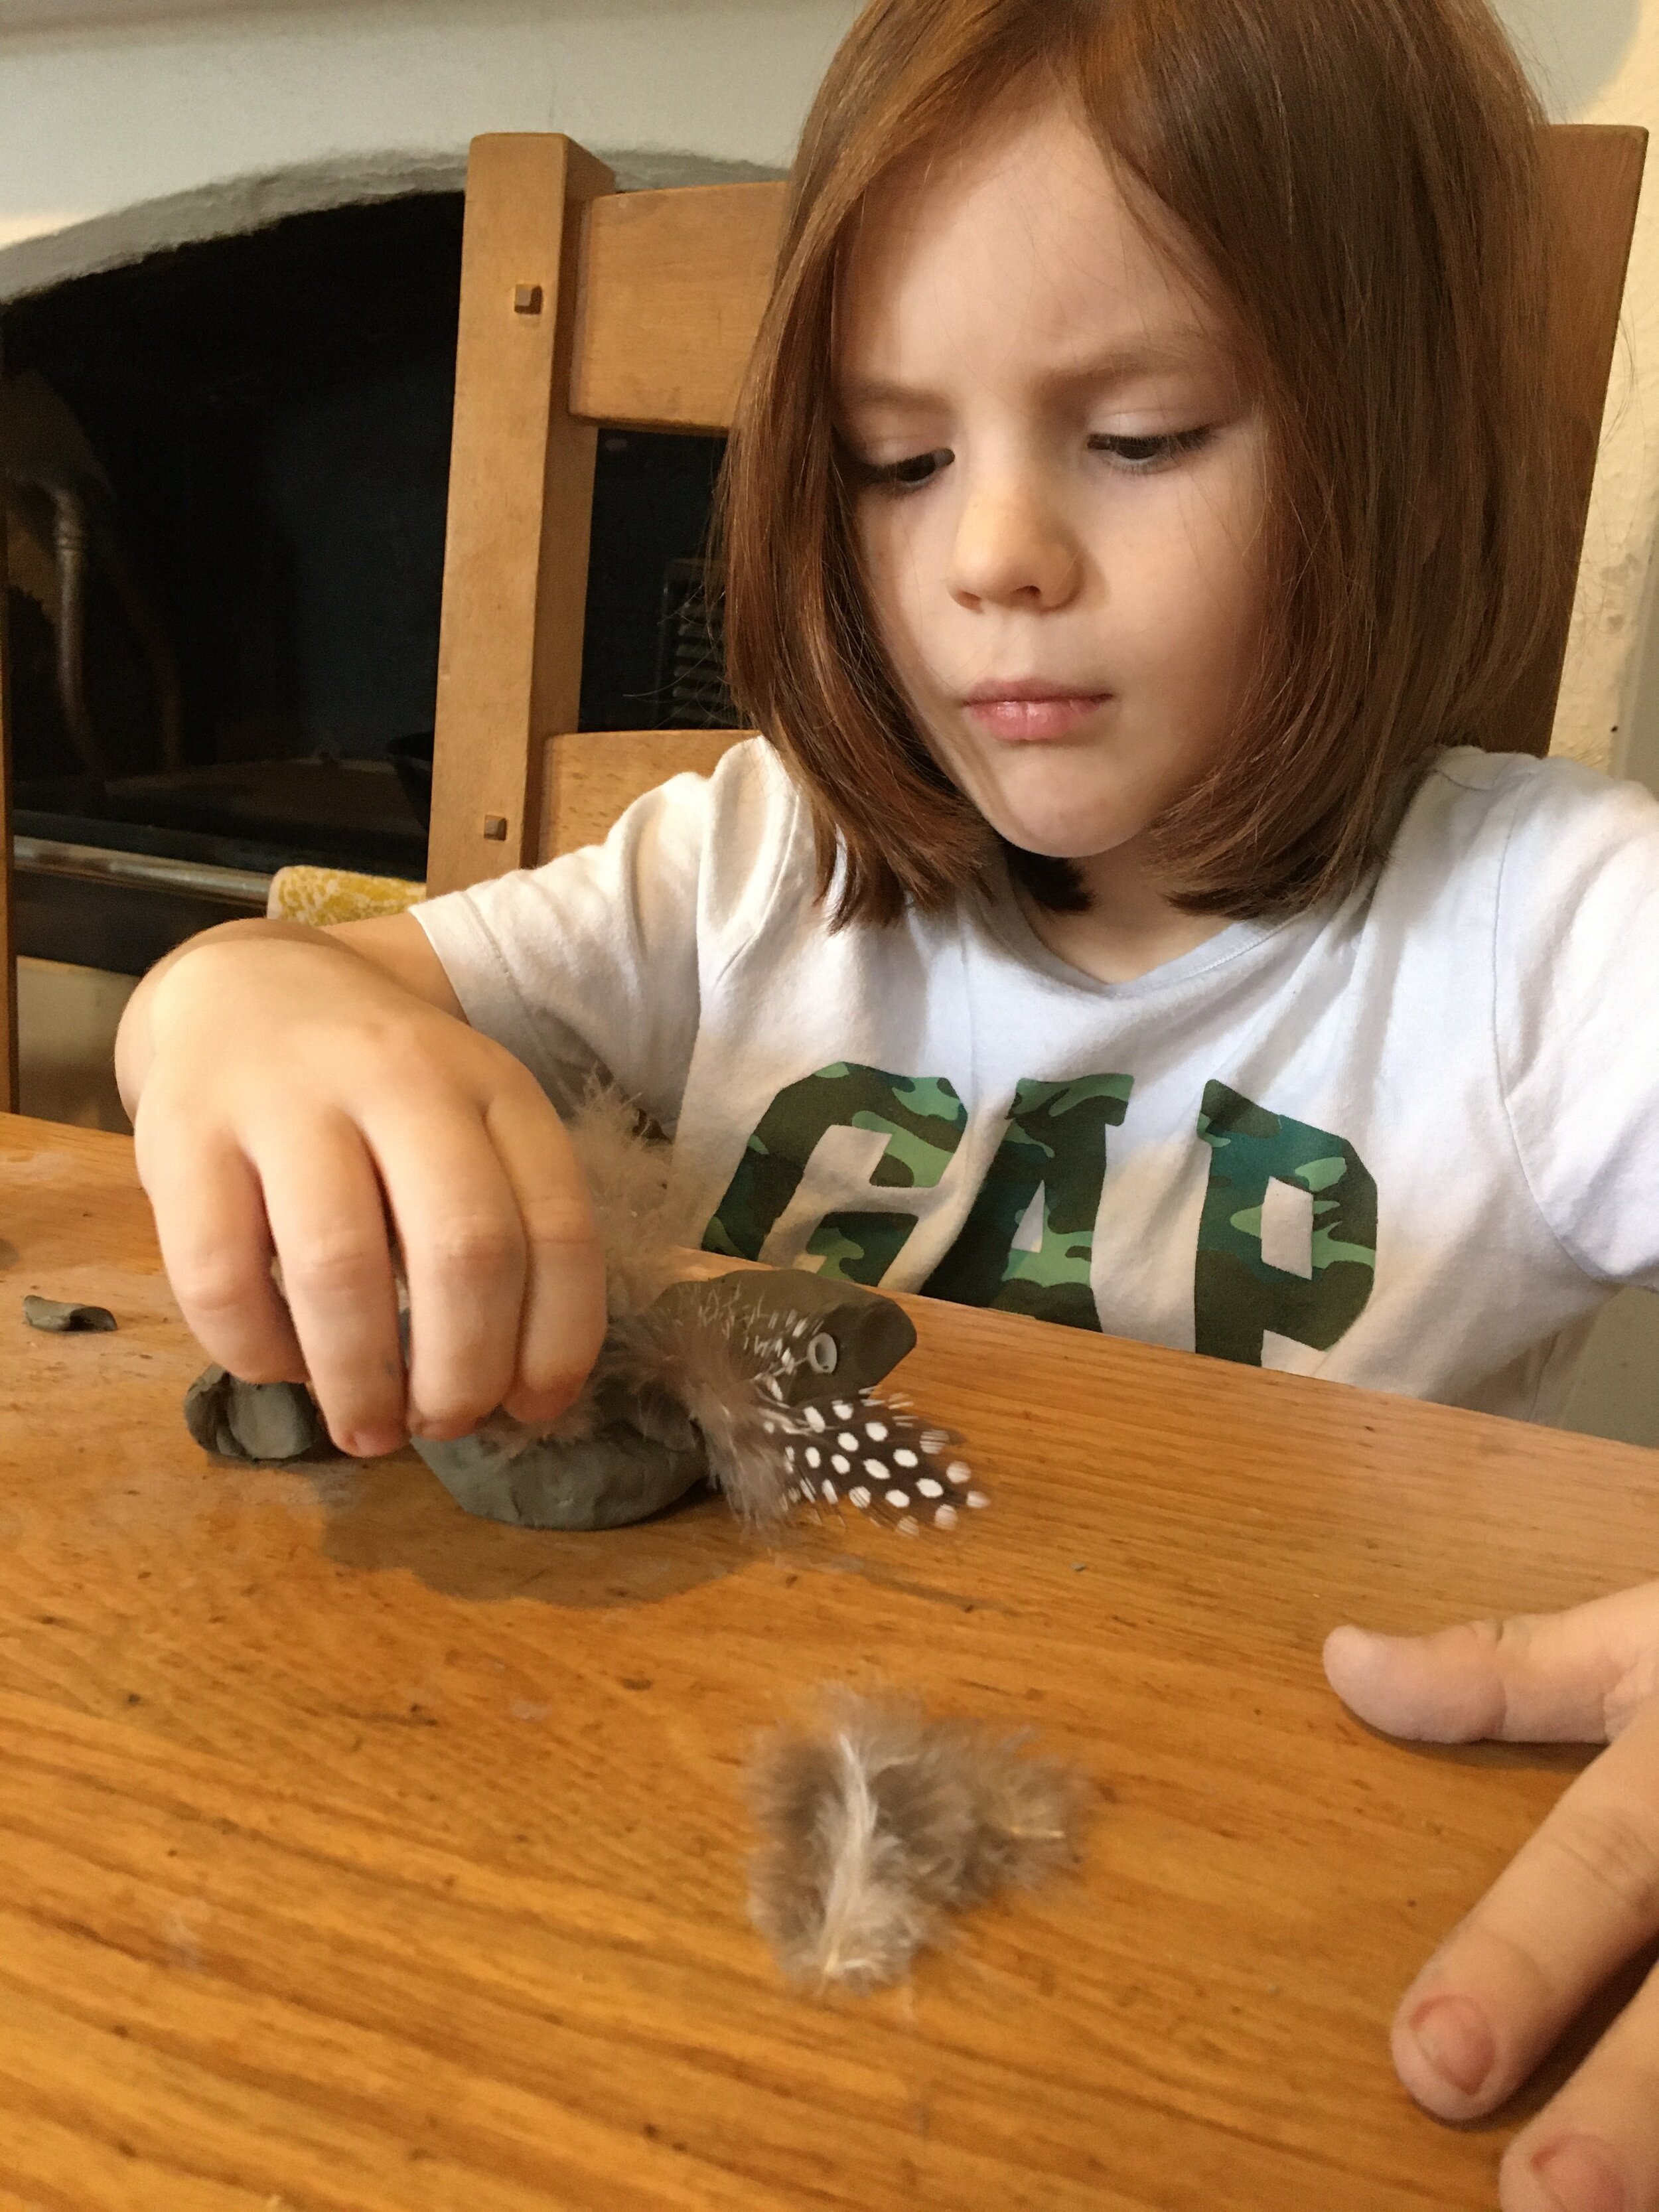
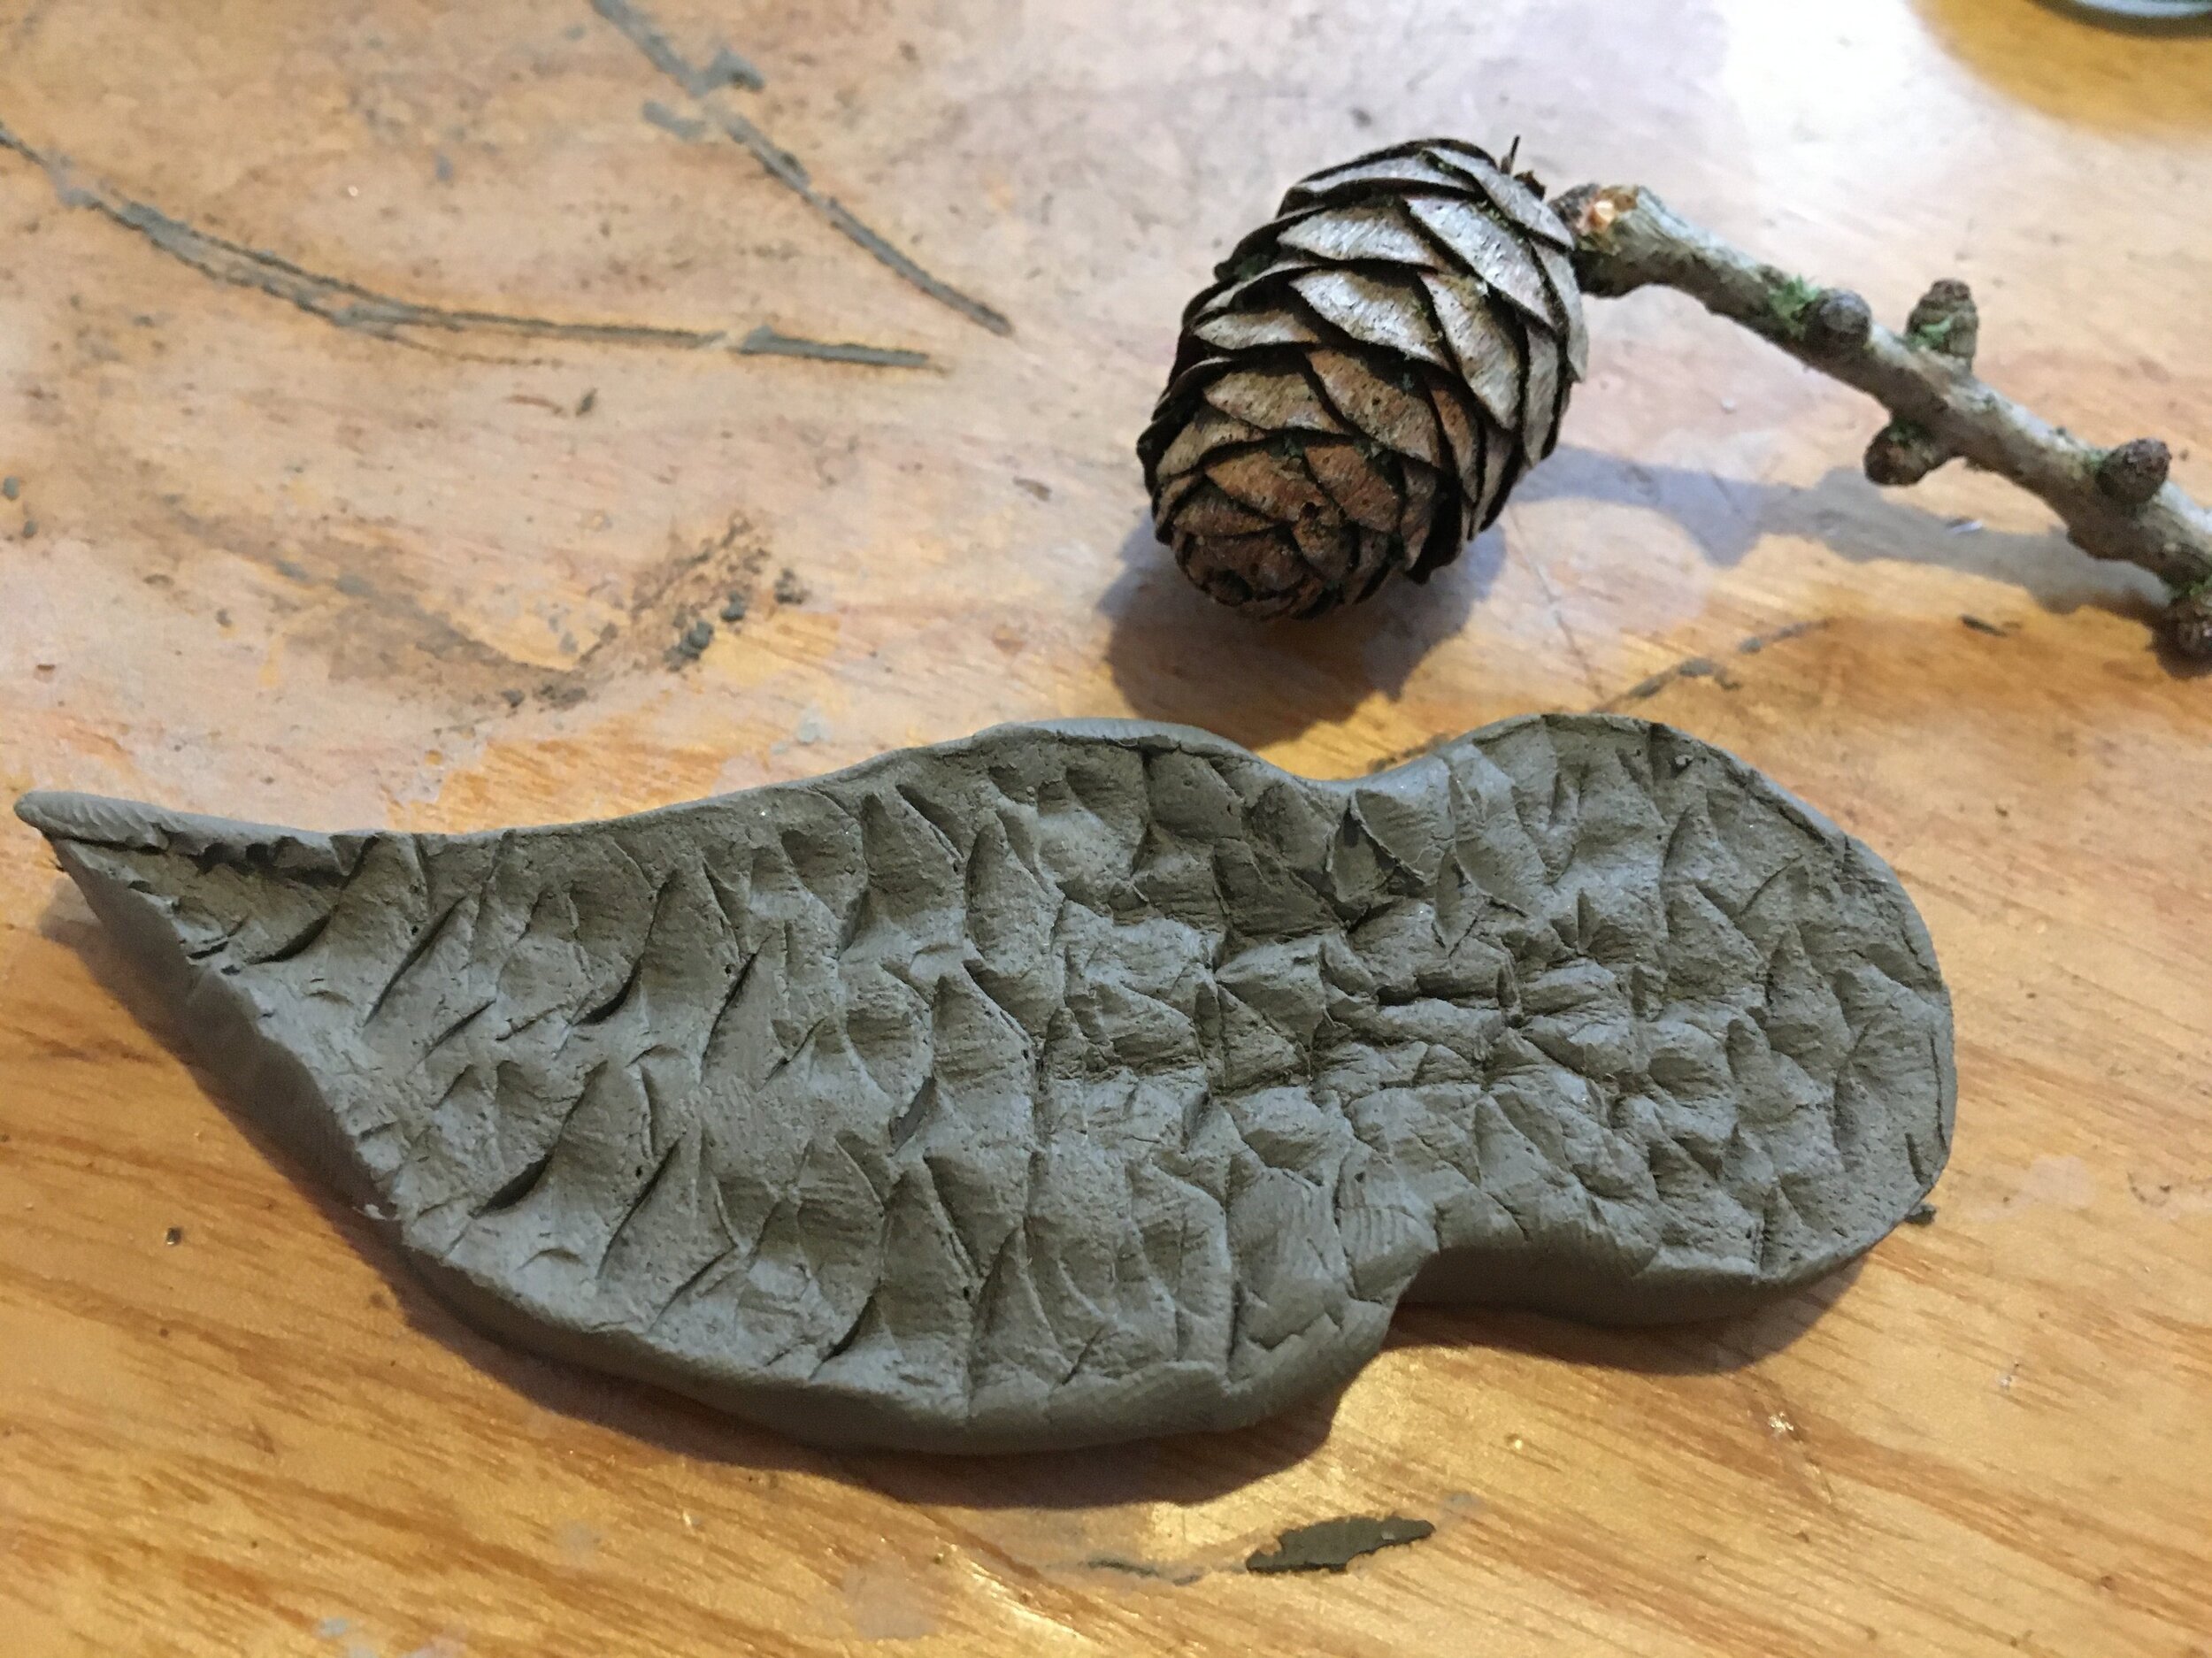
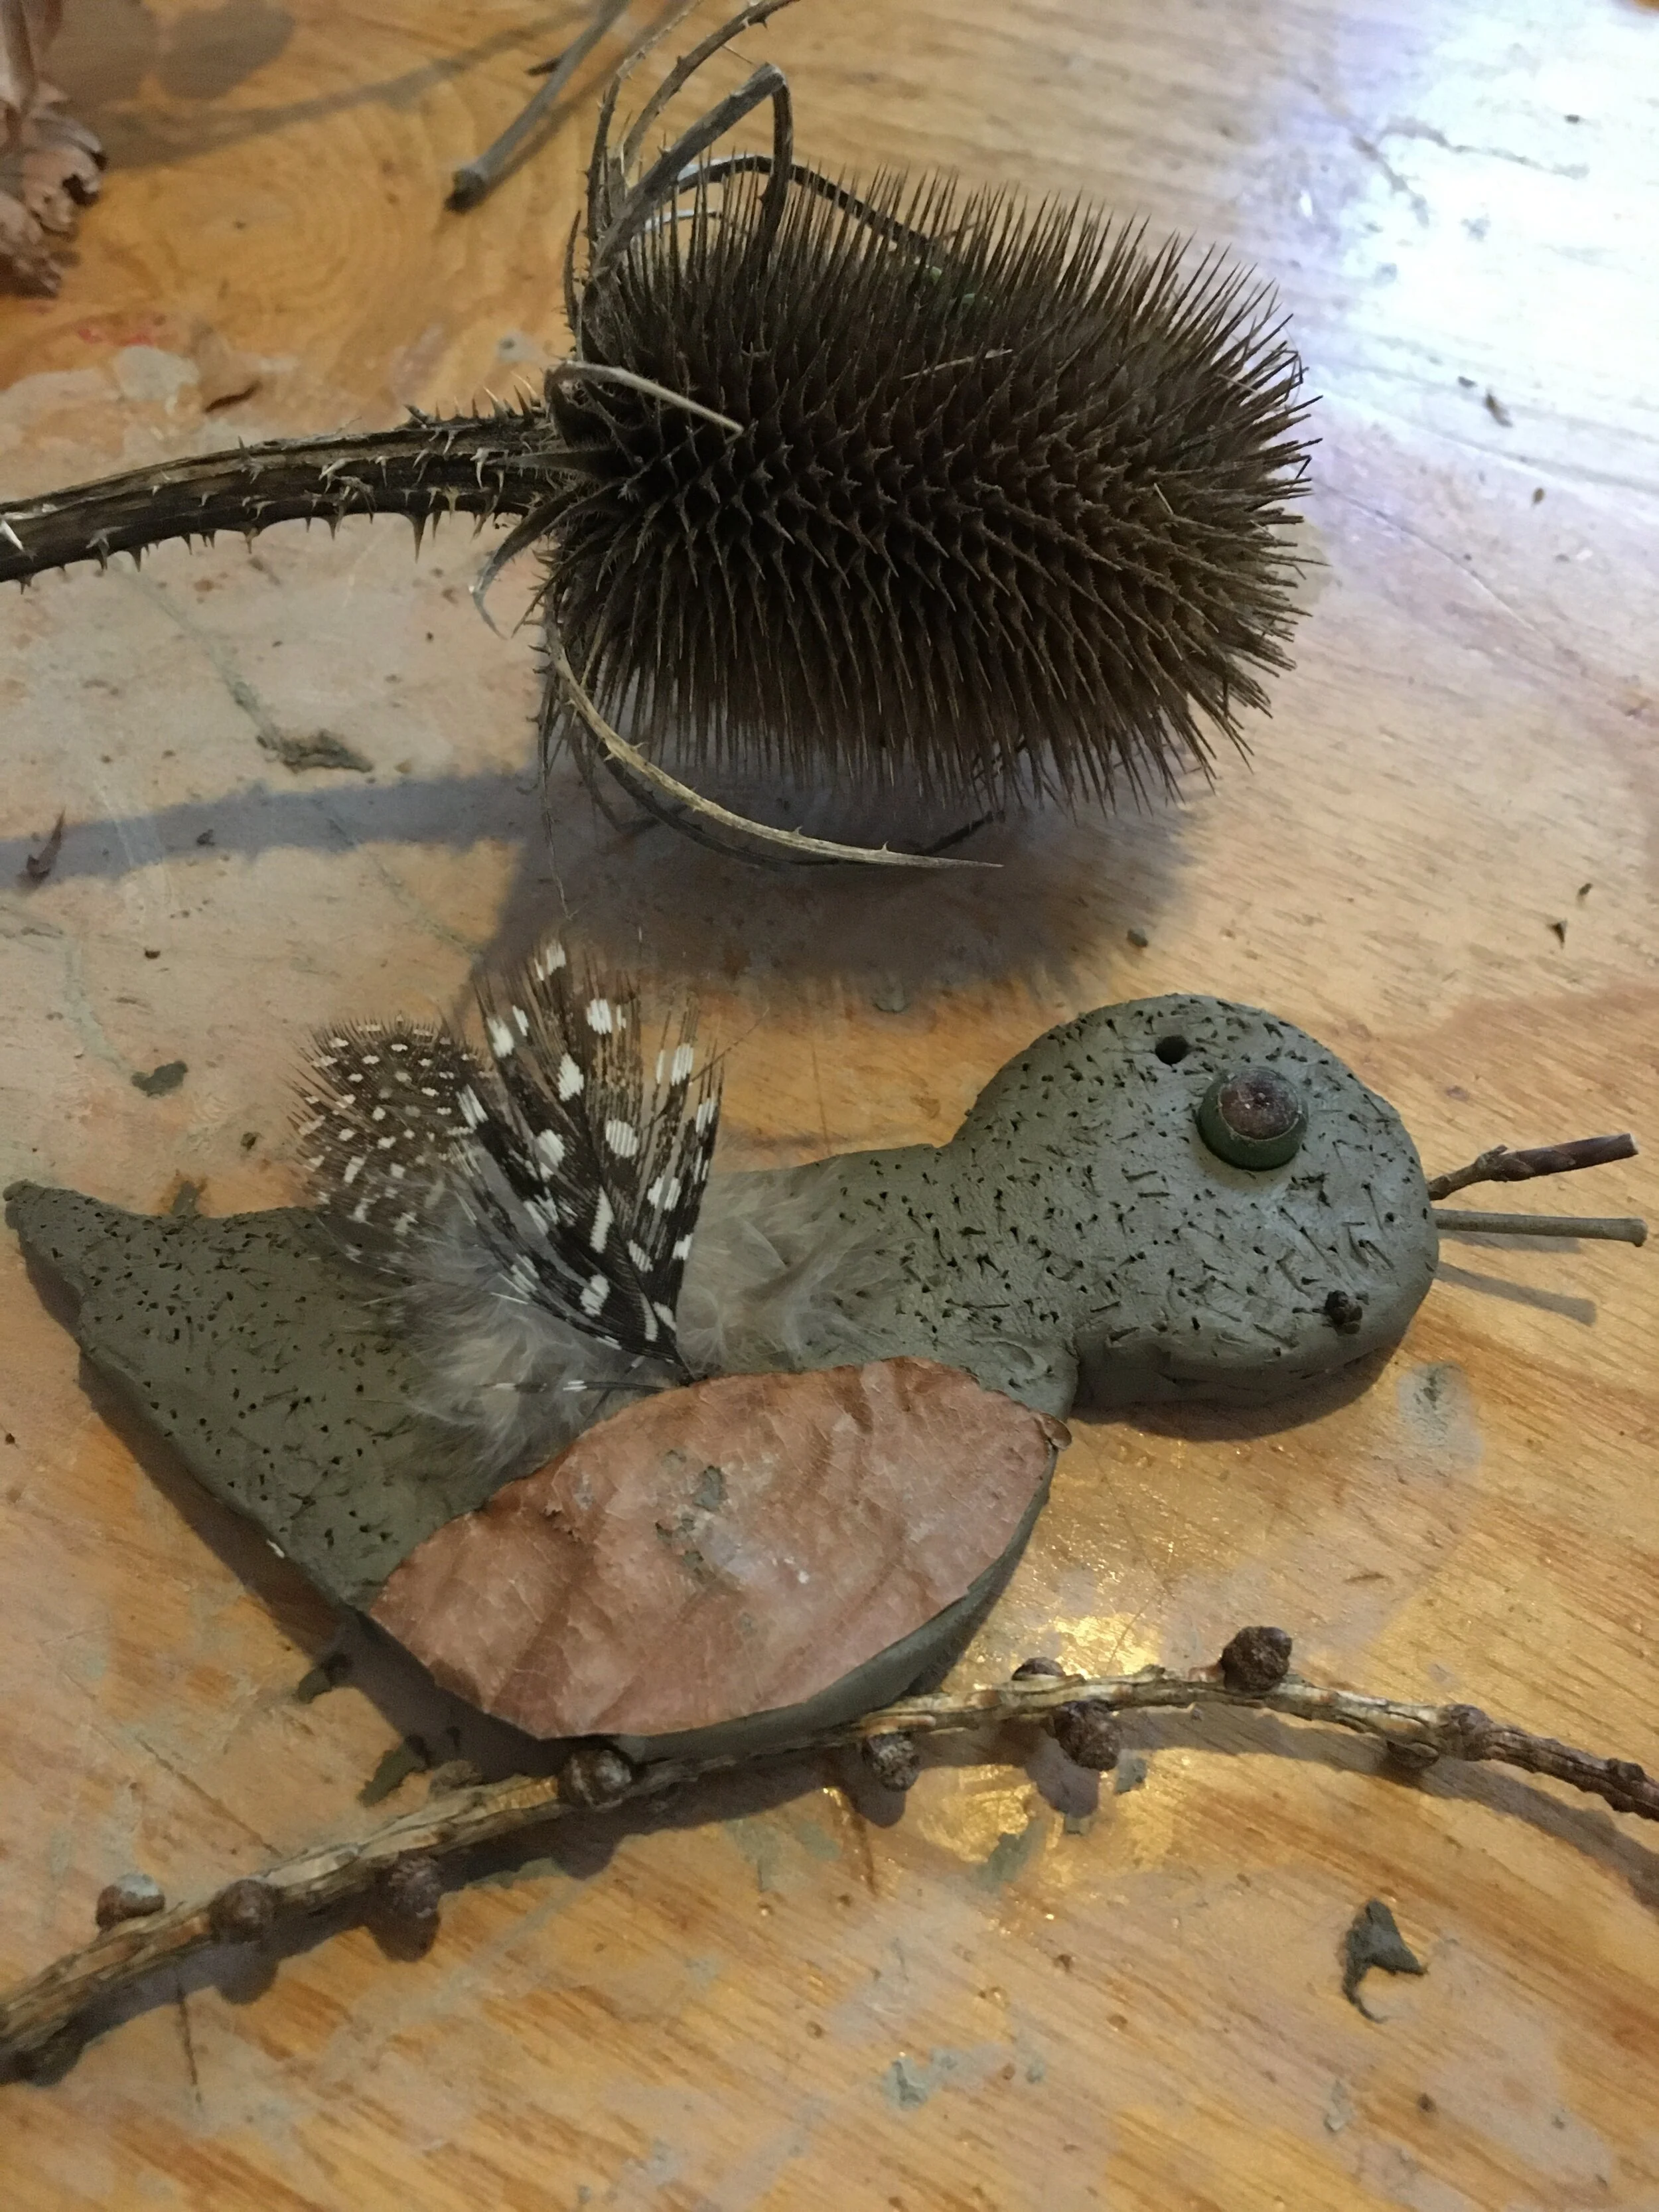
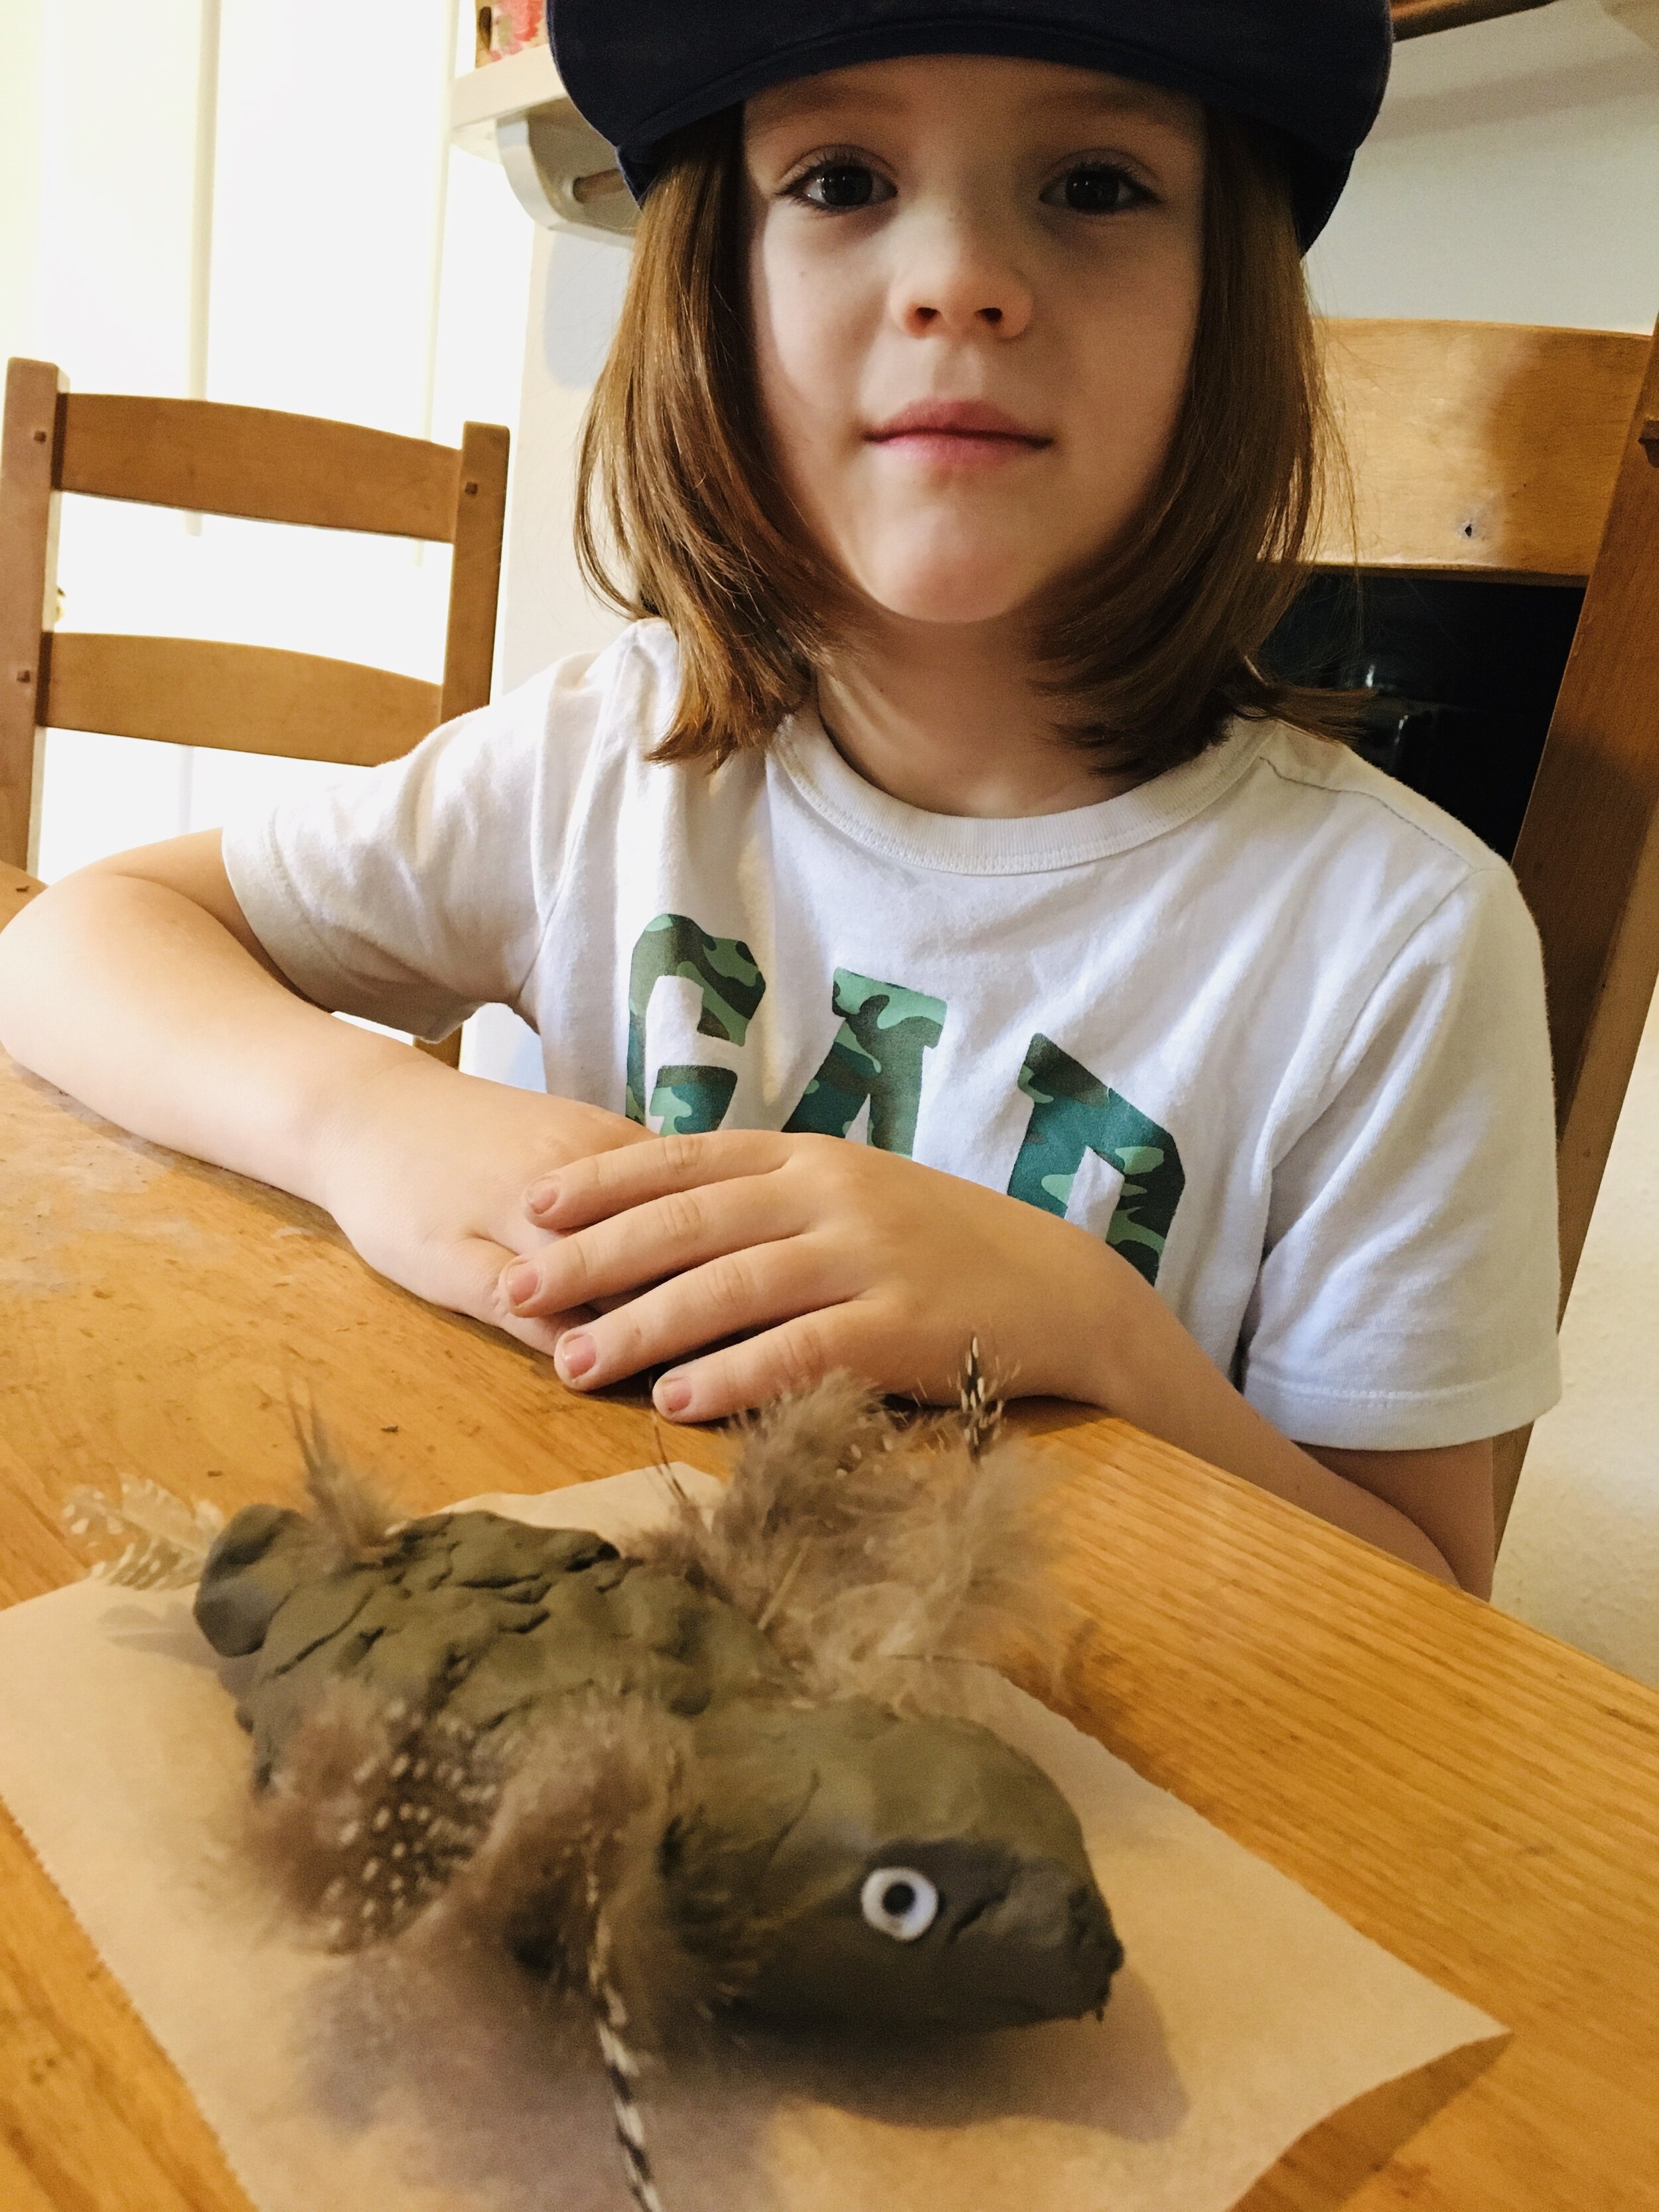
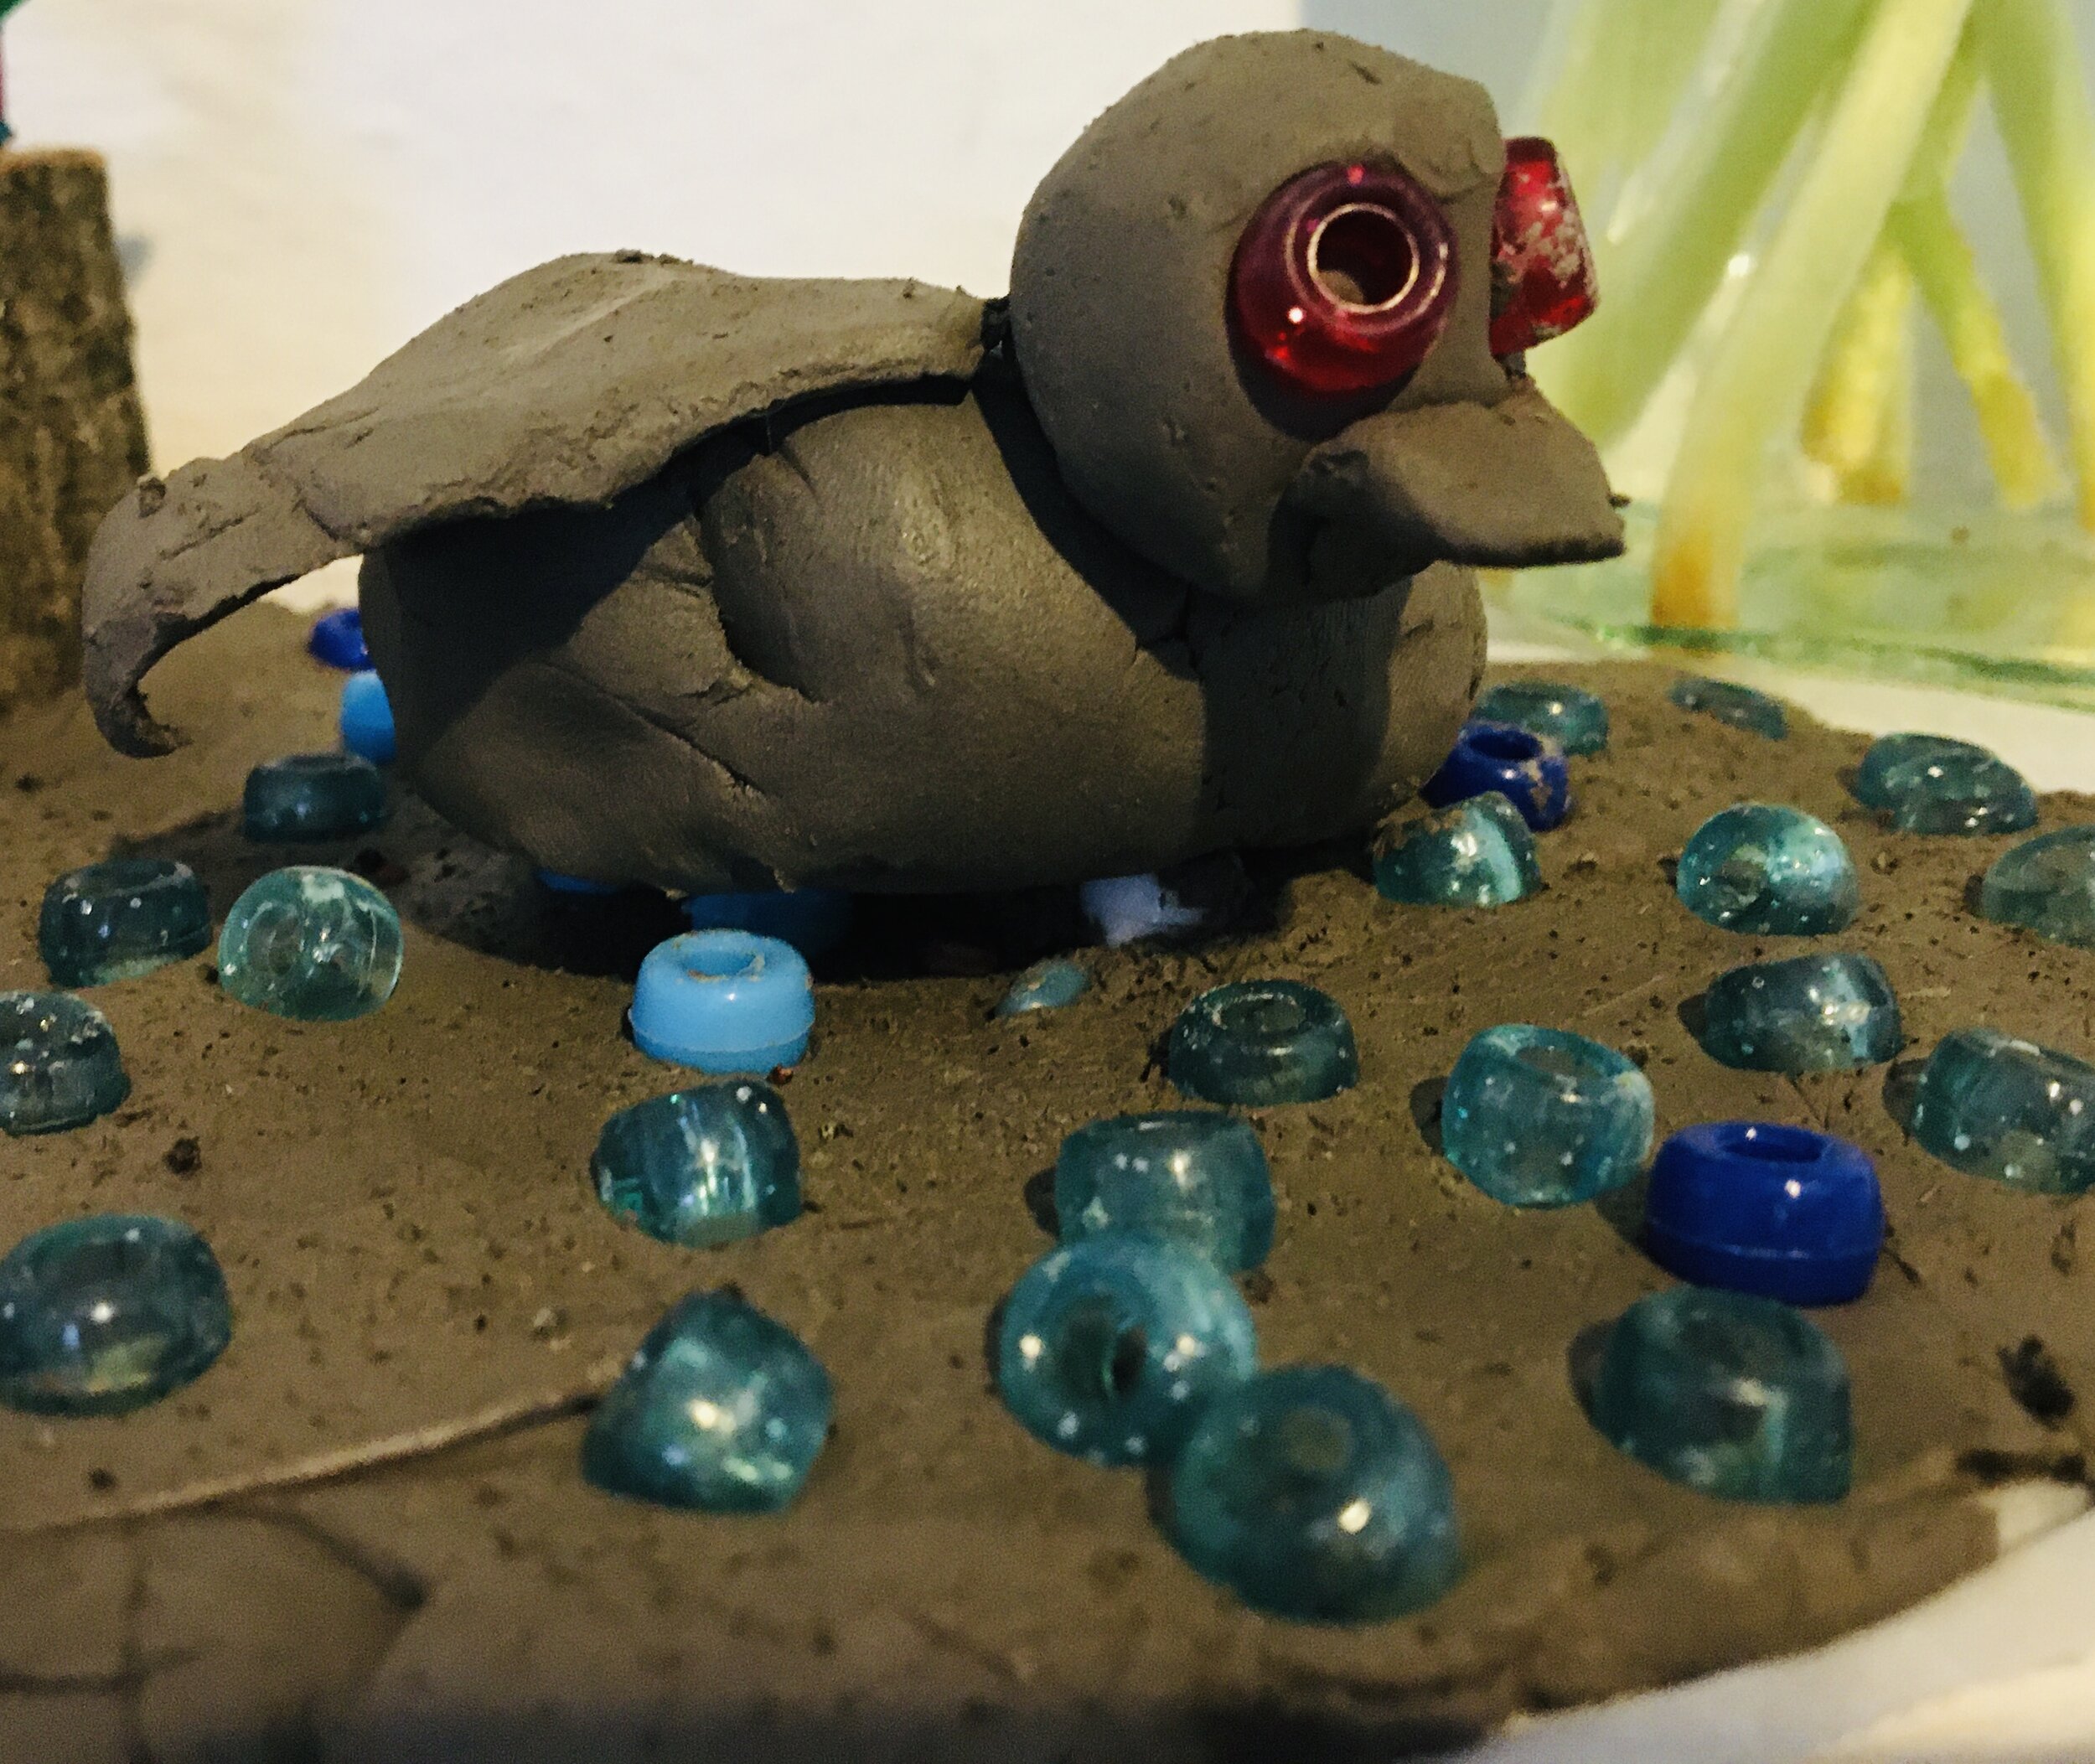
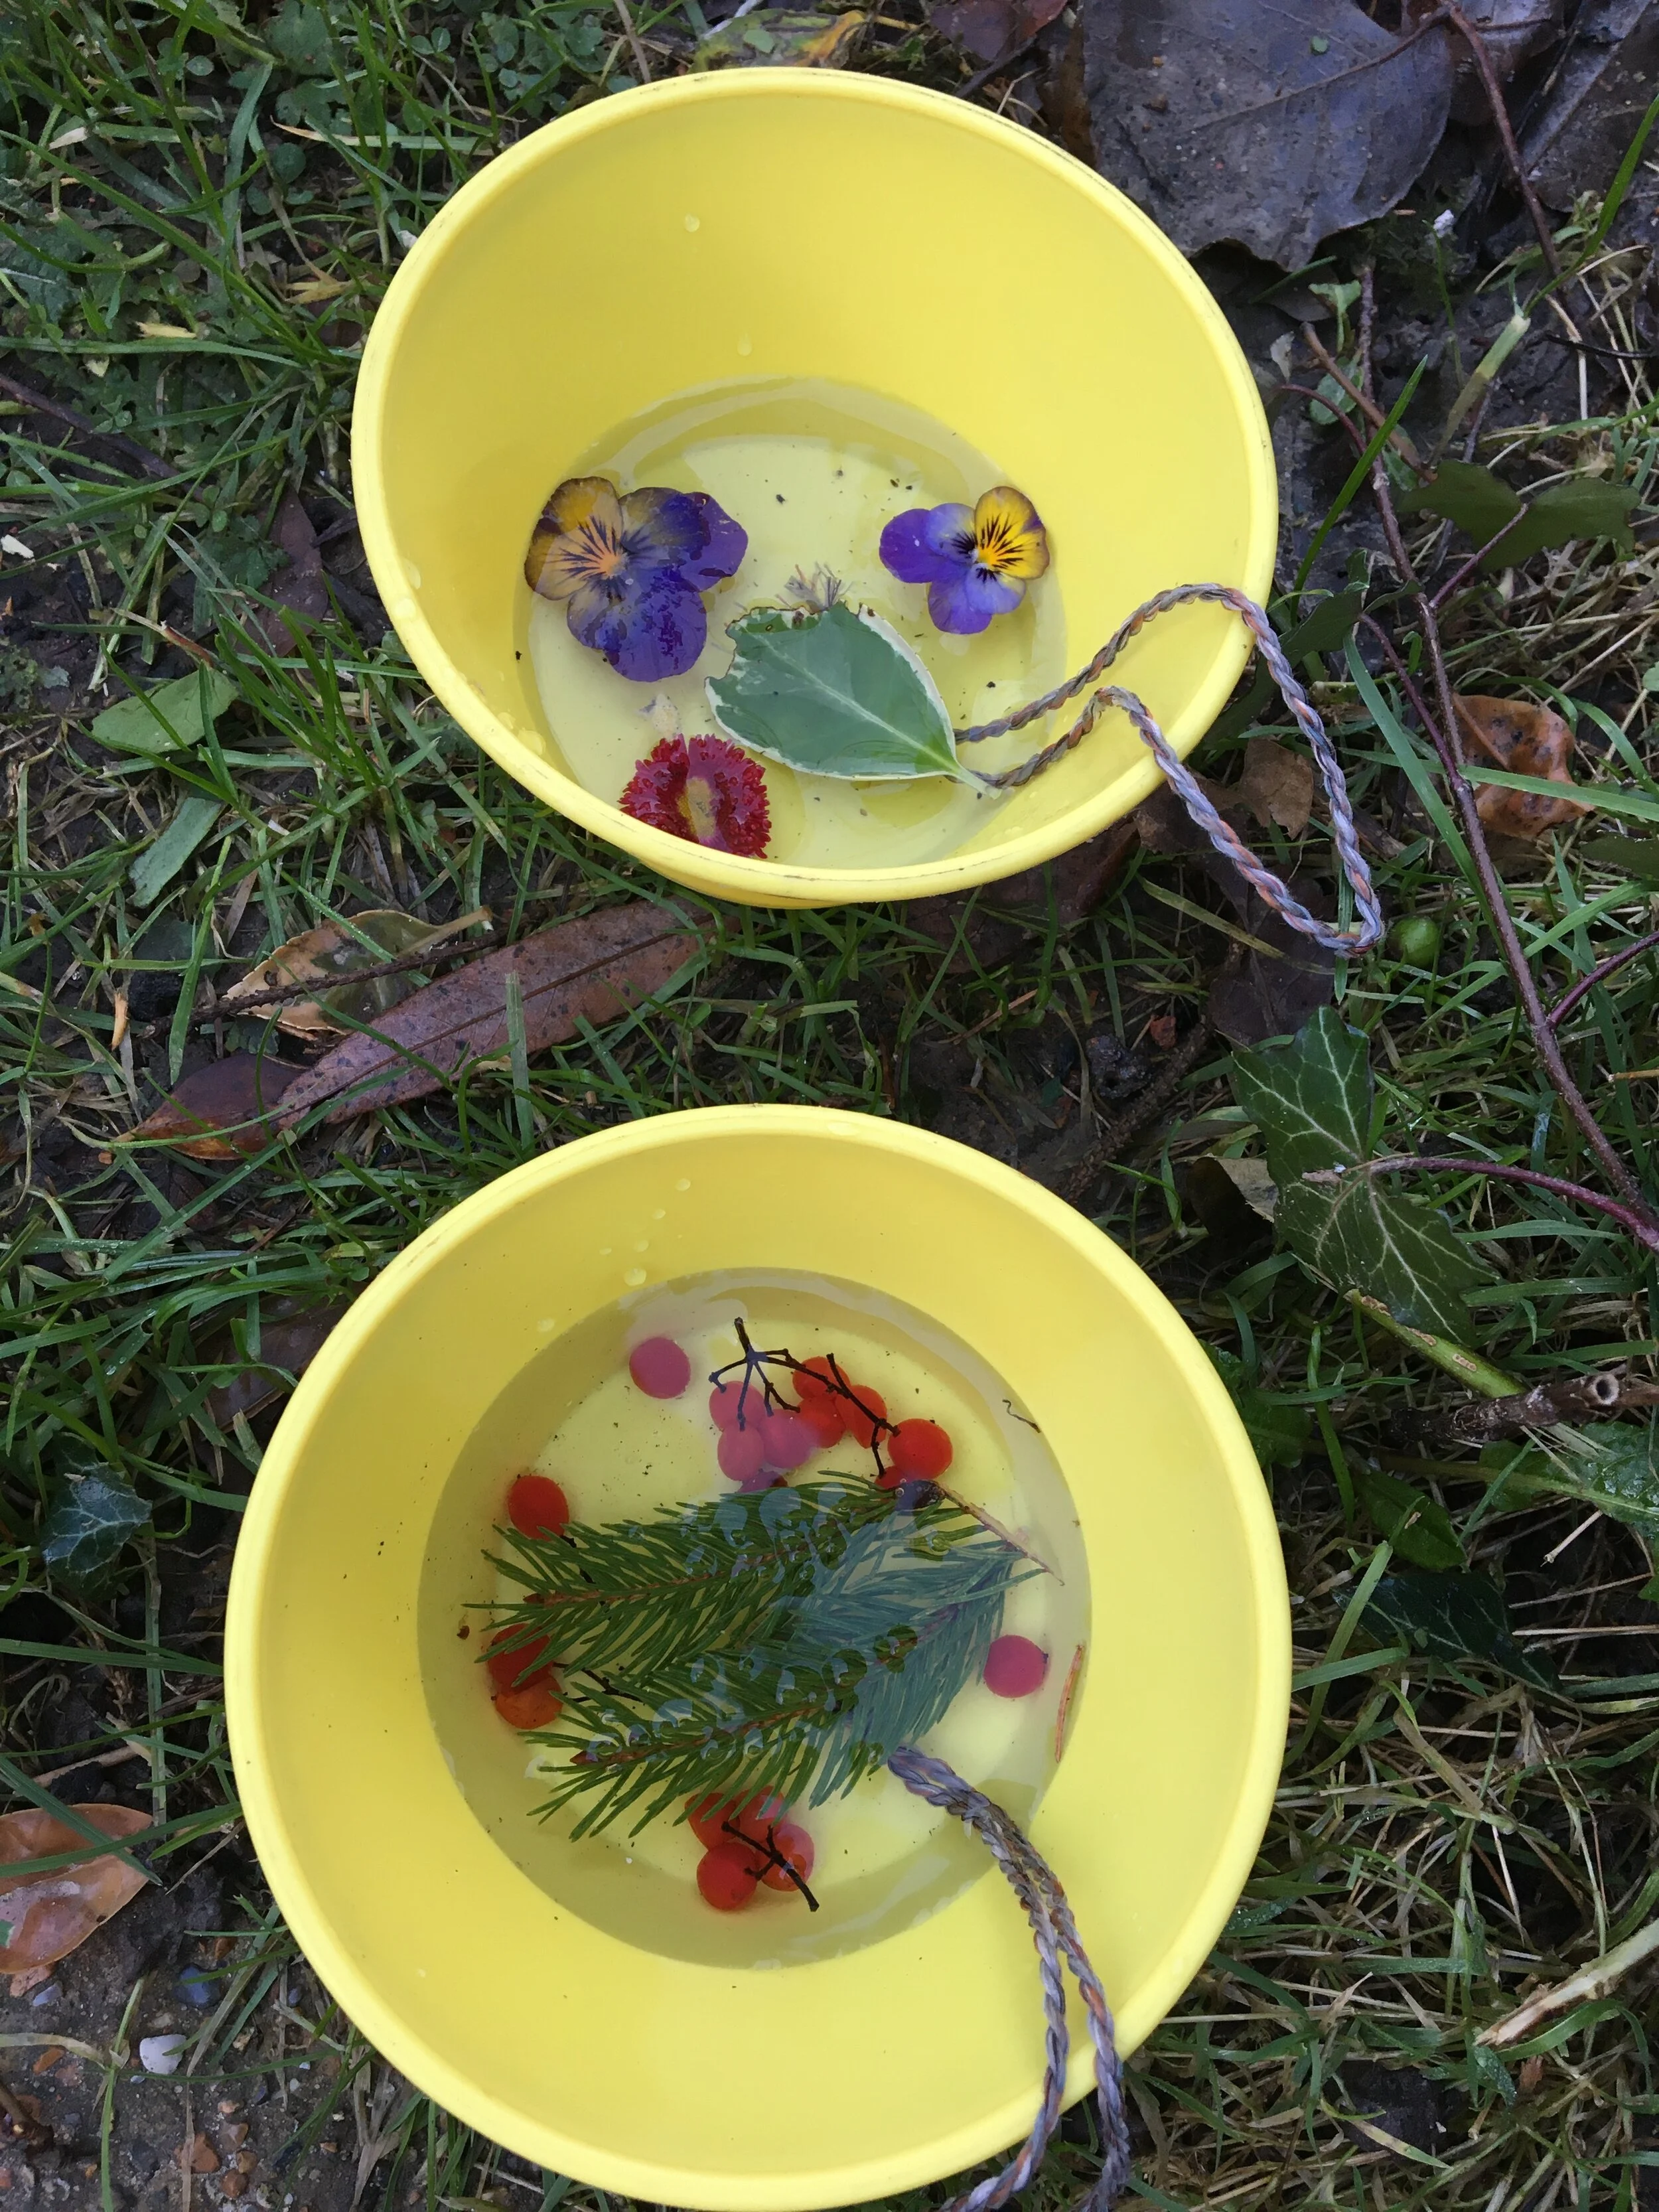
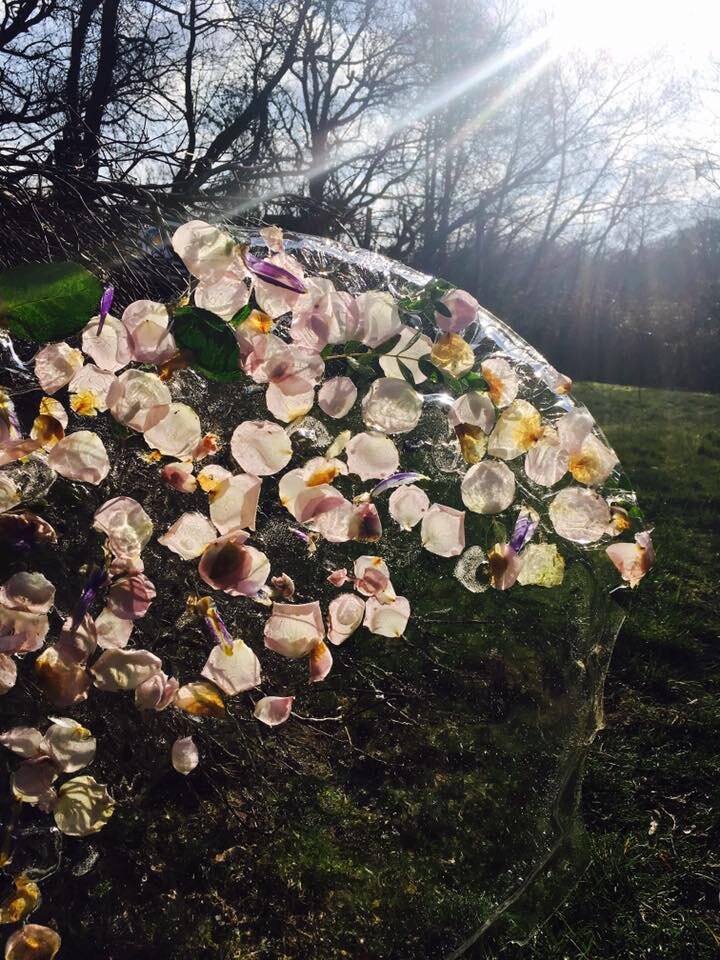
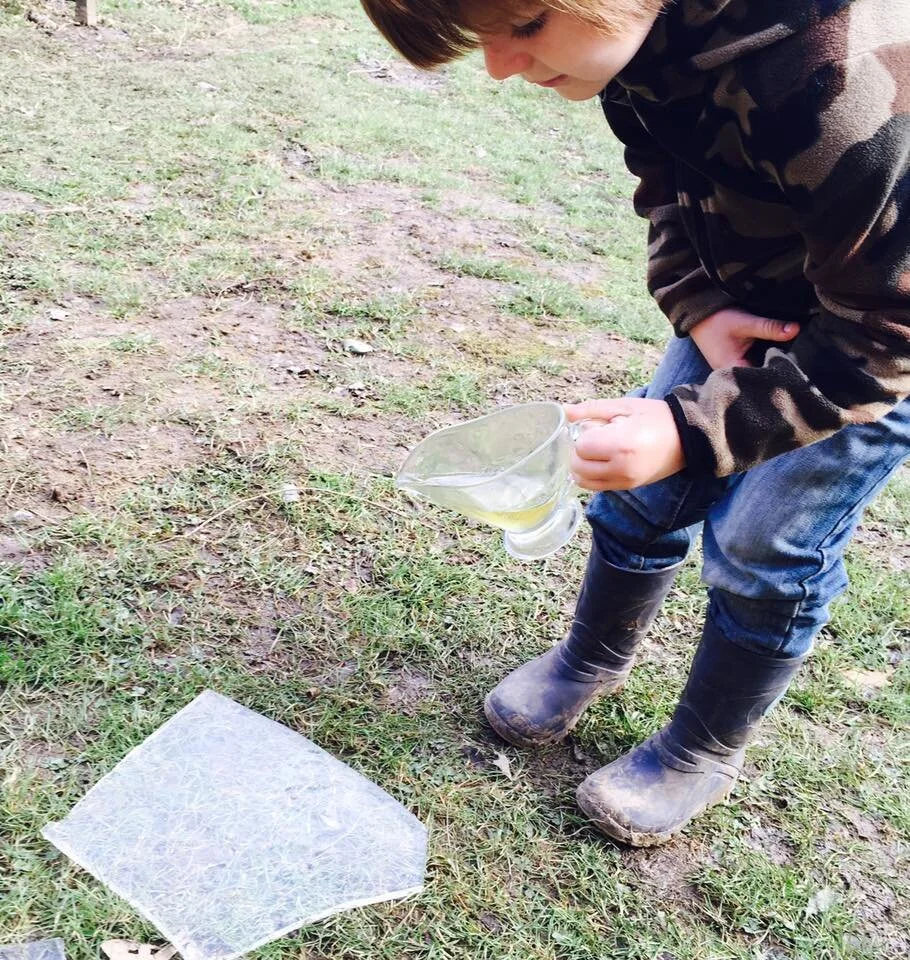
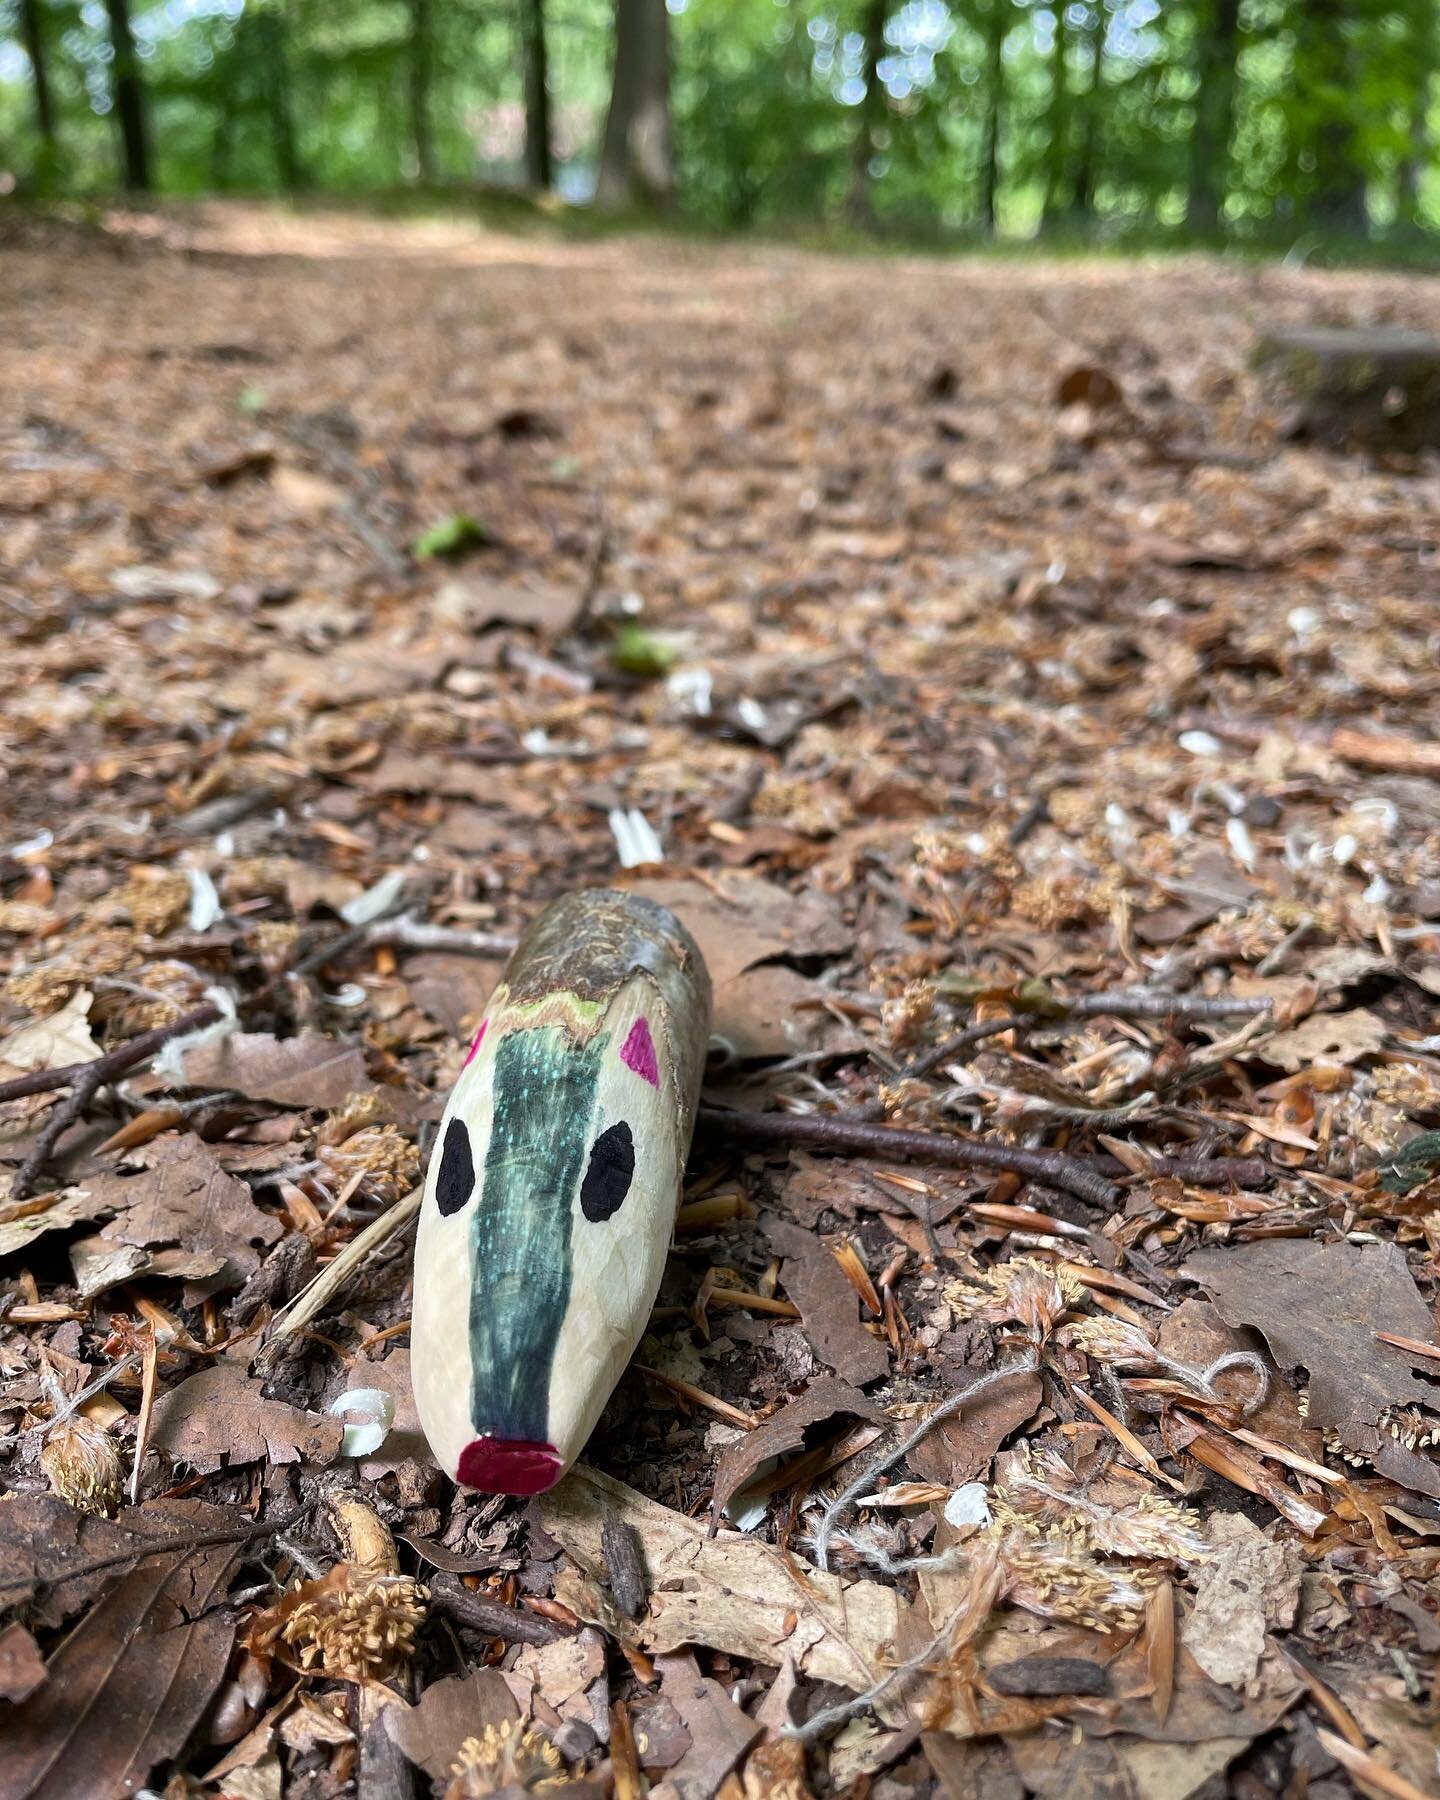
You could make a mouse from an acorn or a hedgehog from some clay and foraged materials. You could take a much loved teddy bear with you and build them a house. This is a great chance to great creative and indulge in some imaginative play in nature. When your house has been built you will need to think about the garden. What will you use for furniture and what will your inhabitants eat? An acorn cup makes a great bowl and a small stick the perfect spoon. Before you know it you will have created your own small world.

White Air Dry Dough (Pack 3)

You can make a really white air drying dough using 200g of Baking Powder, 100g of Corn Flour and 150mls of water. We have included the dry ingredients in Pack Three so you just need to add water.

Put all the ingredients in a pan and gently heat through stirring continuously. The dough will start to come together. It can then be turned out onto a board and kneaded when cool enough.

One of the things we love to do is make impressions in clay of things we find in the woods. When you are on a walk you could look out for things that have interesting shapes and textures. What signs of Spring can you find?

To make an impression of the things that you have found just roll out the clay, put the item on the surface and gentle roll it in. Then you can take it out and see what kind of impression has been left behind. We had a lot of fun experimenting with different things. When you make an impression you like you can cut around it using a cookie cutter.

The shapes can then be left in a warm place to dry, turning occasionally. We found the best thickness to roll the dough was around 5 mm. If the dough was very thick then cracks appeared as it dried.

You can use the blue cloth included in the pack to roll the clay out on. This prevents it from sticking. There is also a straw which you can use to make a hanging hole in the shapes. If you don’t have a rolling pin then a bottle will work fine.

IMG_2990.jpg

You could paint your finished shapes, but the bright white dough looks beautiful left natural too.

Flowery Biscuits (Pack 3)

We have been having lots of fun testing out biscuit recipes that incorporate flowers. This is such a fun way to celebrate the Spring and would be lovely for a picnic.

We have shared two of our favourite recipes below and have included cookie cutters and dried Lavender in our third pack to get you started.

IMG_3025.jpg

Lavender Shortbread

We used this recipe from Wallflower Kitchen. The dough was a little dry so we added extra milk.

IMG_2913.jpg

Primrose Biscuits

For these biscuits we started with a batch of Basic Biscuit Dough. We then selected some flowers to decorate them with. You can use any edible flower, but we have chosen to use Primroses as they are abundant right now and thrive in the wet Sussex soil. Yellow Primroses work fine, but do tend to blend in with the buttery colour of the biscuits. We chose to use pink cultivated Primroses from the garden. The colour does fade as the flowers are cooked so the vibrant pink worked well.

As a side note all flowers from the Primula family are edible so don’t worry too much if you can’t tell your Primroses from your Polyanthus.

When the dough is rolled out, place the flowers on top and then roll them gently with the rolling pin to push them in. The biscuits can then be put on a baking tray. Before the biscuits are cooked the flowers should be brushed with egg white as this will stop them burning. We kept an eye on out biscuits and removed them from the oven when they were golden but pale, so the flowers had full impact.

Happy baking!

Ice and Snow Lanterns

We have been making the most of the cold snap this week to test out some ideas for making lanterns from snow and ice. These are perfect for creating a mini Winter Wonderland in the garden, lighting up a porch or illuminating a snow man! Below are four of our favourites.

147378710_2772294119649888_4713014498902869804_n.jpg

The Snow Lantern.

This is essentially a hollow mound of snowballs. The light from the candle inside shines beautifully through the gaps in the snow.

28379730_2096220227273814_3308427481761698546_n.jpg

The Ice Lantern

You can find out how to make these in our Top Five Ice Activities.

147745692_2772128019666498_4585407127698768307_o.jpg

The Tea Light Holder

Simply fashion a tea light holder from snow! Make sure the candle is pushed far enough inside to protect it from the wind.

K50P0841.JPG

The Balloon Lantern

Balloons filled with water stained with food colouring were left outside long enough to freeze the outer shell. The balloon was peeled off and the water inside tipped out.

Clay birds (Pack 2)

Natural clay is one of our favourite resources in the woods. It is such a great medium for children to express themselves, can be used as part of many themes and will return to nature if dropped or left in the woods.

With this in mind we have included a packet of clay in our January Pack. The clay can be used to create literally anything. However, as we usually focus on birds this month we decided to have a go at making clay birds. In the pack we have included beads, feathers and a few natural things to get you started.

Clay could be rolled and cut to make a flat bird or sculpted to make a three dimensional bird.

You could find things to add texture to the clay,.

You could use the clay, feathers and natural materials to add features to your creations.

IMG_2561.jpg

We would love to see your pictures of whatever you make!

Celebrate the coming of Spring (Pack 2)

The 1st to the 2nd of February marks Imbolc. This is an old Pagan festival celebrating the coming of Spring. The date is also significant in the Christian calendar as Candlemas and is the day the years candles are blessed.

It has always felt quite natural in the woods to recognise that Spring is on its way, To quietly celebrate the returning of the light, signs of new growth and the hope that brings.

One of our favourite ways of doing this is to create an Earth Candle. We dig a hole and add a wick, light a fire and melt wax and then pour it into the hole. Once the wax has set the candle is lit. The candle in the ground seems a fitting way to celebrate the coming of the light and give the earth a little nudge to wake up.

The children often decorate the ground around the candle with things to represent new life.

84729115_2618028351759663_7805885597695868928_n.jpg

This ritual seems even more relevant this year when we are looking for light, new growth and hope more than ever. We wanted to create a similar activity that could be done at home. We have, therefore included a candle rolling kit in our January pack.

IMG_2520.jpg

Candle rolling uses beeswax sheets rolled around a wick. As the wax doesn’t need to be melted this is the perfect way for children to make candles.

The pack contains two sheets of wax in two colours. One sheet is 5cm wide and the other is 10cm wide. You can chose to make a 5cm tall candle and a 10cm tall candle by leaving the sheets whole. You could choose to cut the 10cm sheet in two horizontally and make three 5cm tall candles. Alternatively you could cut the 10cm sheet into two triangles and make two 10cm tall waterfall effect candles as pictured above.

Once the wax is ready you take the wick and lay it across the width of the wax close to the edge. Fold the wax over the wick and push it down around it. Warm hands will make the wax pliable.

The wick can then be rolled so the wax wraps around it. The wick is then cut off at the bottom and trimmed at the top to finish off the candle.

You could choose to reserve some of the wax for decorating the candles. We found small cookie cutters worked well on the wax. We cut out shapes and used warm hands to attach them to the main candle. It is also possible to use scissors to cut out shapes.

Once the candles are finished you could seek out something natural to stand them on. A flat pebble, a log or a piece of bark would do the job.

You could then collect things from the house, garden or on a walk to decorate around the candles.

We really enjoyed doing this activity and finished it off by lighting the candles and having a go at toasting some mini marshmallow over the flames. We have included some in the January pack so you can try this too. Be warned though they do catch fire VERY easily!

IMG_2497.JPG

Five birdfeeders to make at home (Pack 2)

Even on a good year January, is a month to spend time at home and look after ourselves and each other. Usually around this time we extend our love and kindness to our feathered friends and pay special attention to the garden birds. Putting out food regularly and making sure there is a source of clean water that hasn’t turned to ice, can keep us connected to nature when we might prefer to be indoors.

The birds usually repay us by keeping us entertained as we watch them from the window. Putting out a variety of food and types of feeders can increase the diversity of birds you attract to your garden and thus increasing the fun!

With that in mind we have shared five different types of bird feeders you can make at home. Most of the resources to make these are contained in our January Care Package or can be obtained easily.

The Upcycled Mug

This is a great way to reuse chipped mugs. To make this you will need an old mug, string and bird seed, which are all contained in the January pack you will also need a block of lard or veggie alternative.

Put the lard in a pan and heat until it has melted. Gradually stir in some bird seed until you are happy with the consistency. Then spoon the mixture into the cup. You can push a stick into the lard as it is setting to make a perch. You will find one in the January pack or you can forage for your own. Allow the mixture to set then tie a string to the cup handle and hang outside.

Any excess mixture can be used to fill hollowed oranges as explained below.

The Lego Feeding Station

If (by chance) you have a large amount of Lego in your house you could use some of it to make a bird feeder. We had great fun doing this and it really turned into a STEM challenge as we tried to answer questions and over come problems. Where should the food go? Will it hold enough food? How can the food be kept dry if it rains? Where will the birds perch? Where should the string attach? How can we make it strong enough to withstand a windy day?

You can use the bird seed and the string from the January pack to have a go at this. Just add Lego!

The Orange Skin

A hollowed out orange is simple and effective. The skin can be pieced on both sides and a string threaded through for hanging. There is a handy needle in the January pack for doing this. The orange can then be filled with the lard and bird seed mixture as described above or filled with loose bird seed.

Lolly Stick Bird Feeder

These bird feeders were fun to make and very popular with the birds! We have included natural lolly sticks in the January pack and you could choose to paint or colour these in. The glue will probably work better if you do this at the end.

The pack also contains a pot of wood glue and some string.

Start by making the bottom of the bird feeder by lining up 11 lolly sticks on a table. Secure these by gluing three more lolly sticks on top at a right angle. Turn this over and then start building up the walls by gluing sticks opposite each other. Alternating after each pair of sticks is added Keep going until the walls are around 8 lolly sticks high.

To secure the string turn the bird feeder over and place two lengths of string in between the lolly sticks. Add three more sticks cross ways on top to secure the sting. Once the bird feeder has been turned back over all four lengths of string can be tied together.

We have included two large lolly sticks to form perches in our January pack. You can decide where you think these should go.

Once the glue has fully dried the bird feeder can be filled with bird seed and hung outside.

The Apple

We have been making this simple little bird feeder in the woods for years. Pushing seeds into an apple is rather therapeutic and great for fine motor skills.

To make this bird feeder you need to core an apple. Find a good stick and attached a length of string to it using a Larks Head Knot. Then thread the ends of the string through the hole in the apple. This creates a hanging sting and perch for the birds.

You can then get to work pushing the sunflower seeds contained in the January pack into the apple.

We hope you have fun experimenting with different types of bird feeders. We would love to hear what kinds of birds you spot!

Five things to do on an icy day

By Mel Bellis

Waking up to a frosty, icy morning is admittedly not as exciting as waking up to a fresh fall of snow. However, it still is quite exciting. Overnight temperatures are set to fall as low as -3 in Sussex this weekend, so we thought it time to look back at some of the ice activities we have done in the past. Maybe this will inspire your family to embrace the cold mornings.

Ice sculptures

How about making some ephemeral art al la Andy Goldworthy? We foraged for ice in the garden and used it to create sculptures.

28168191_2096009883961515_9220338412265409548_n.jpg

Ice Paintings

We also found that ice was fun to paint on. Our creations lasted a while before slowly melting away.

Ice cups or Lanterns

The process for making ice cups and lanterns is the same. You take a container and fill it with water. You take a smaller container and place it in the middle of the larger container. You may need to weight it with stones, but don’t let the second container touch the bottom of the first container. You can add petals or leaves to the water between the two containers for decoration.

:Leave the whole thing out overnight and (fingers crossed) the water should have frozen in the morning. Carefully remove the containers to reveal your ice cup or lantern.

In honesty it took us several attempts to create a cup that was perfectly water tight and could hold juice. However, we learned a lot in the process and our failed cups made very good lanterns!

28379730_2096220227273814_3308427481761698546_n.jpg

Sun Catchers

To make a suncatcher you simply find a container and add some water. You can then add natural items such as leaves, petals, berries, or twigs. These will freeze in place and create a beautiful decoration. You can even add a string to the water to allow you to hang your suncatcher up when it has frozen.

Toffee Lollies

We found this activity in The Wild Weather Book, by Fiona Danks and Jo Schofield. In order to do this you need some slabs of ice. You might be able to forage for these, but if you are planning on eating the lollies its best to make ice using fresh water. You can do this by leaving a plastic box or washing up bowl filled with water out over night.

To make the toffee you take 400g of sugar and 100ml of water and heat until the sugar has dissolved. You then add 1 teaspoon of vinegar and 4 tablespoons of golden syrup. Bring the boil and simmer for 10 minutes. The mixture gets very hot so this is best done by a grown up.

When the toffee is ready it can be put in a jug and drizzled on the ice to make toffee. You can add a wooden stick or skewer while the toffee is setting.

If the mixture does not set immediately it means that it has not been simmered for long enough, It can be returned to the pain to simmer some more until it works.

We did taste our lollies and unless you have a seriously sweet tooth then I don’t think you would want to eat a whole one!

We did however, enjoy the process and they make great decorations poked in plant pots glistening in the Winter sunshine.