Celebrate the coming of Spring (Pack 2)
/The 1st to the 2nd of February marks Imbolc. This is an old Pagan festival celebrating the coming of Spring. The date is also significant in the Christian calendar as Candlemas and is the day the years candles are blessed.
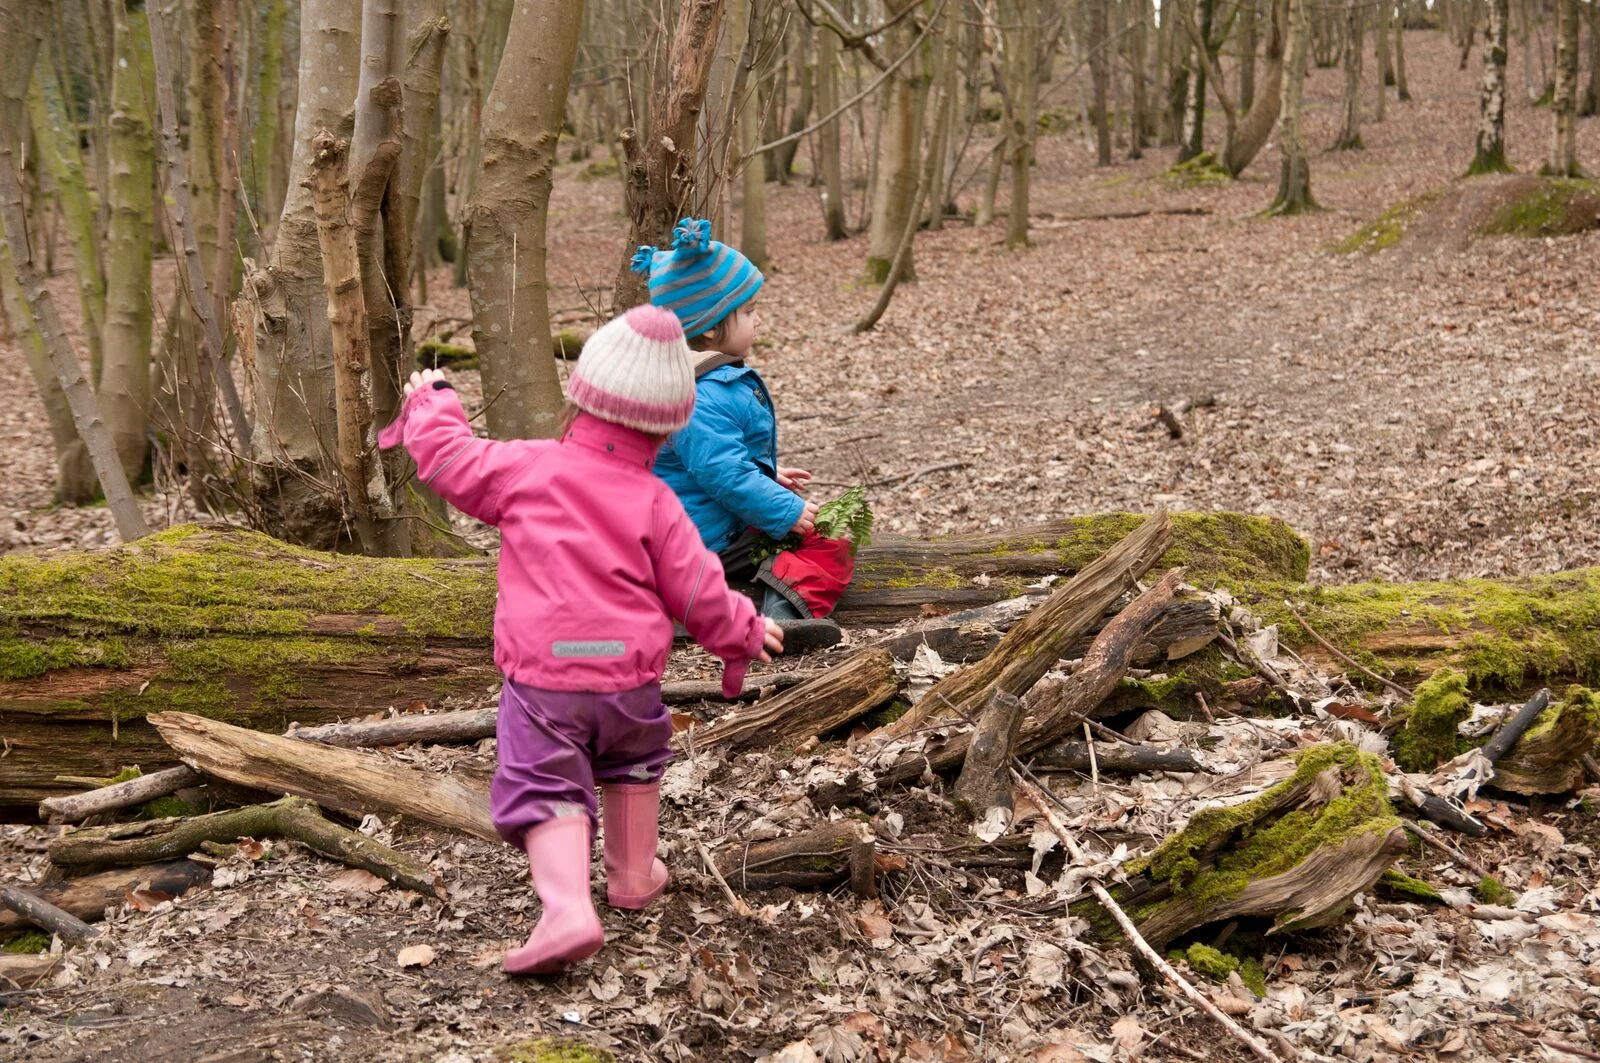
It has always felt quite natural in the woods to recognise that Spring is on its way, To quietly celebrate the returning of the light, signs of new growth and the hope that brings.
One of our favourite ways of doing this is to create an Earth Candle. We dig a hole and add a wick, light a fire and melt wax and then pour it into the hole. Once the wax has set the candle is lit. The candle in the ground seems a fitting way to celebrate the coming of the light and give the earth a little nudge to wake up.
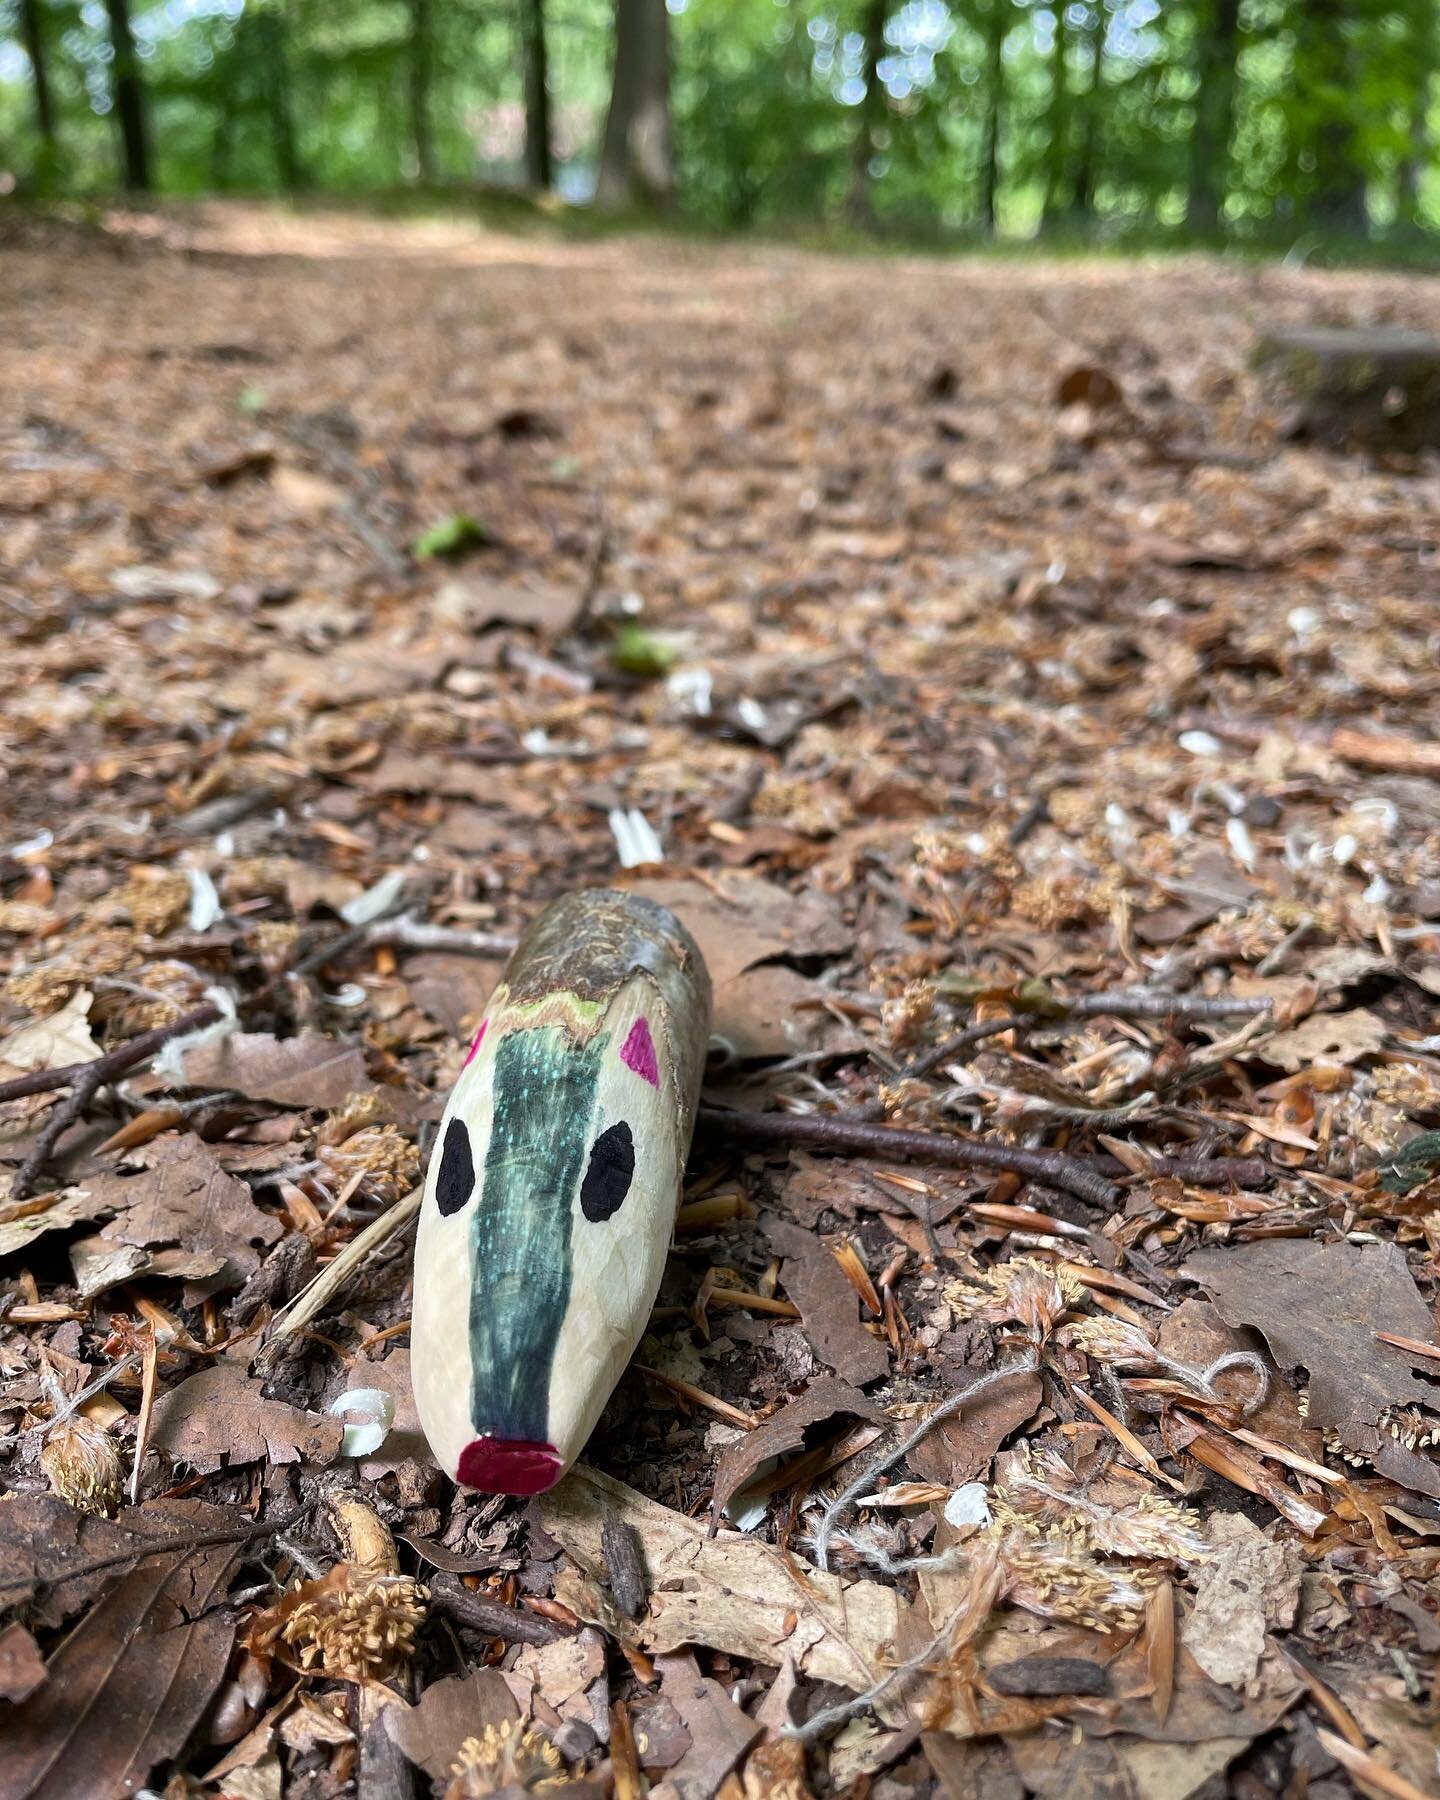
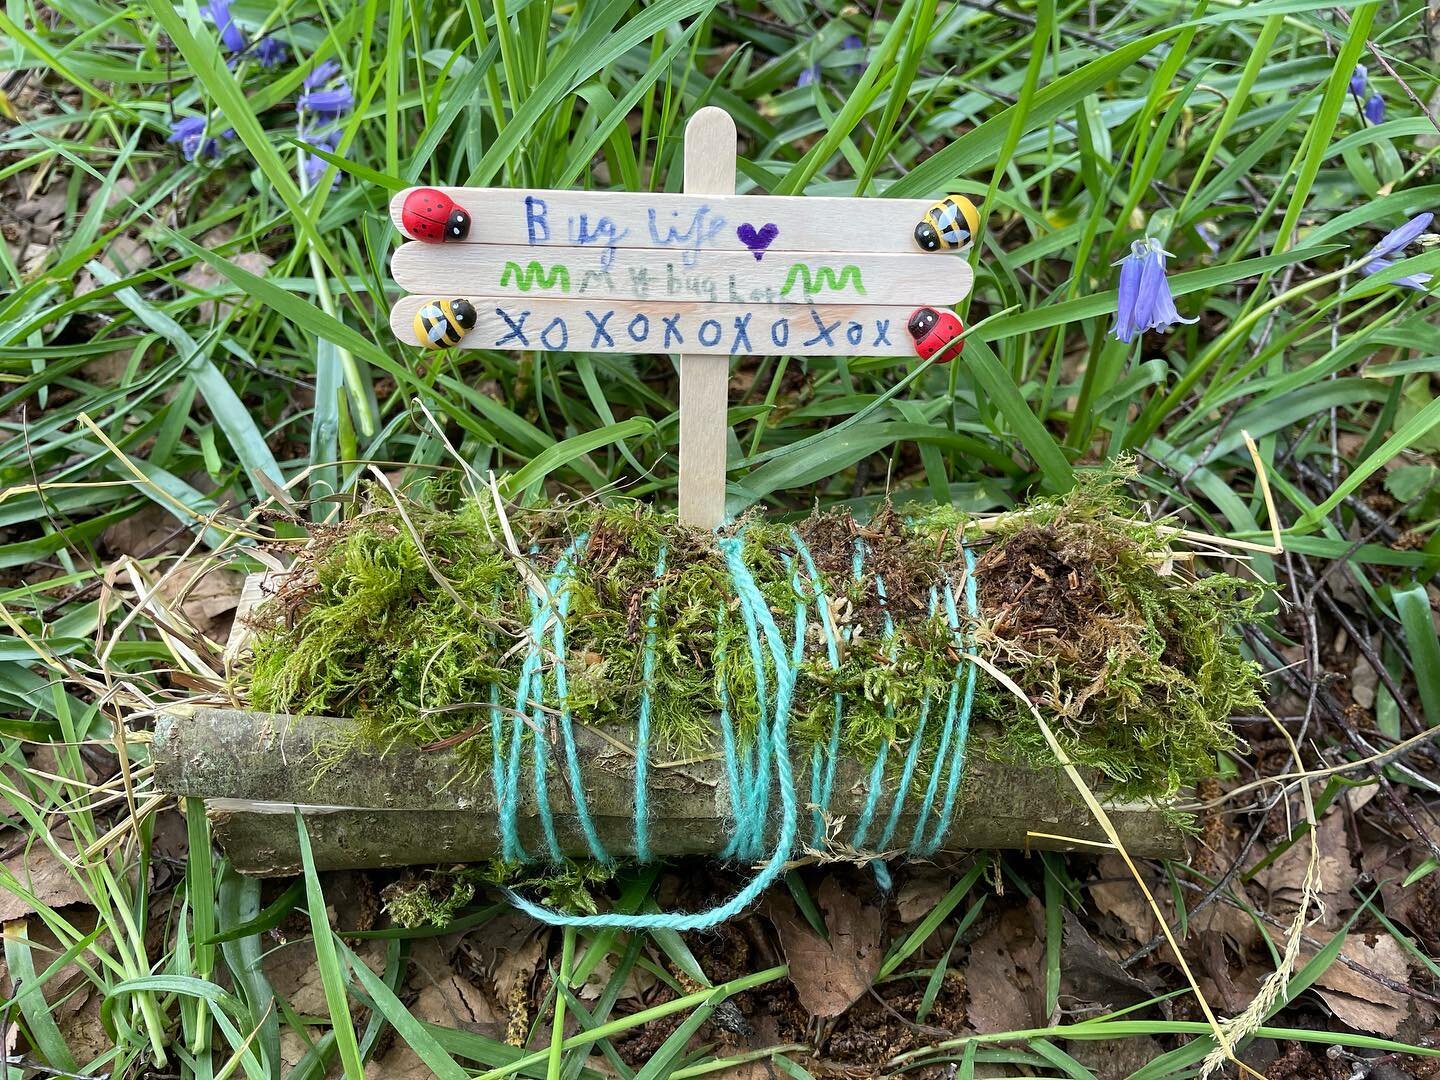
The children often decorate the ground around the candle with things to represent new life.

This ritual seems even more relevant this year when we are looking for light, new growth and hope more than ever. We wanted to create a similar activity that could be done at home. We have, therefore included a candle rolling kit in our January pack.

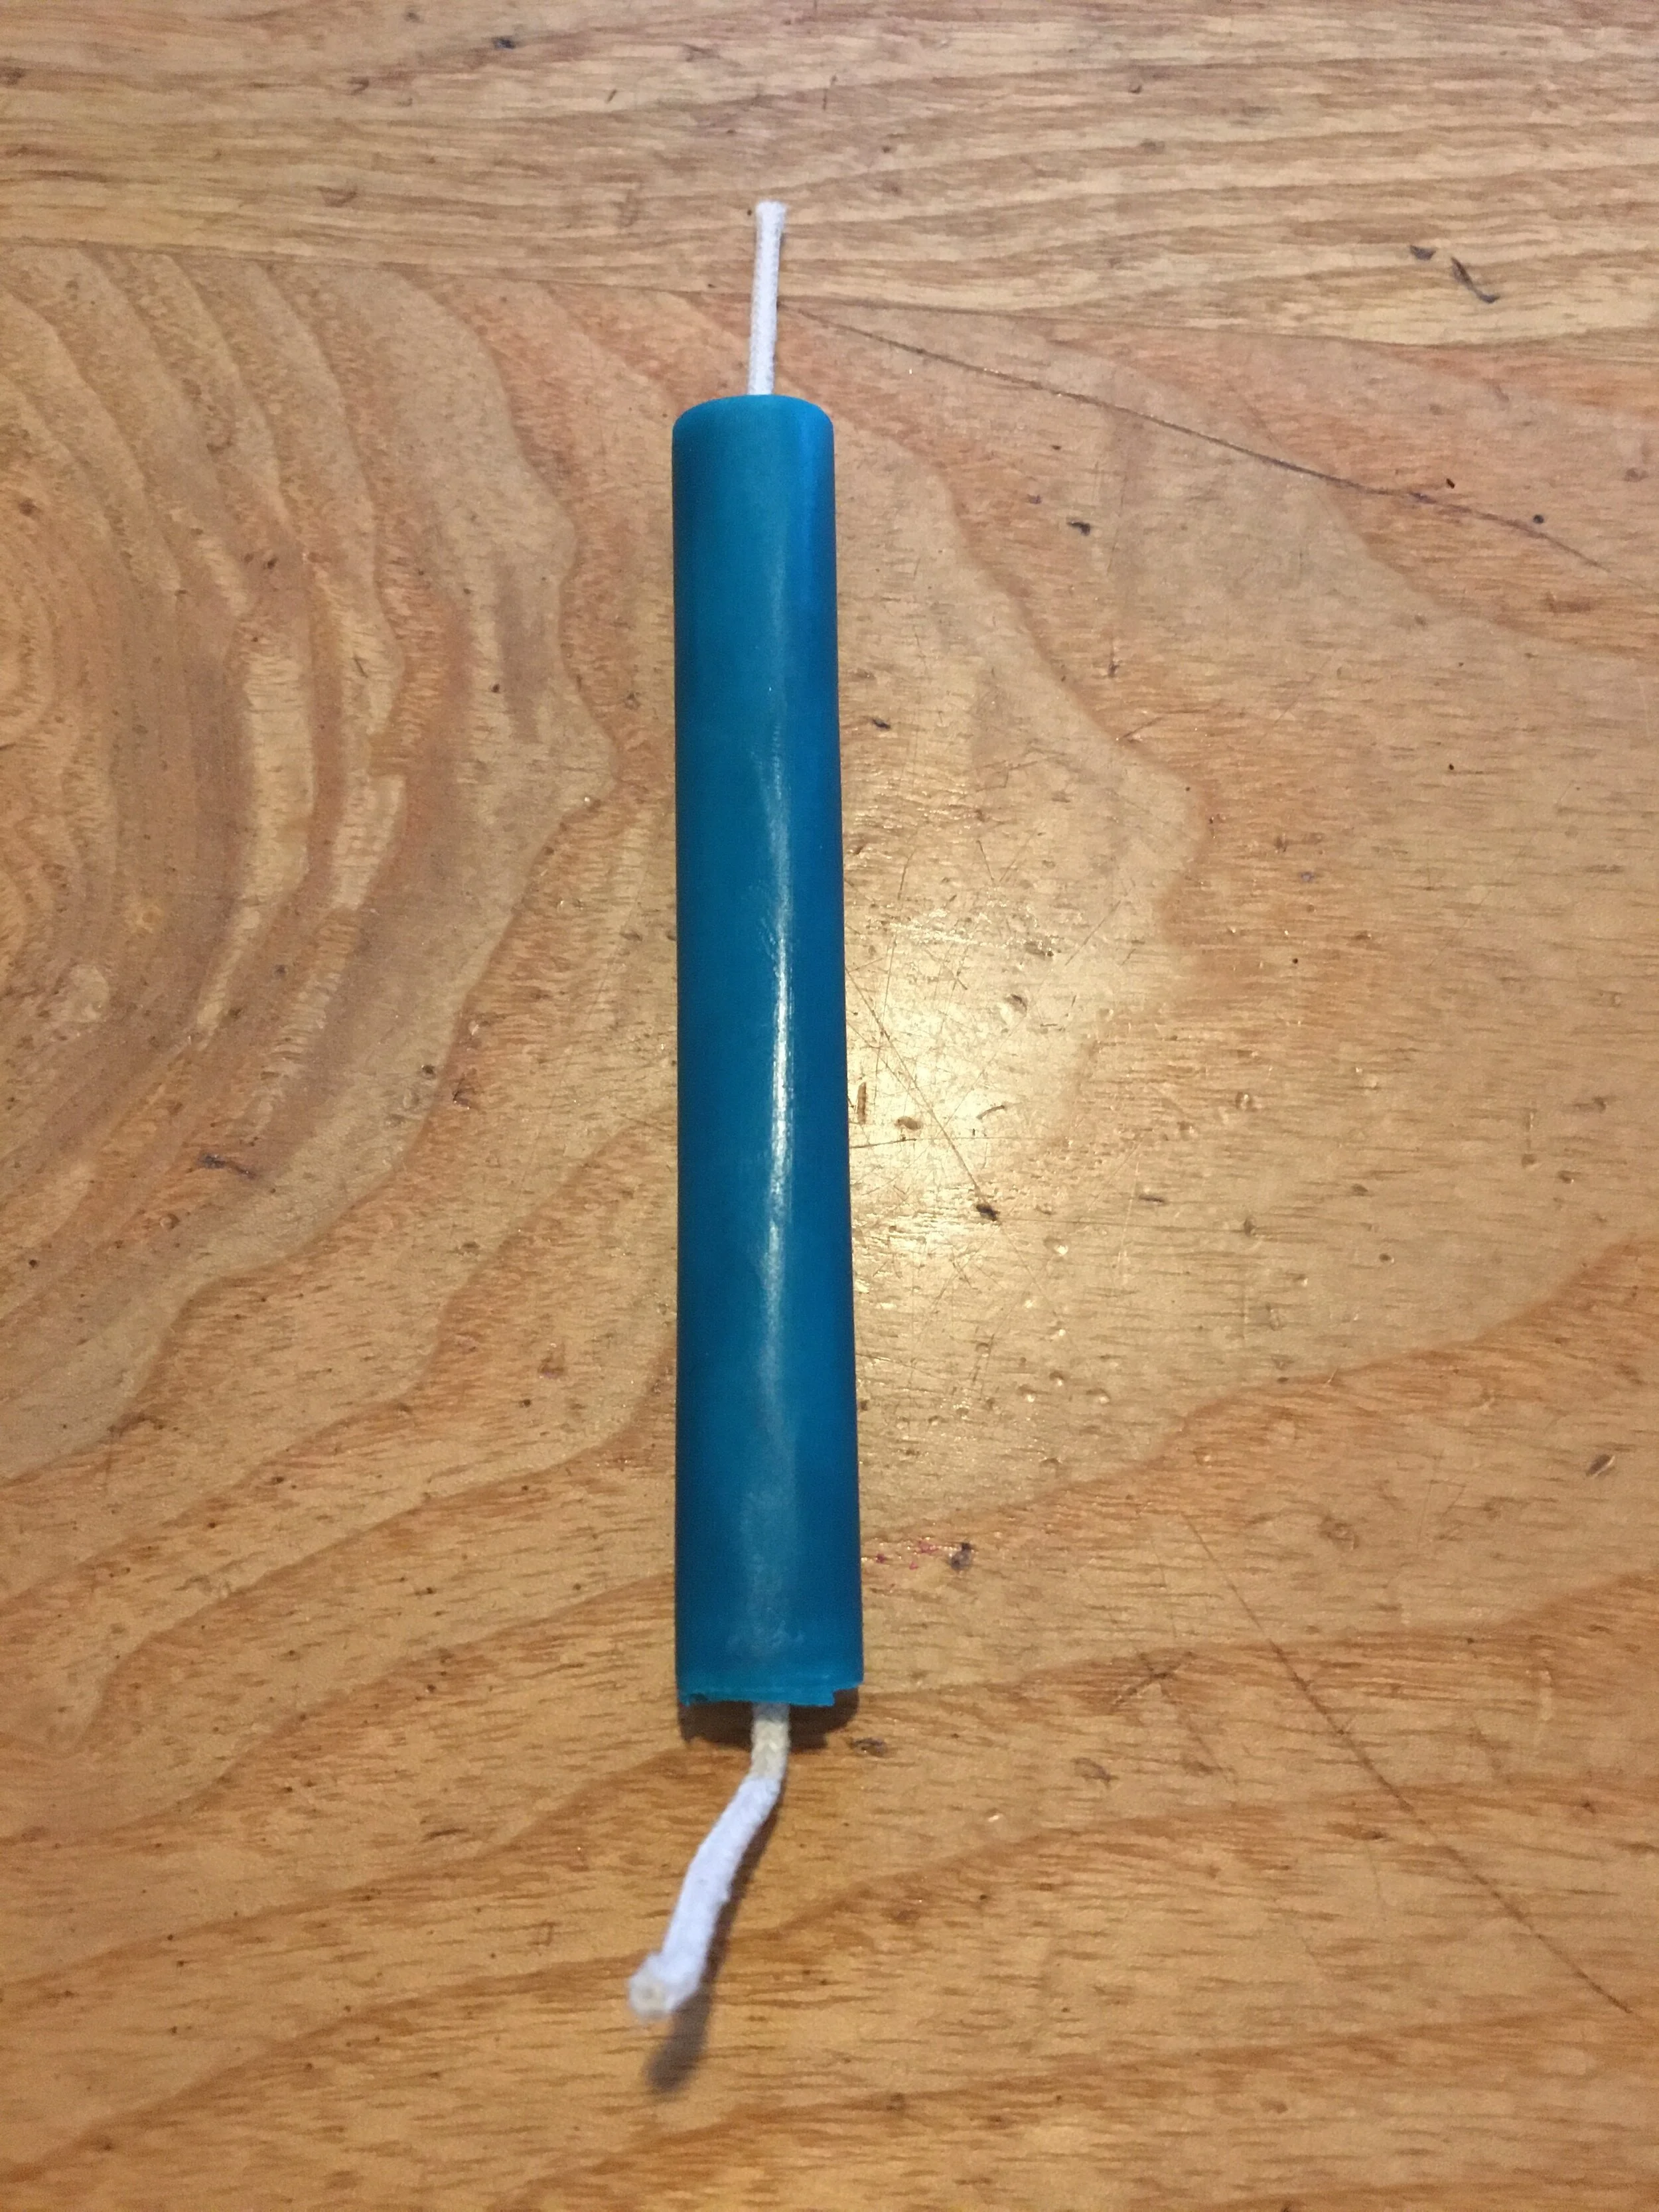
Candle rolling uses beeswax sheets rolled around a wick. As the wax doesn’t need to be melted this is the perfect way for children to make candles.
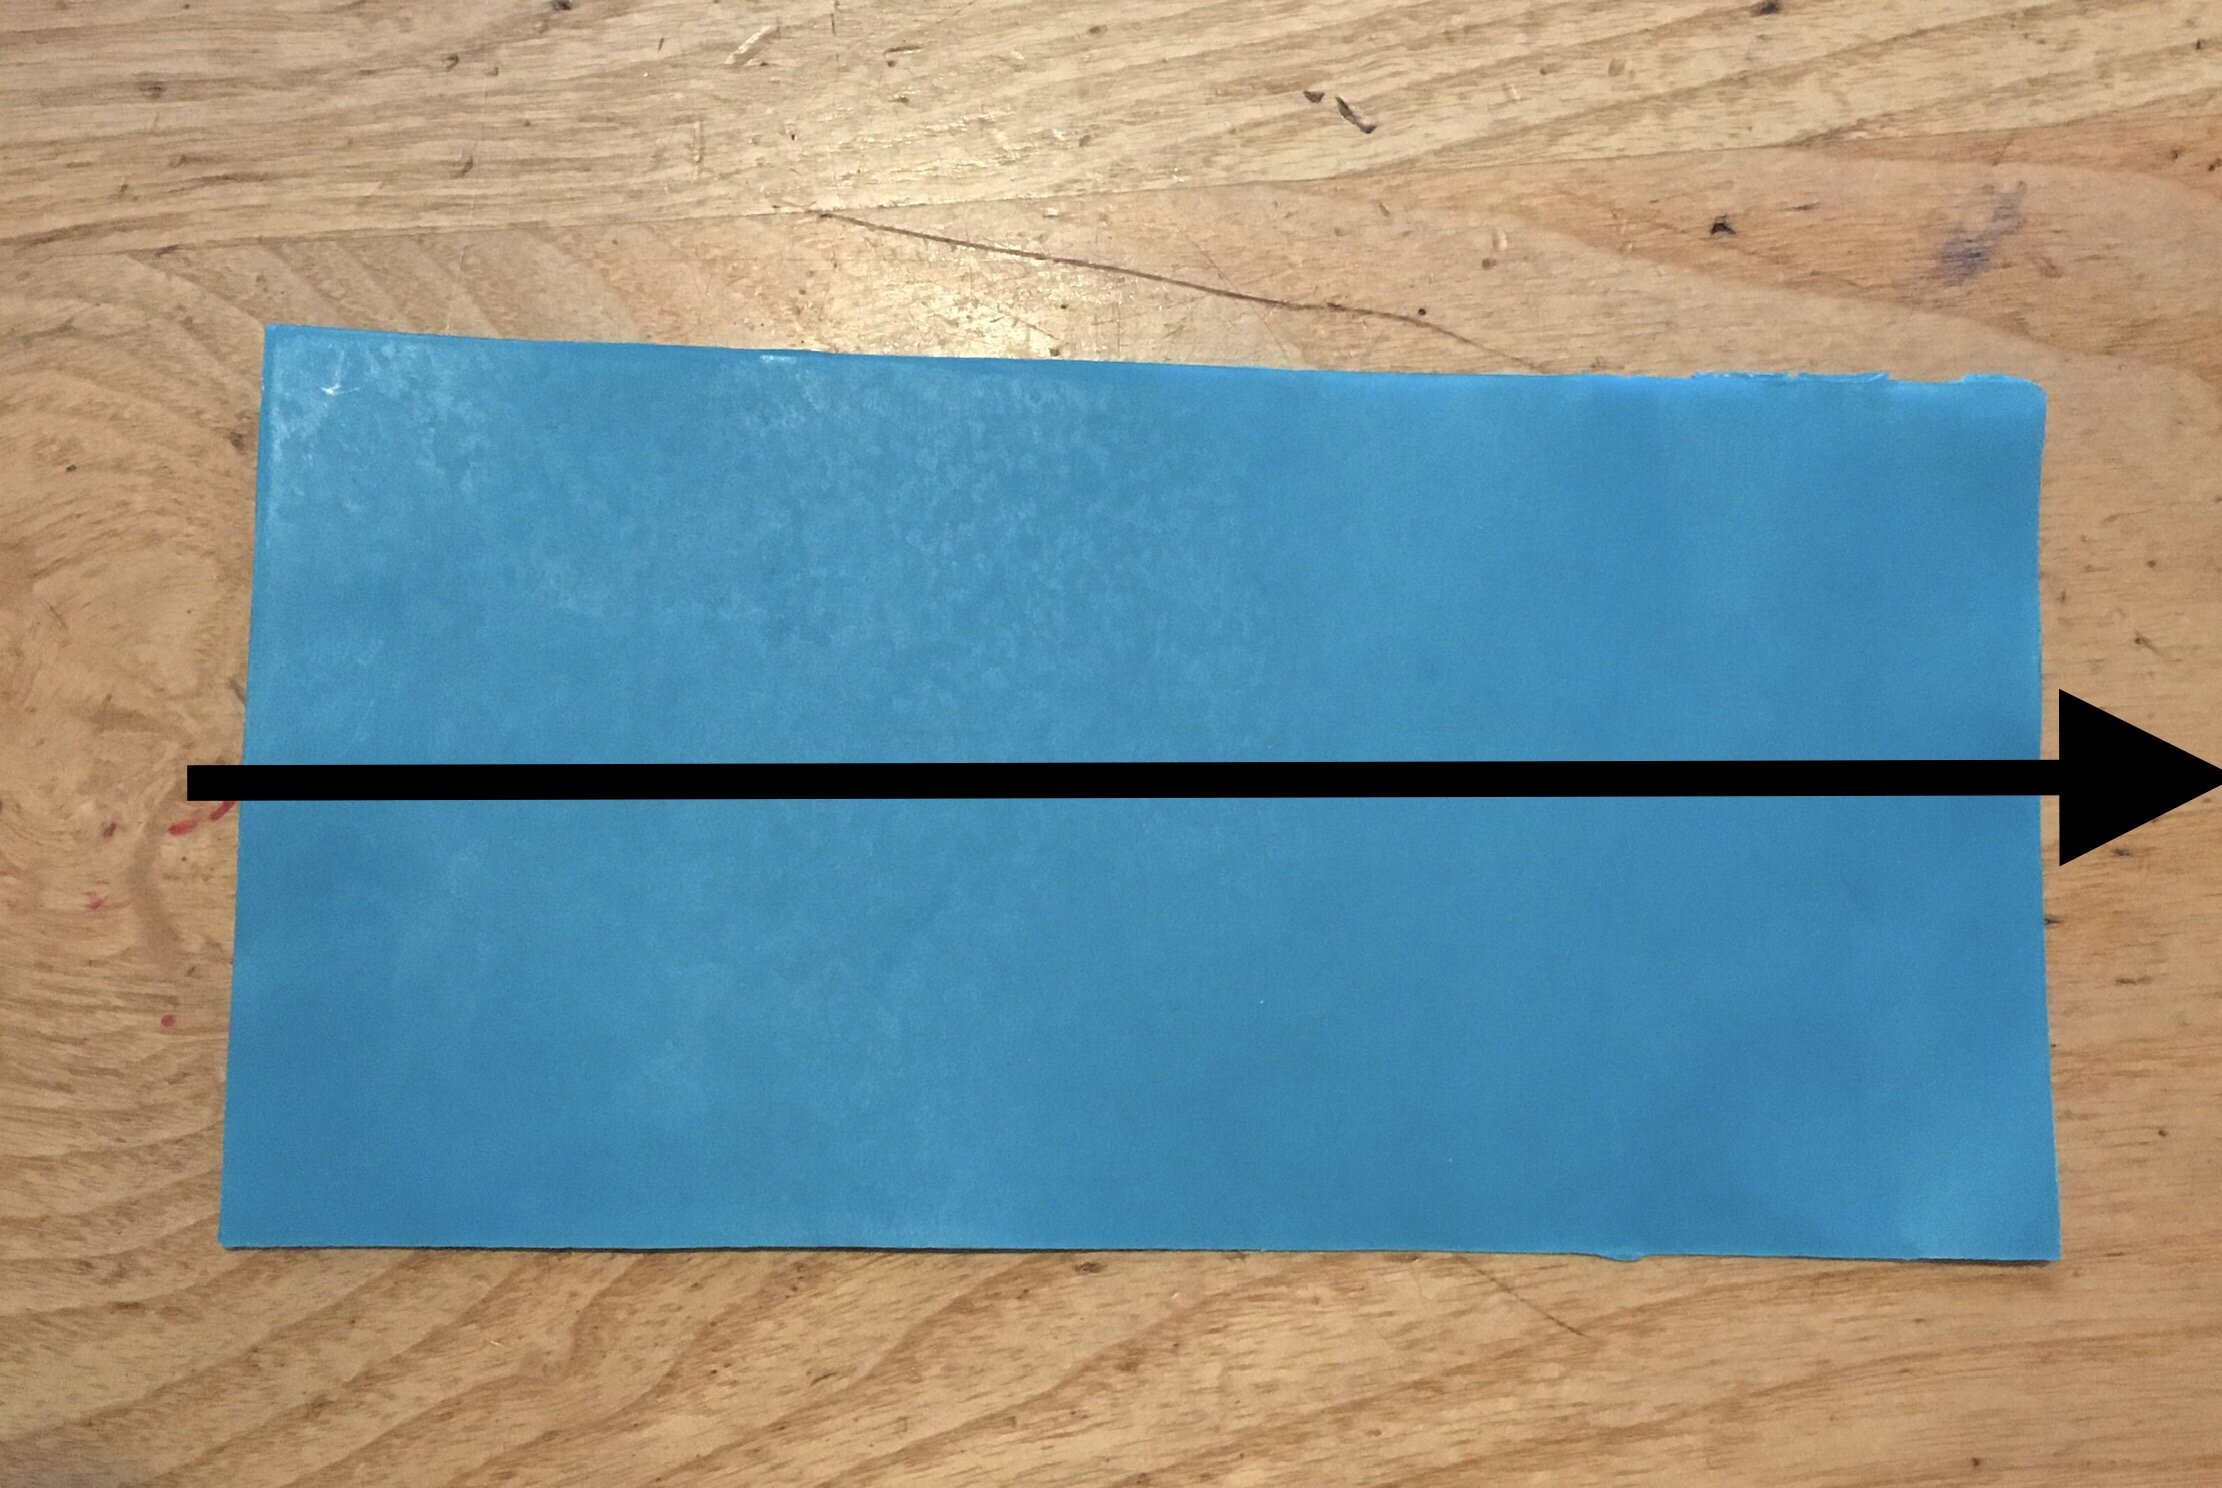
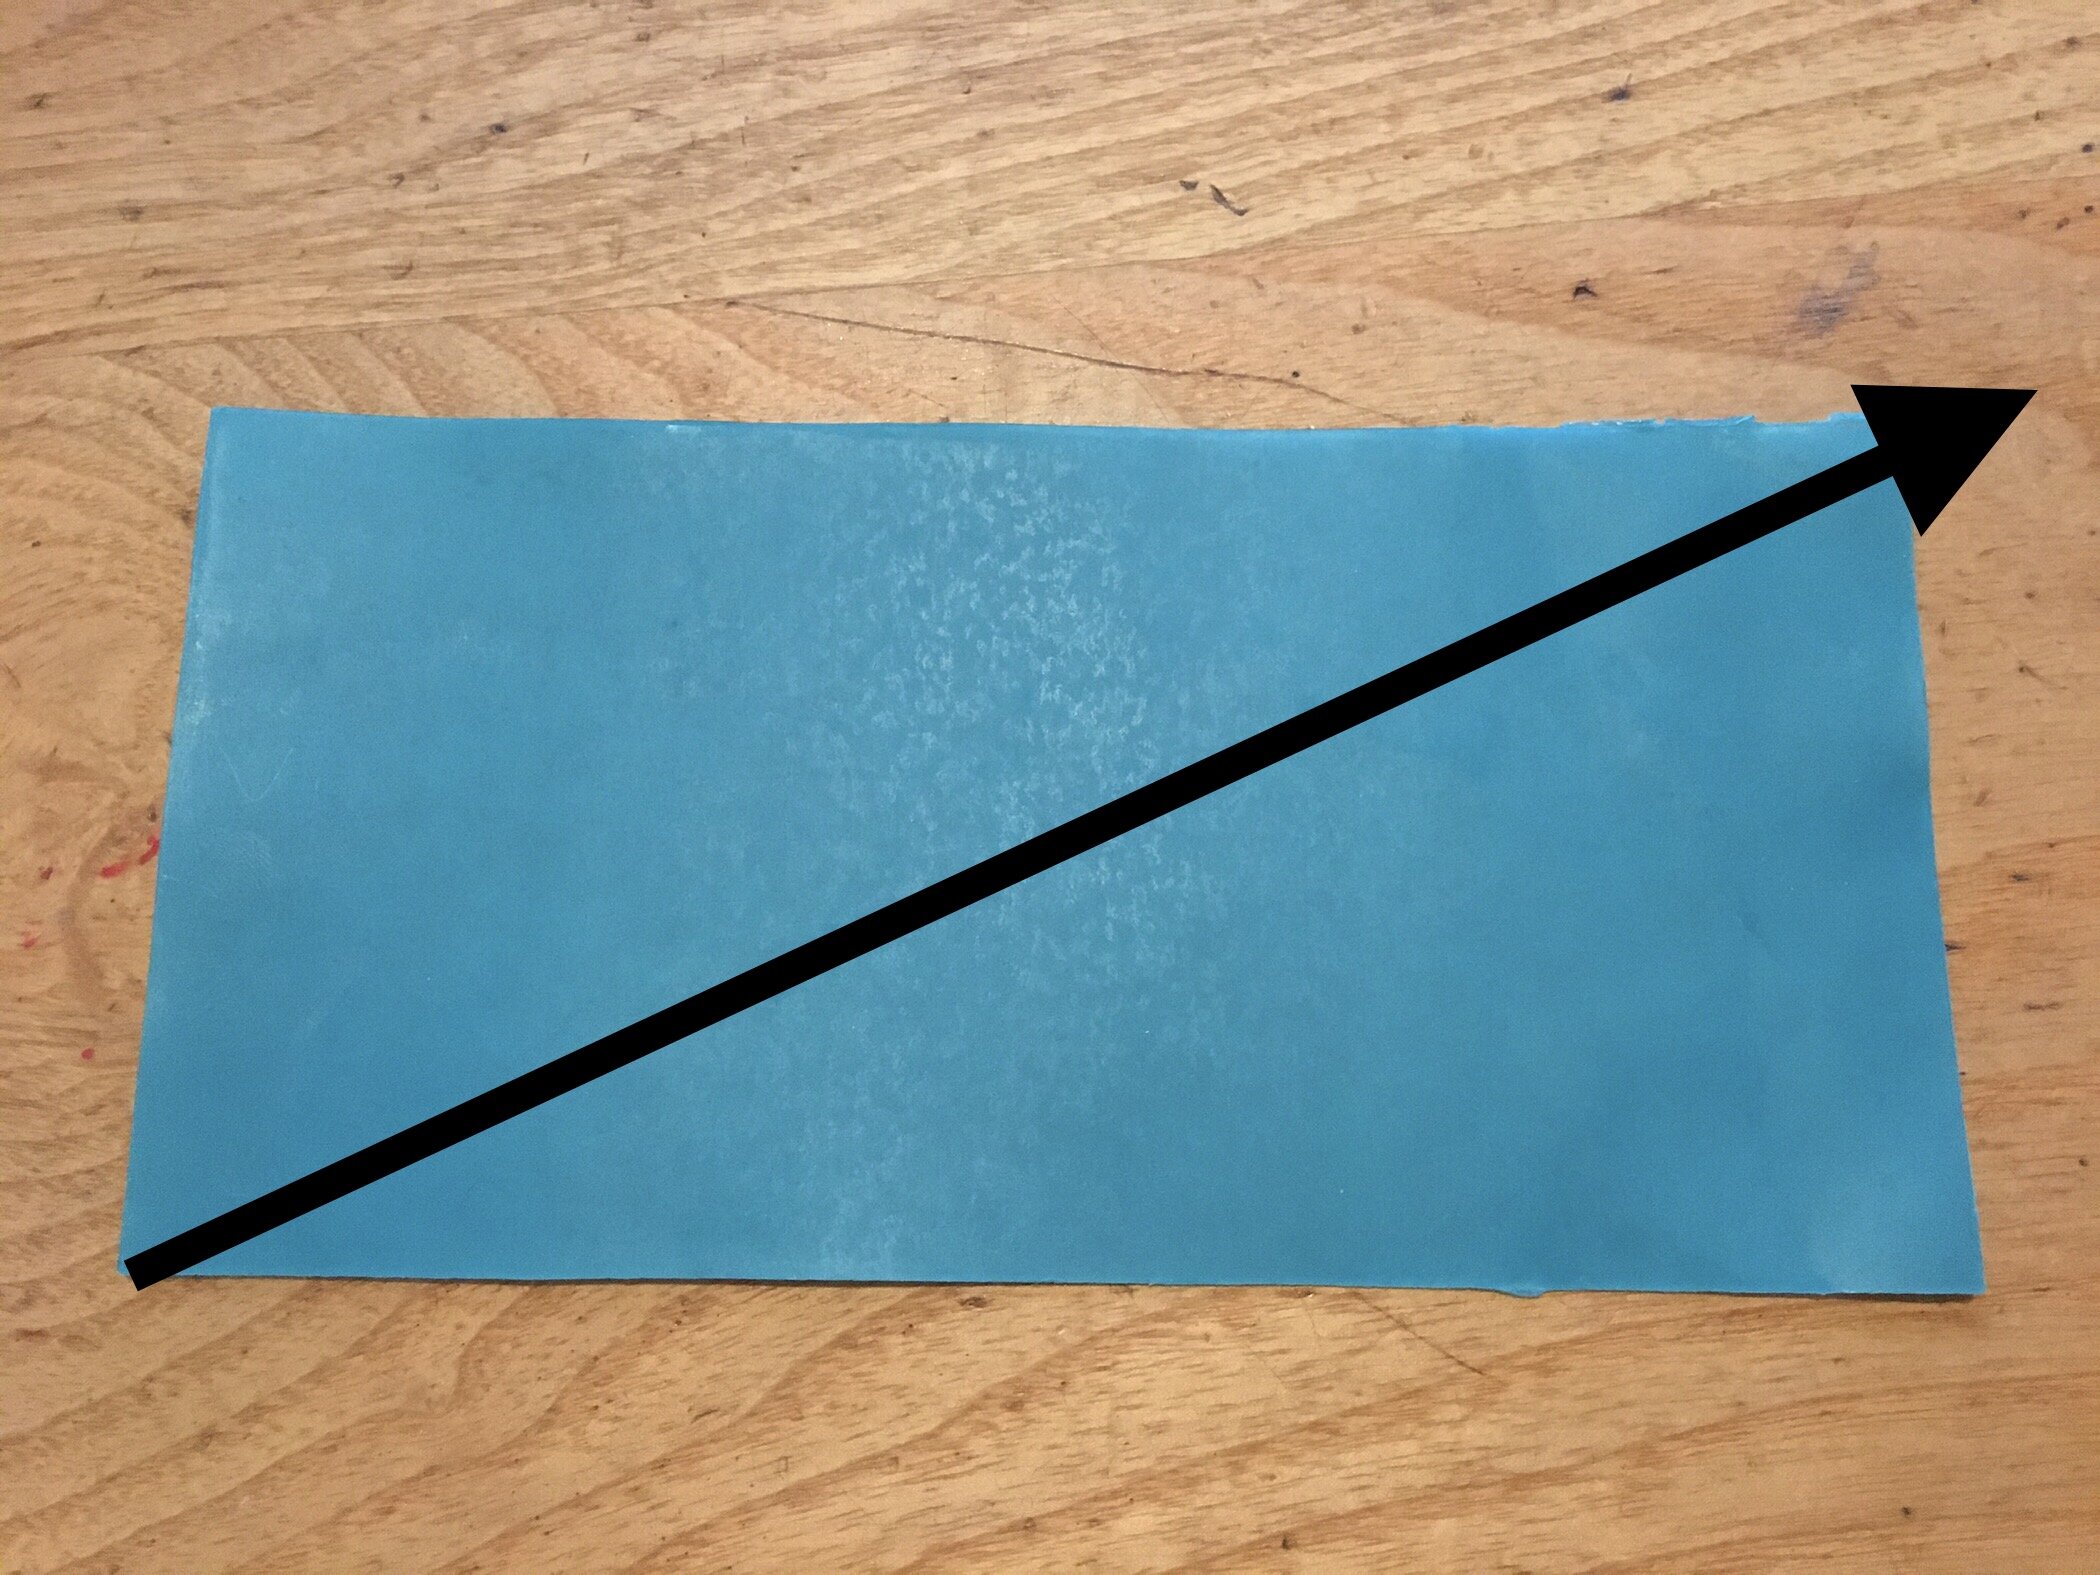
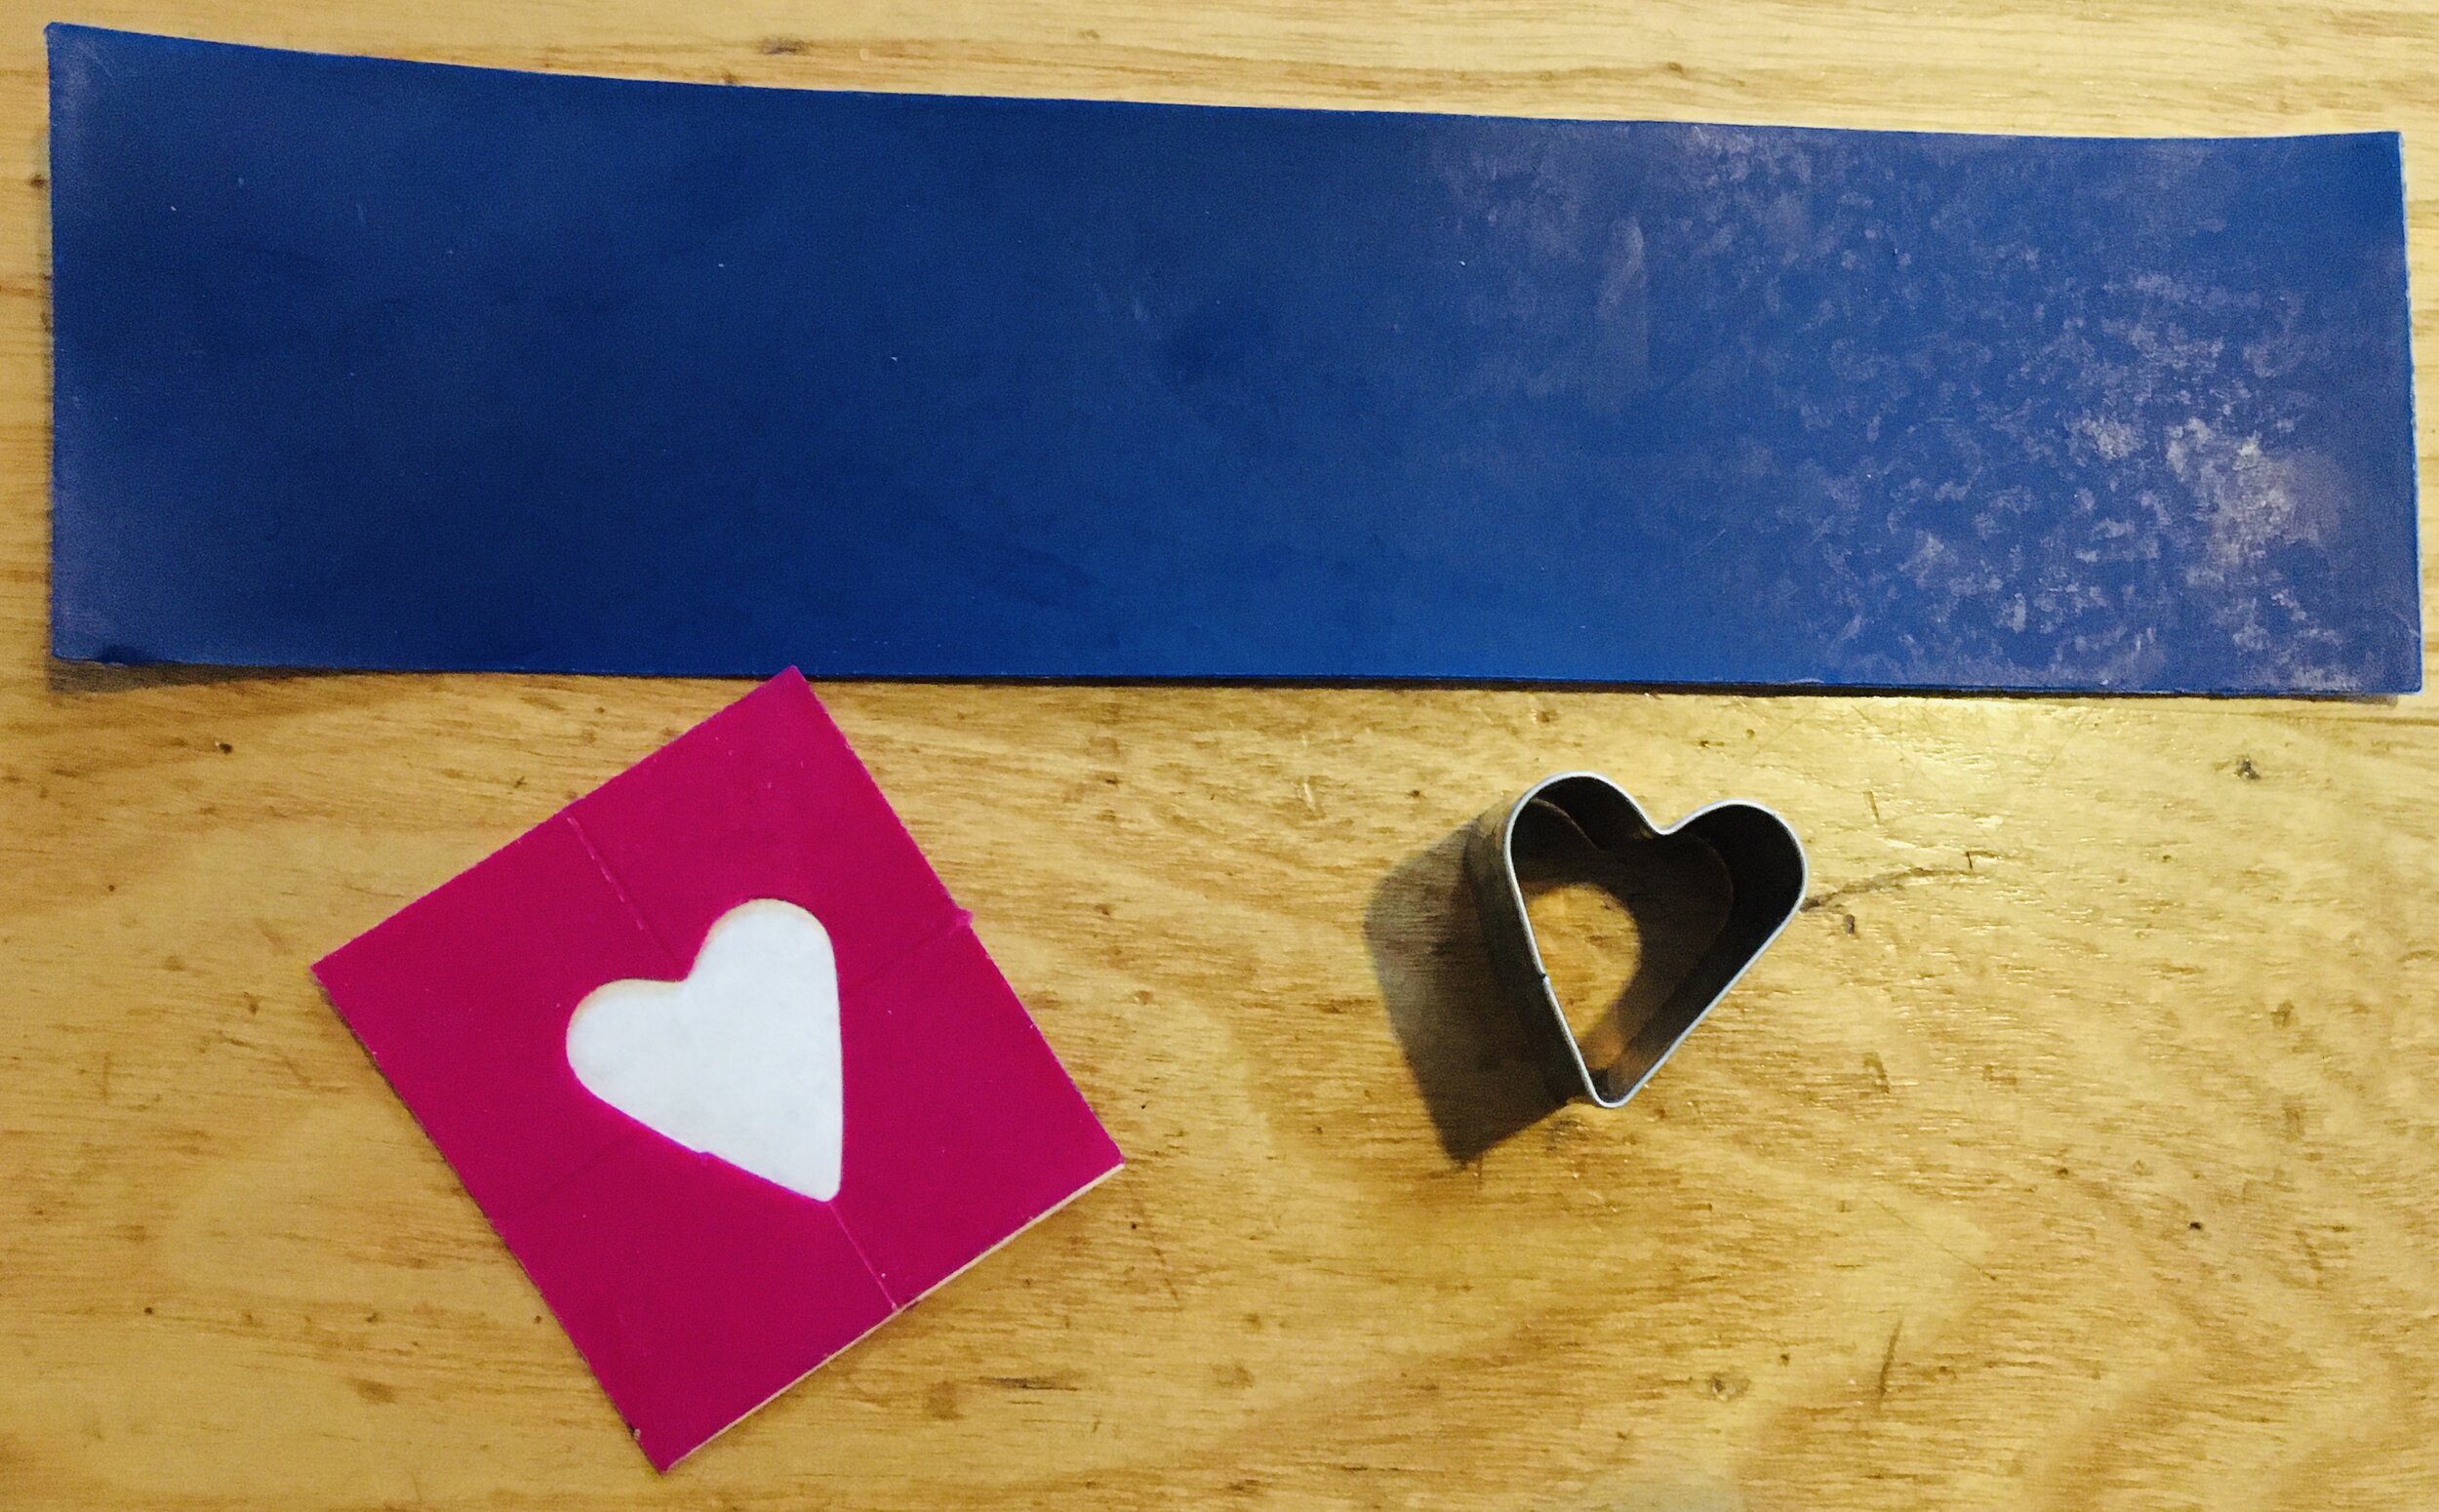
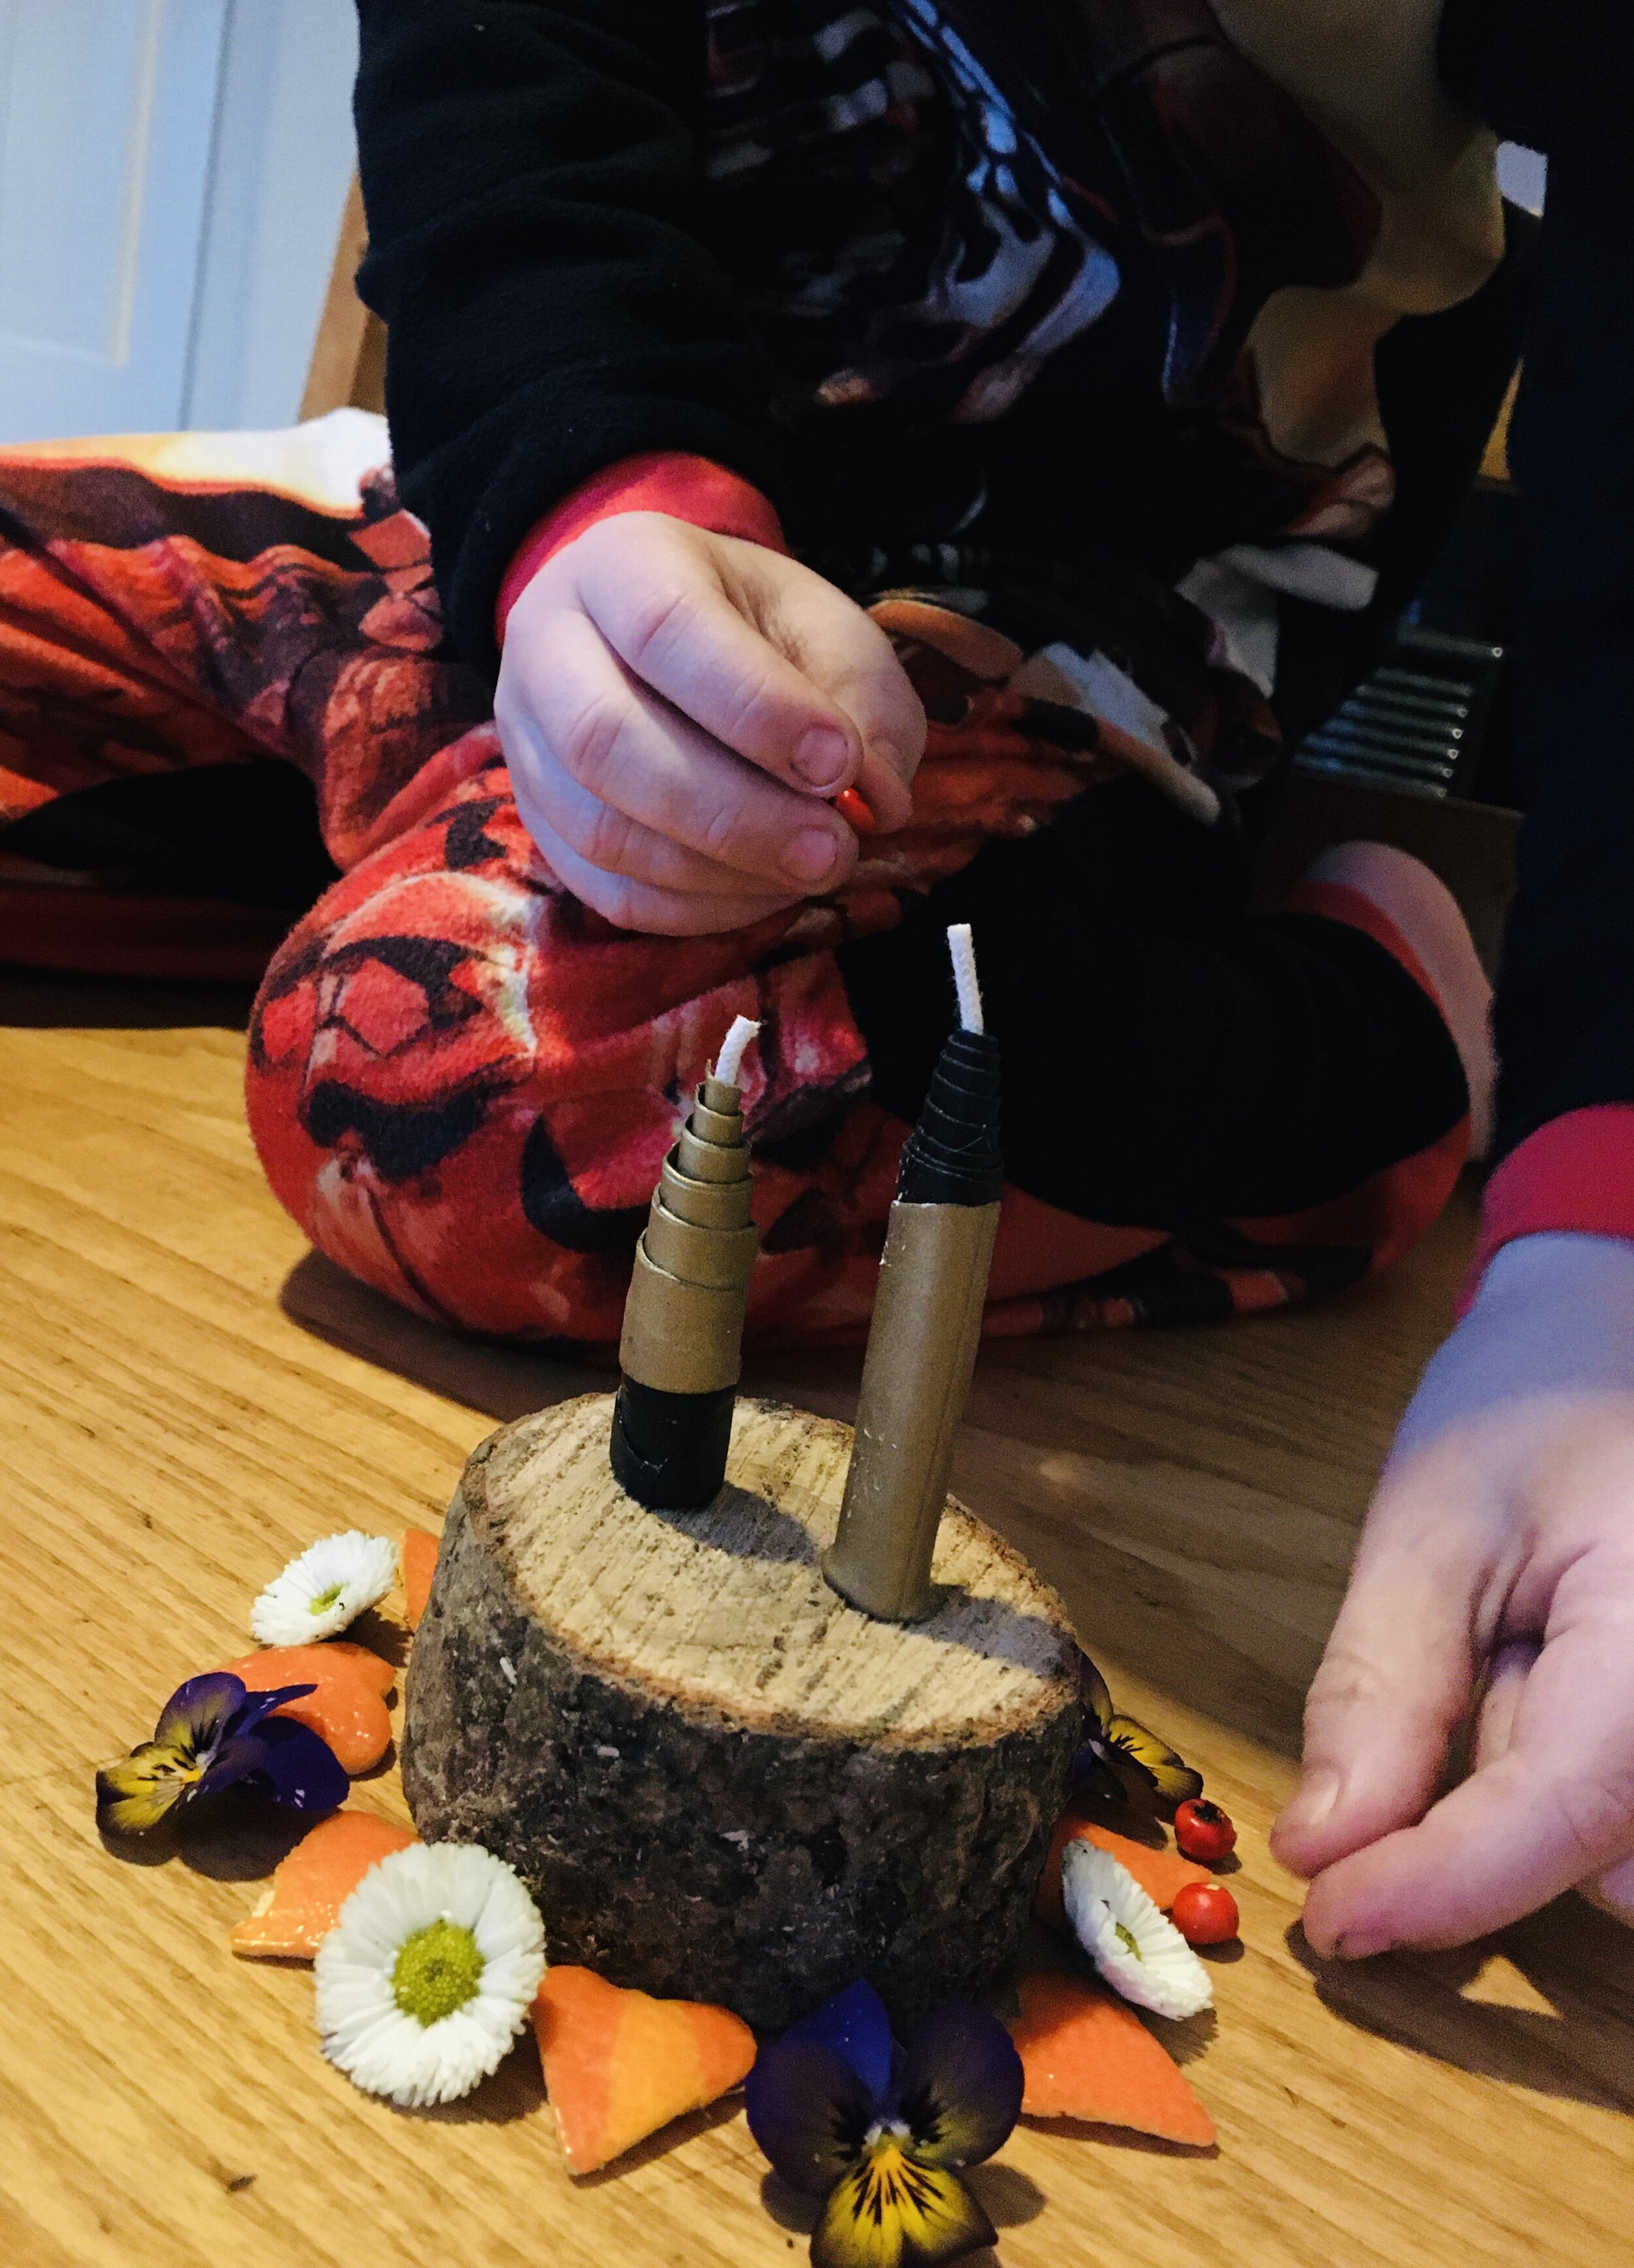
The pack contains two sheets of wax in two colours. One sheet is 5cm wide and the other is 10cm wide. You can chose to make a 5cm tall candle and a 10cm tall candle by leaving the sheets whole. You could choose to cut the 10cm sheet in two horizontally and make three 5cm tall candles. Alternatively you could cut the 10cm sheet into two triangles and make two 10cm tall waterfall effect candles as pictured above.
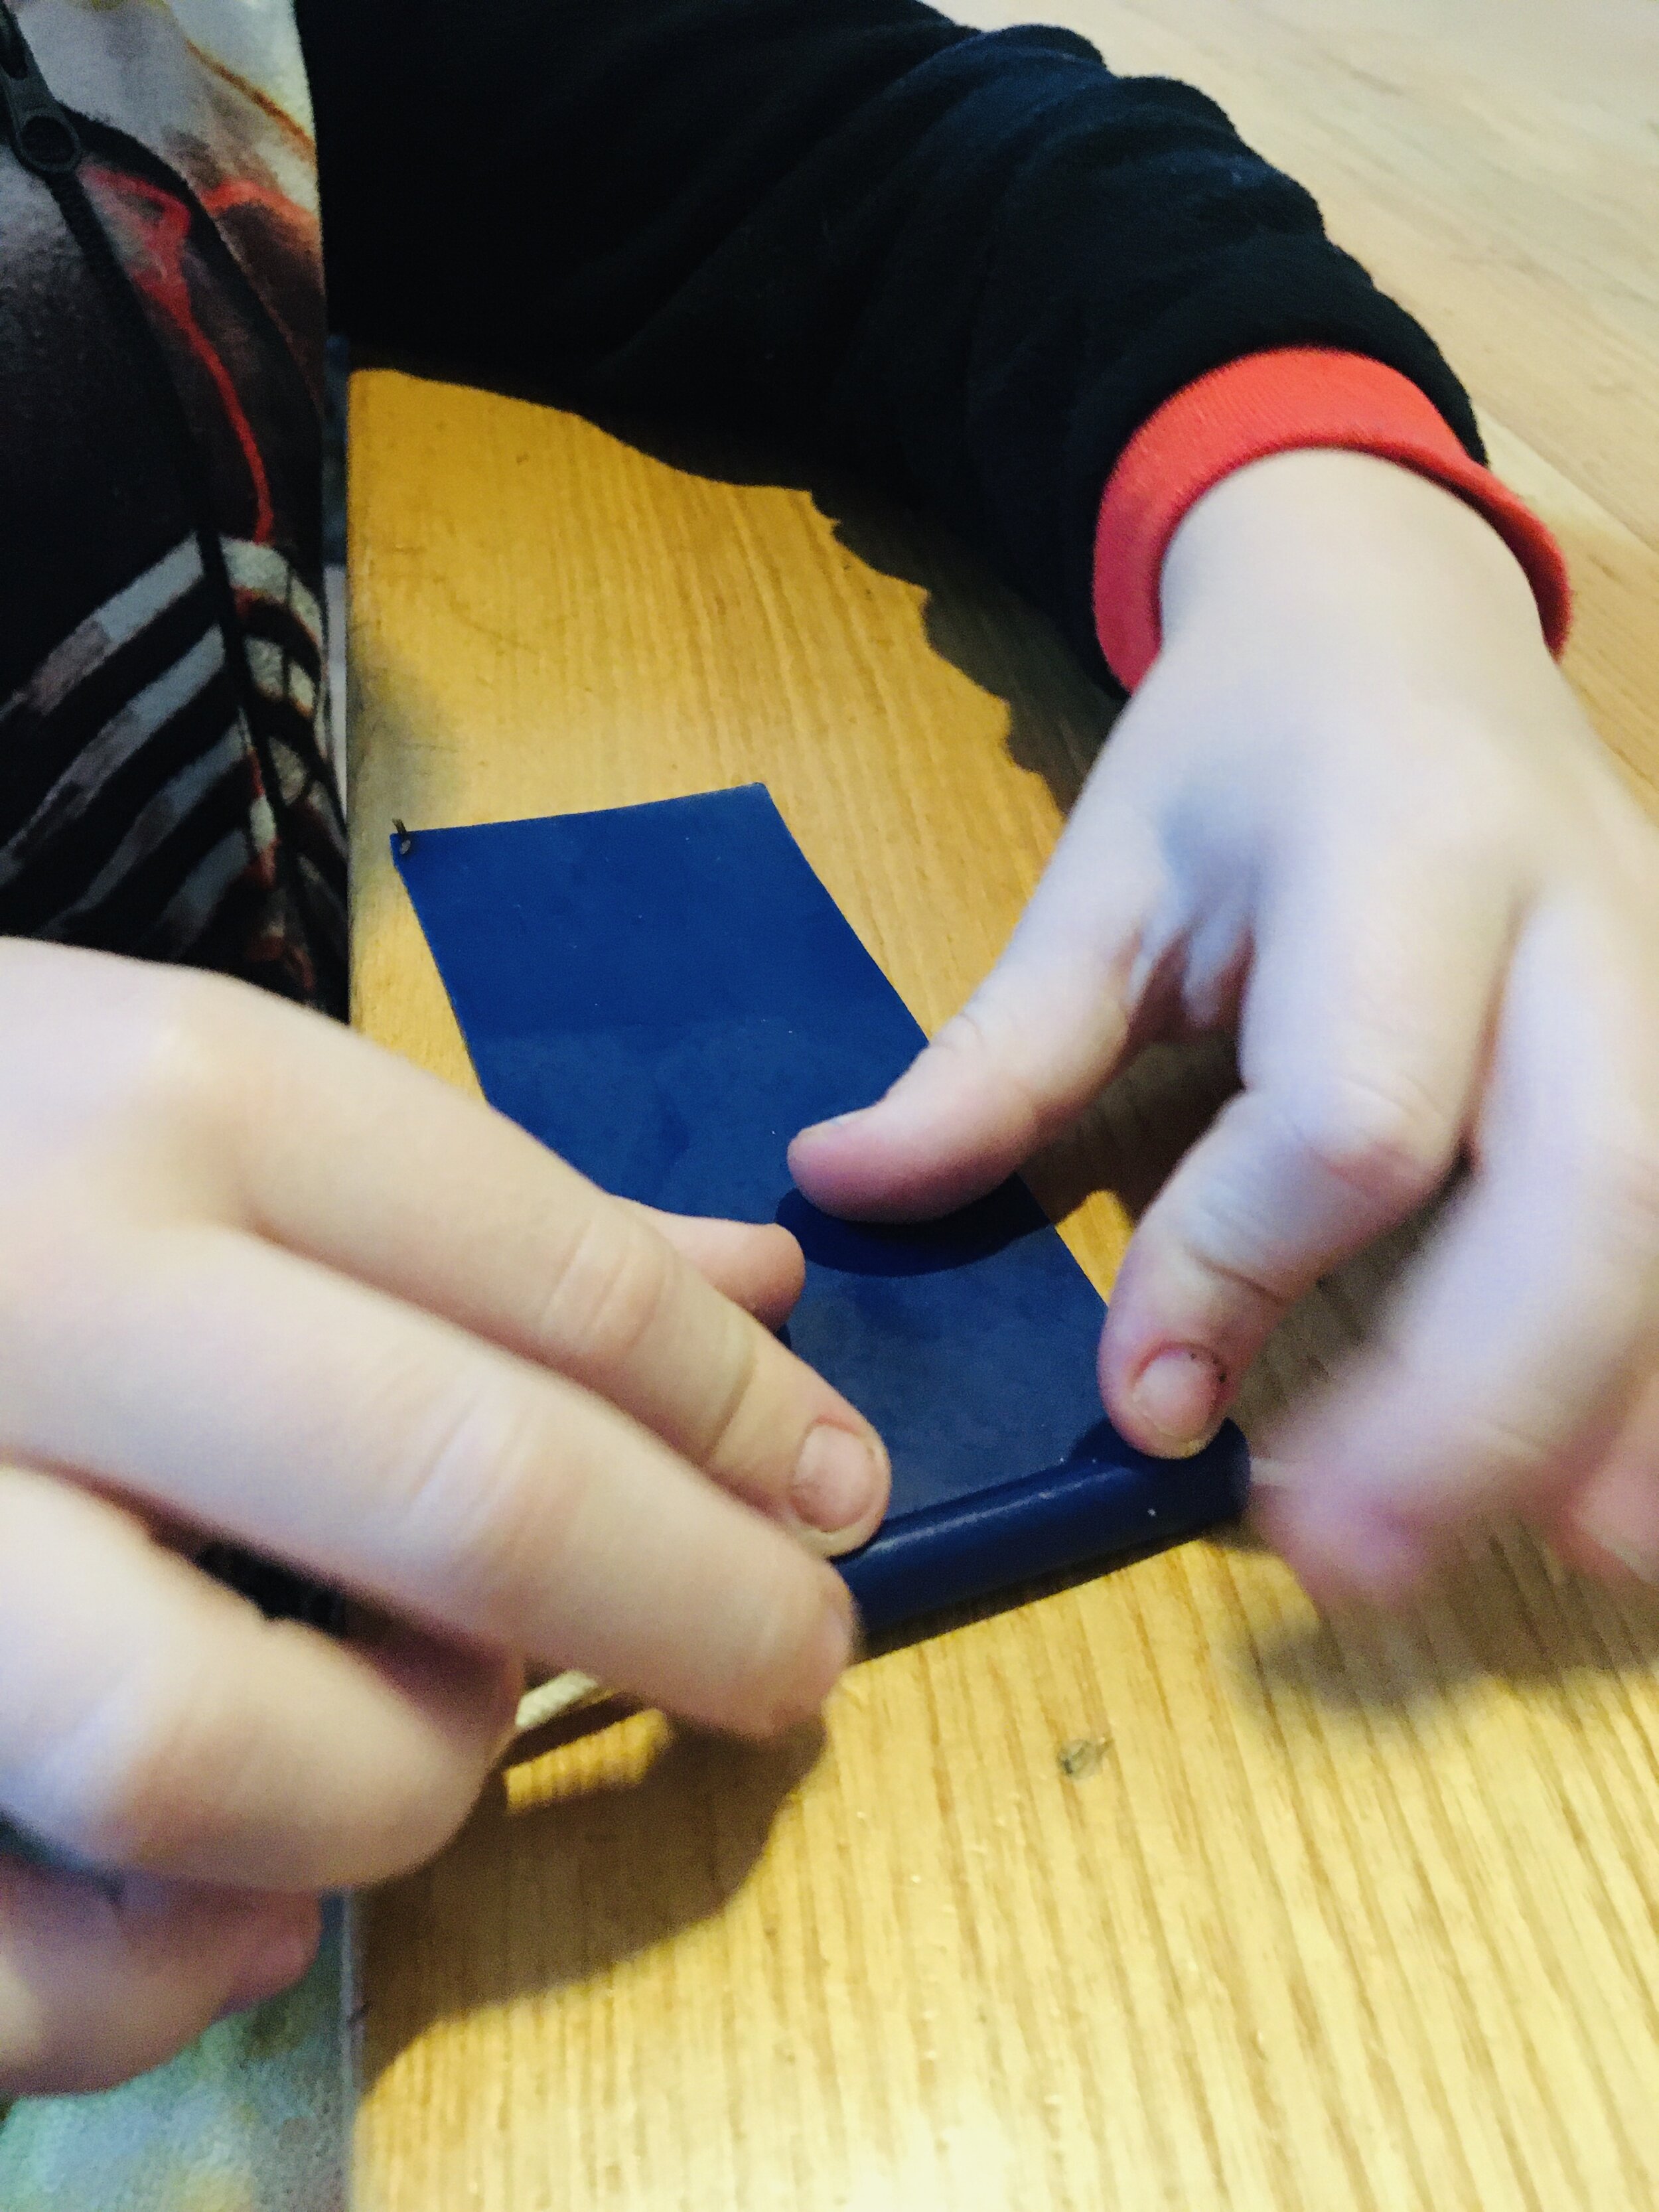
Once the wax is ready you take the wick and lay it across the width of the wax close to the edge. Fold the wax over the wick and push it down around it. Warm hands will make the wax pliable.
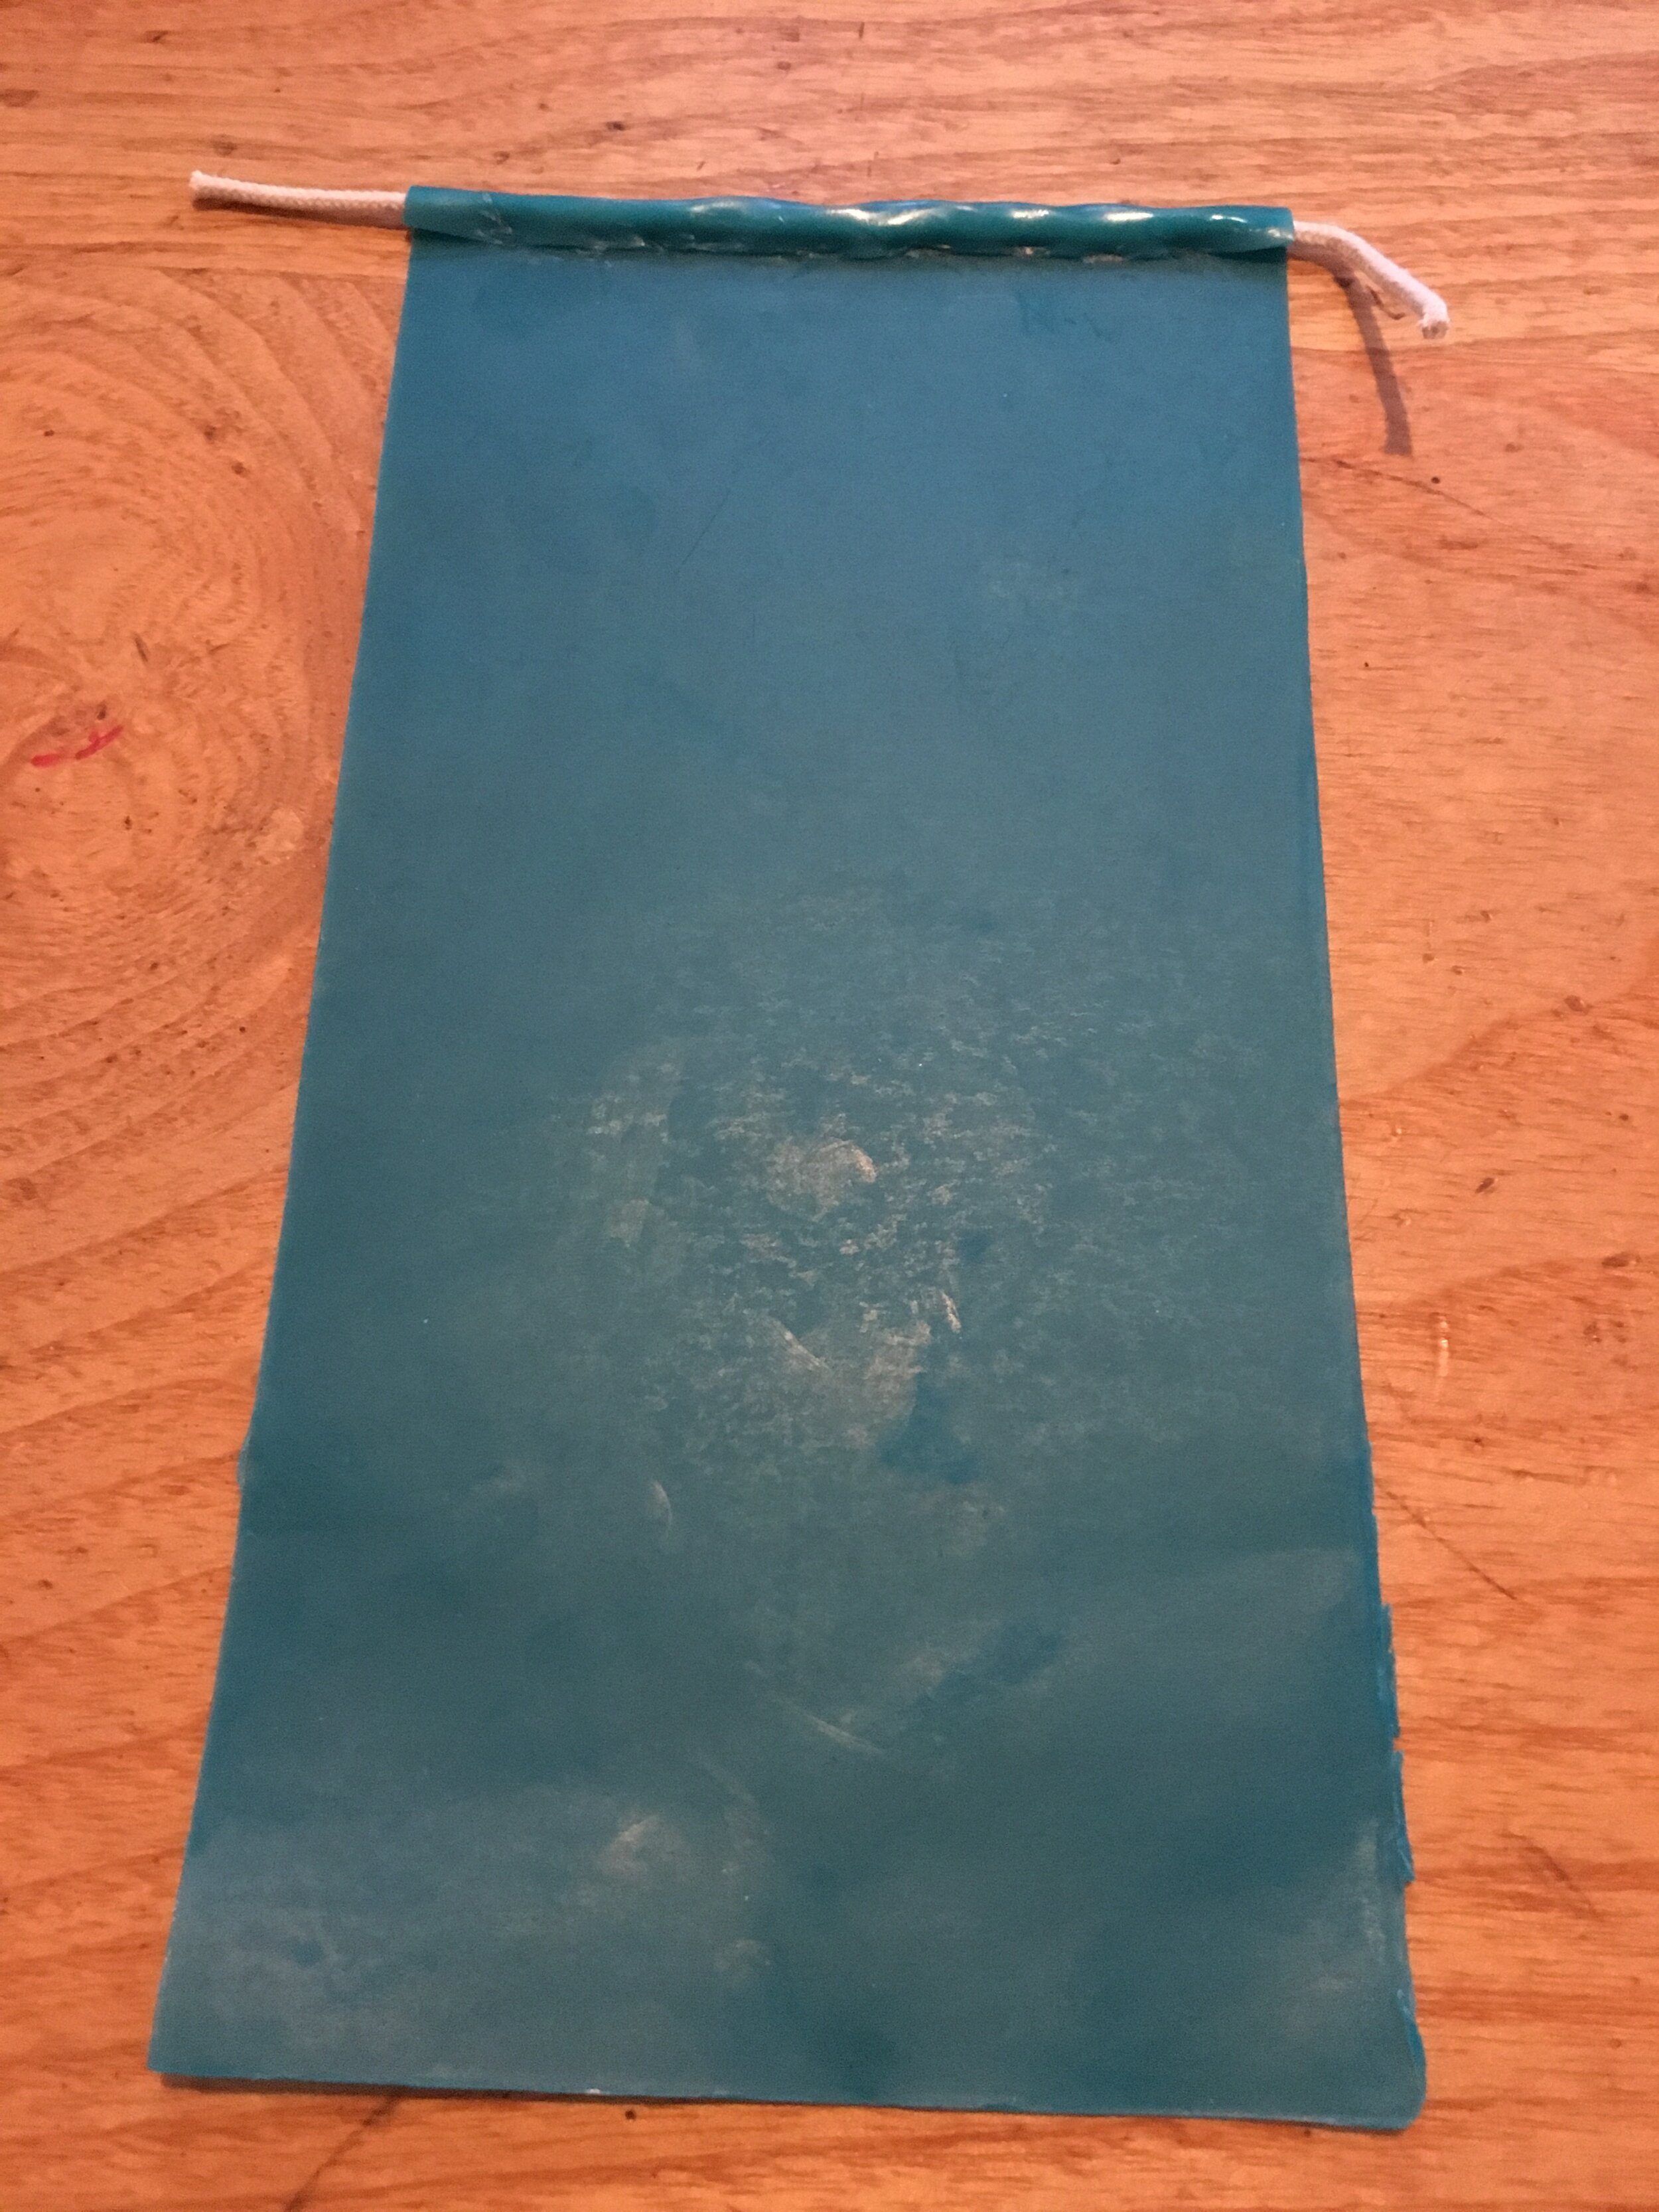
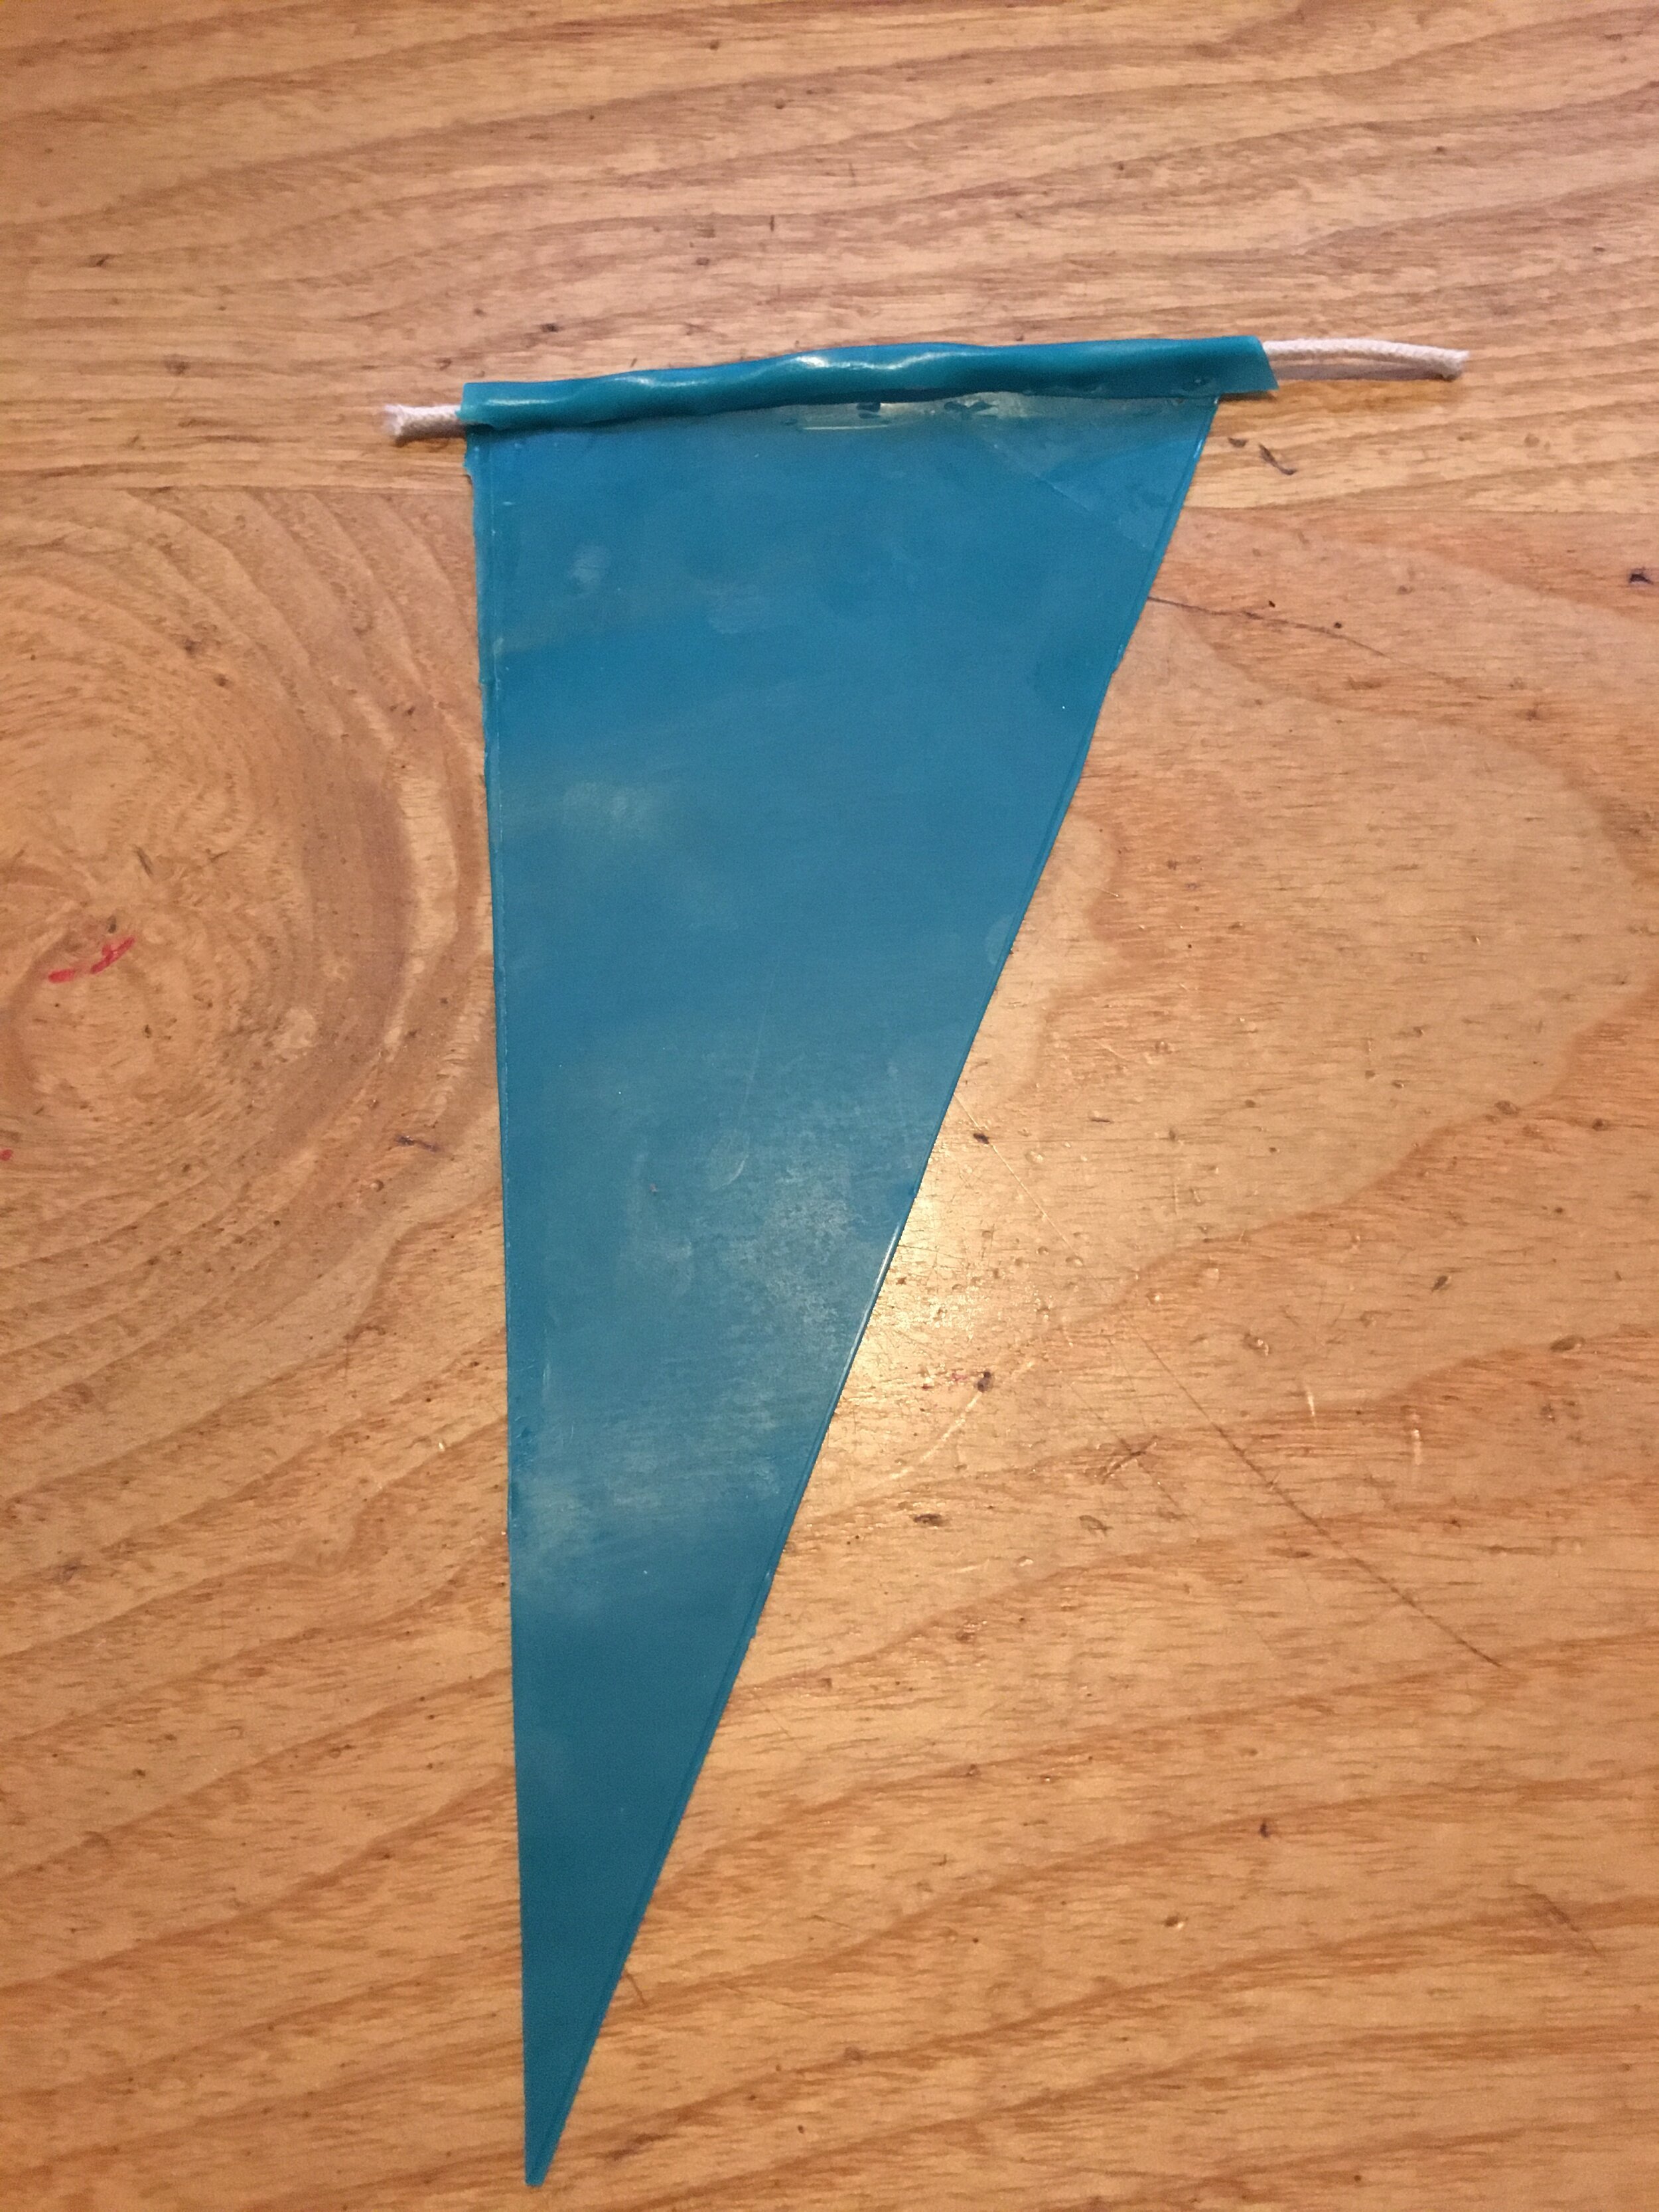
The wick can then be rolled so the wax wraps around it. The wick is then cut off at the bottom and trimmed at the top to finish off the candle.
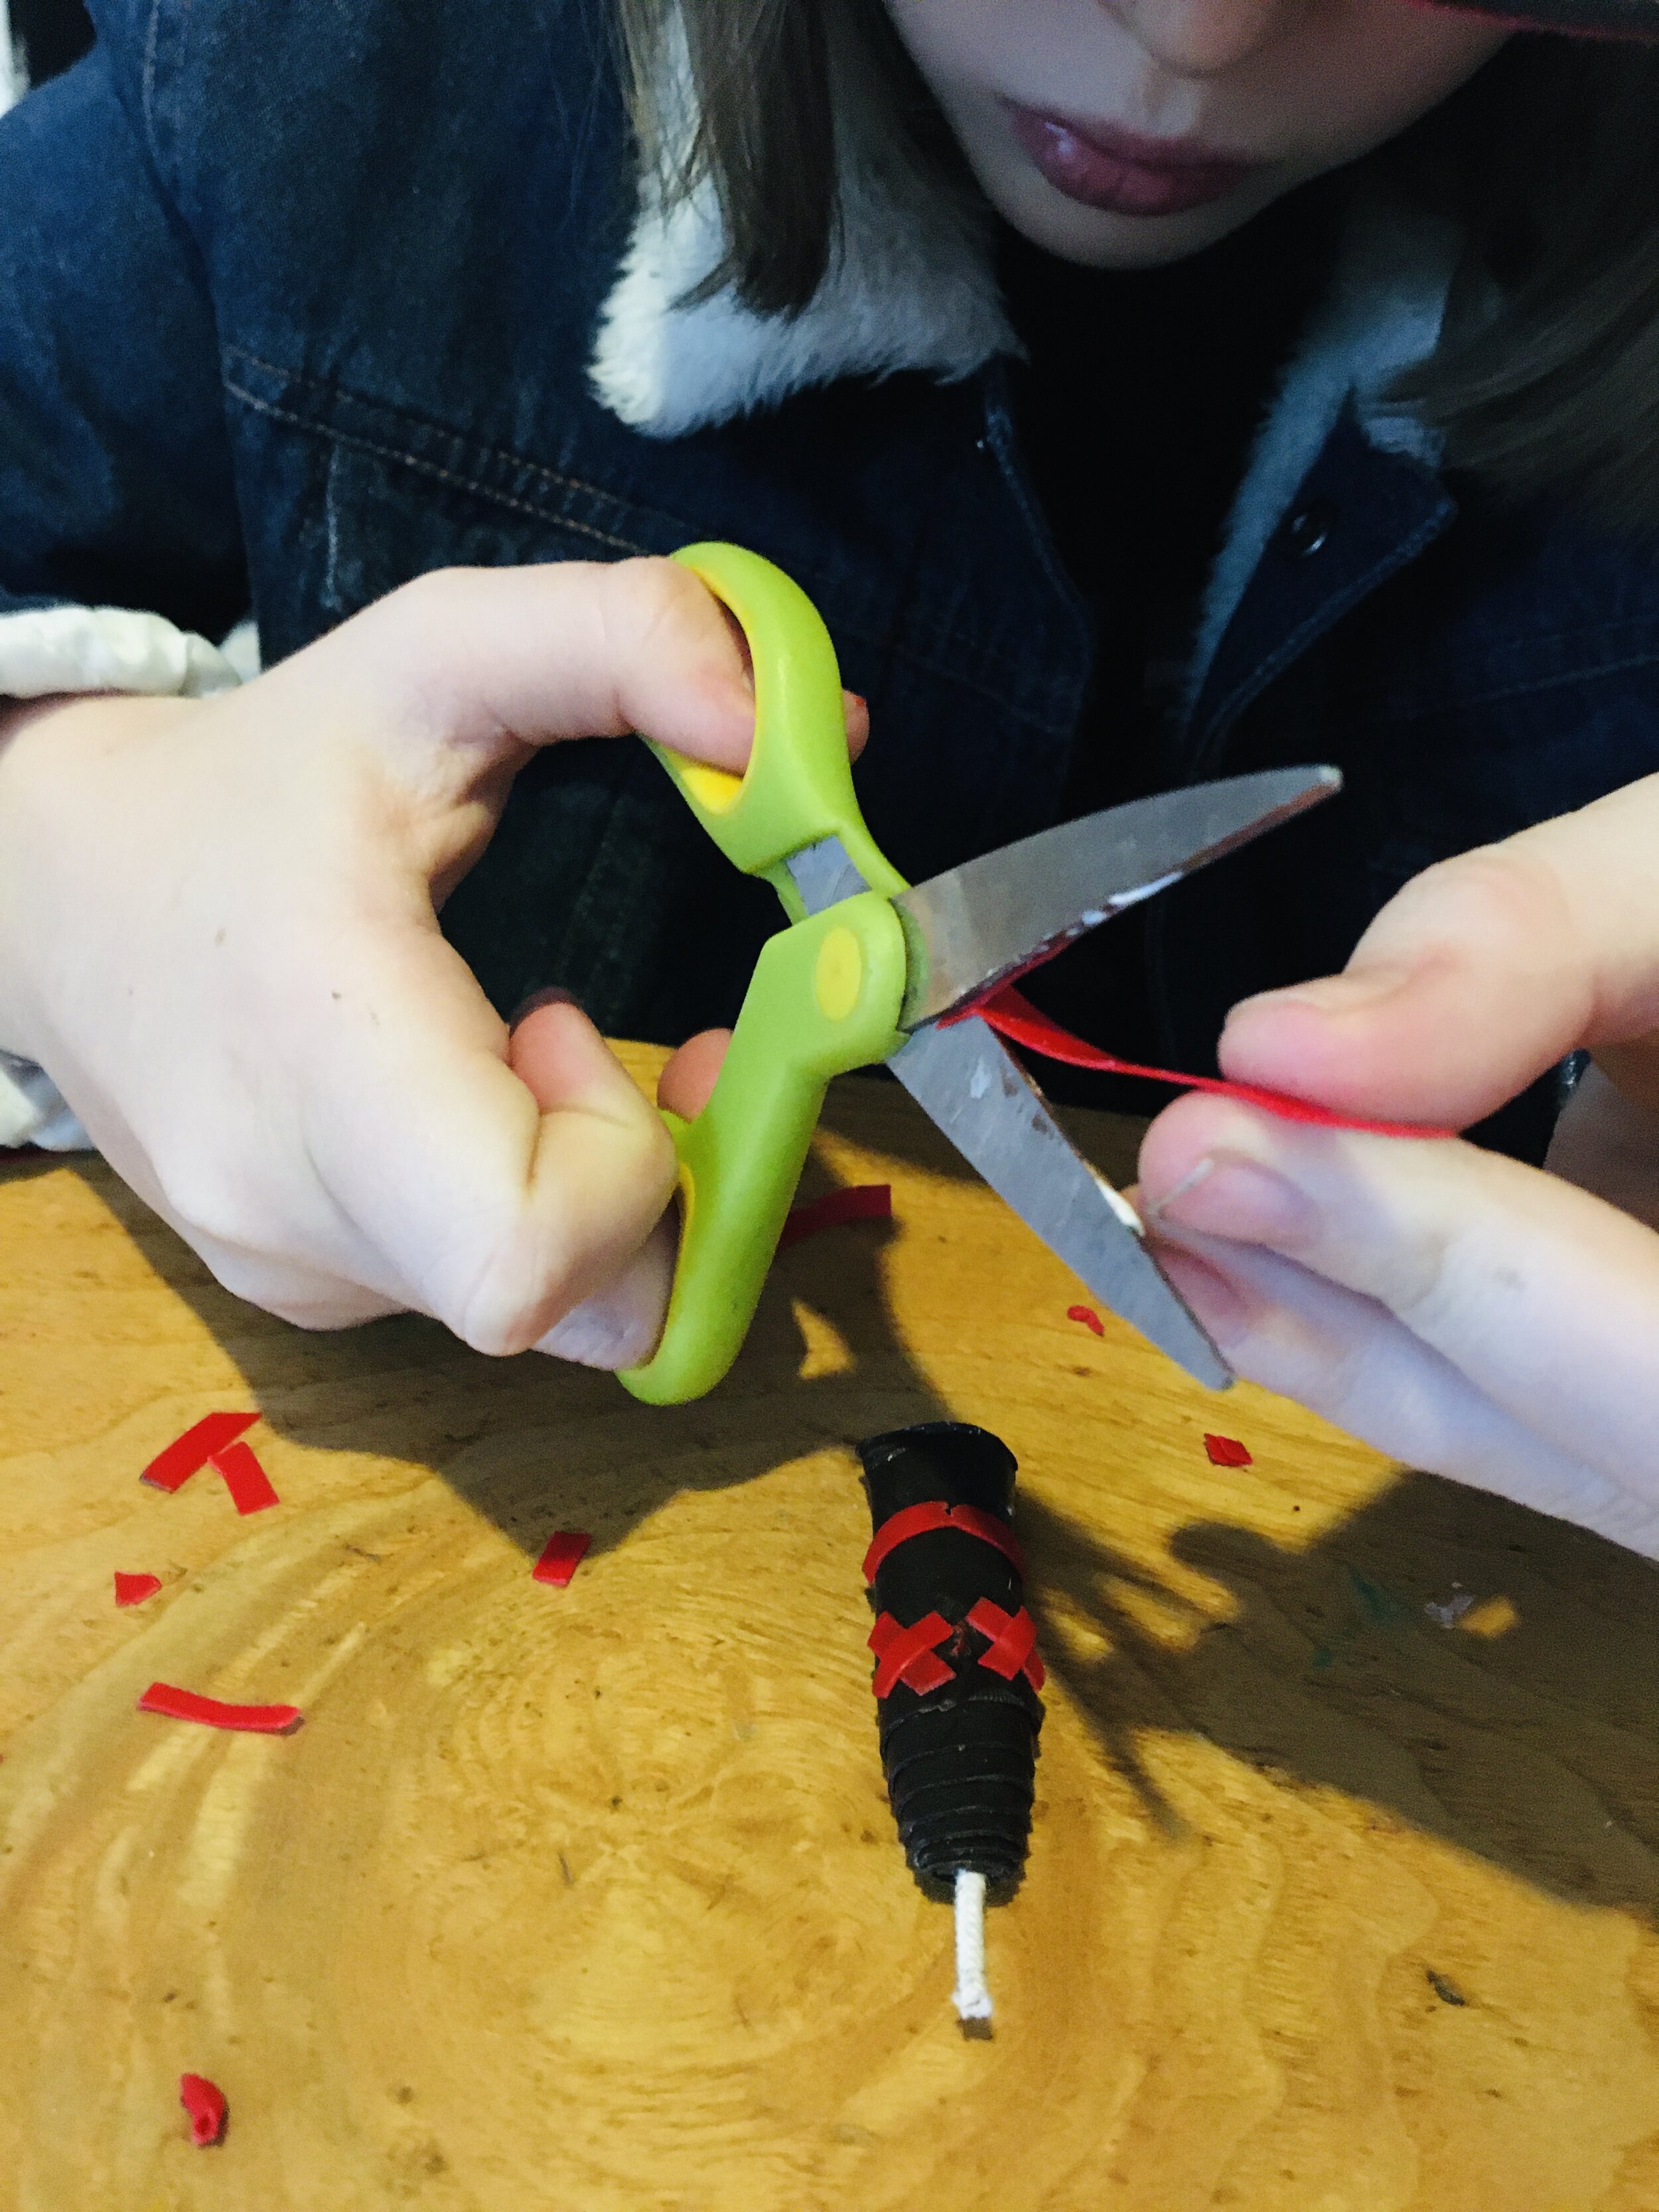
You could choose to reserve some of the wax for decorating the candles. We found small cookie cutters worked well on the wax. We cut out shapes and used warm hands to attach them to the main candle. It is also possible to use scissors to cut out shapes.
Once the candles are finished you could seek out something natural to stand them on. A flat pebble, a log or a piece of bark would do the job.
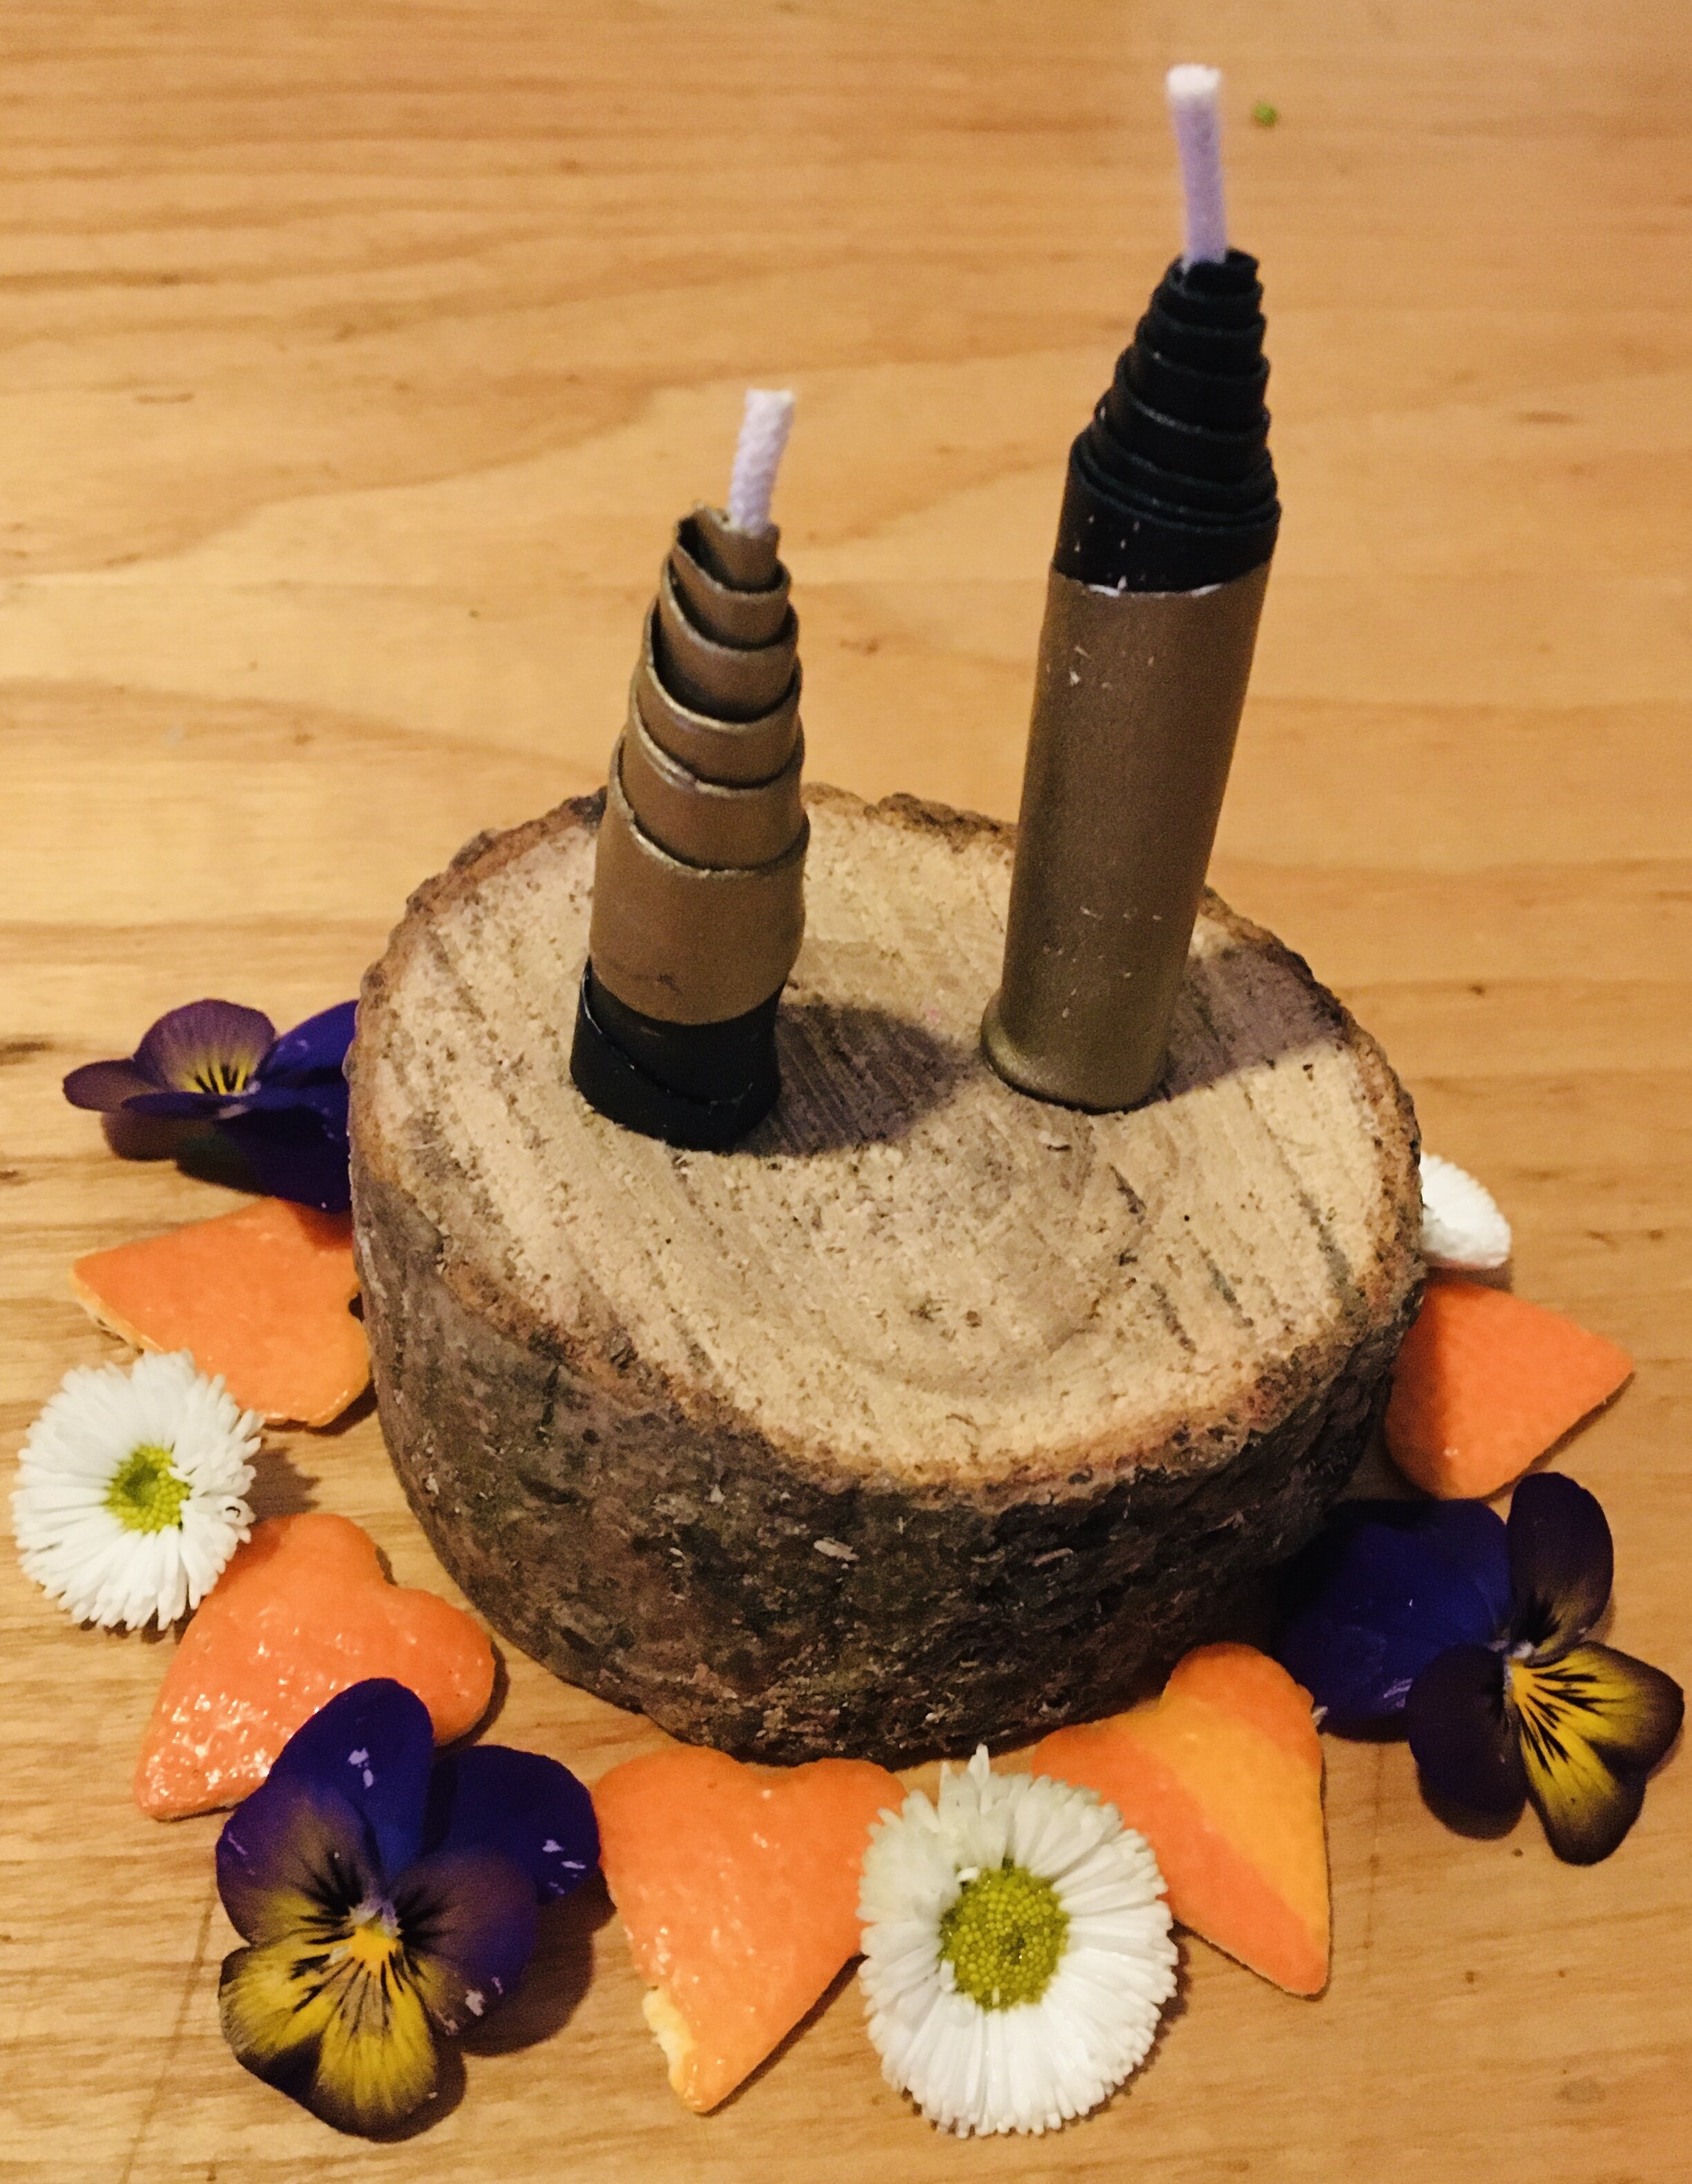
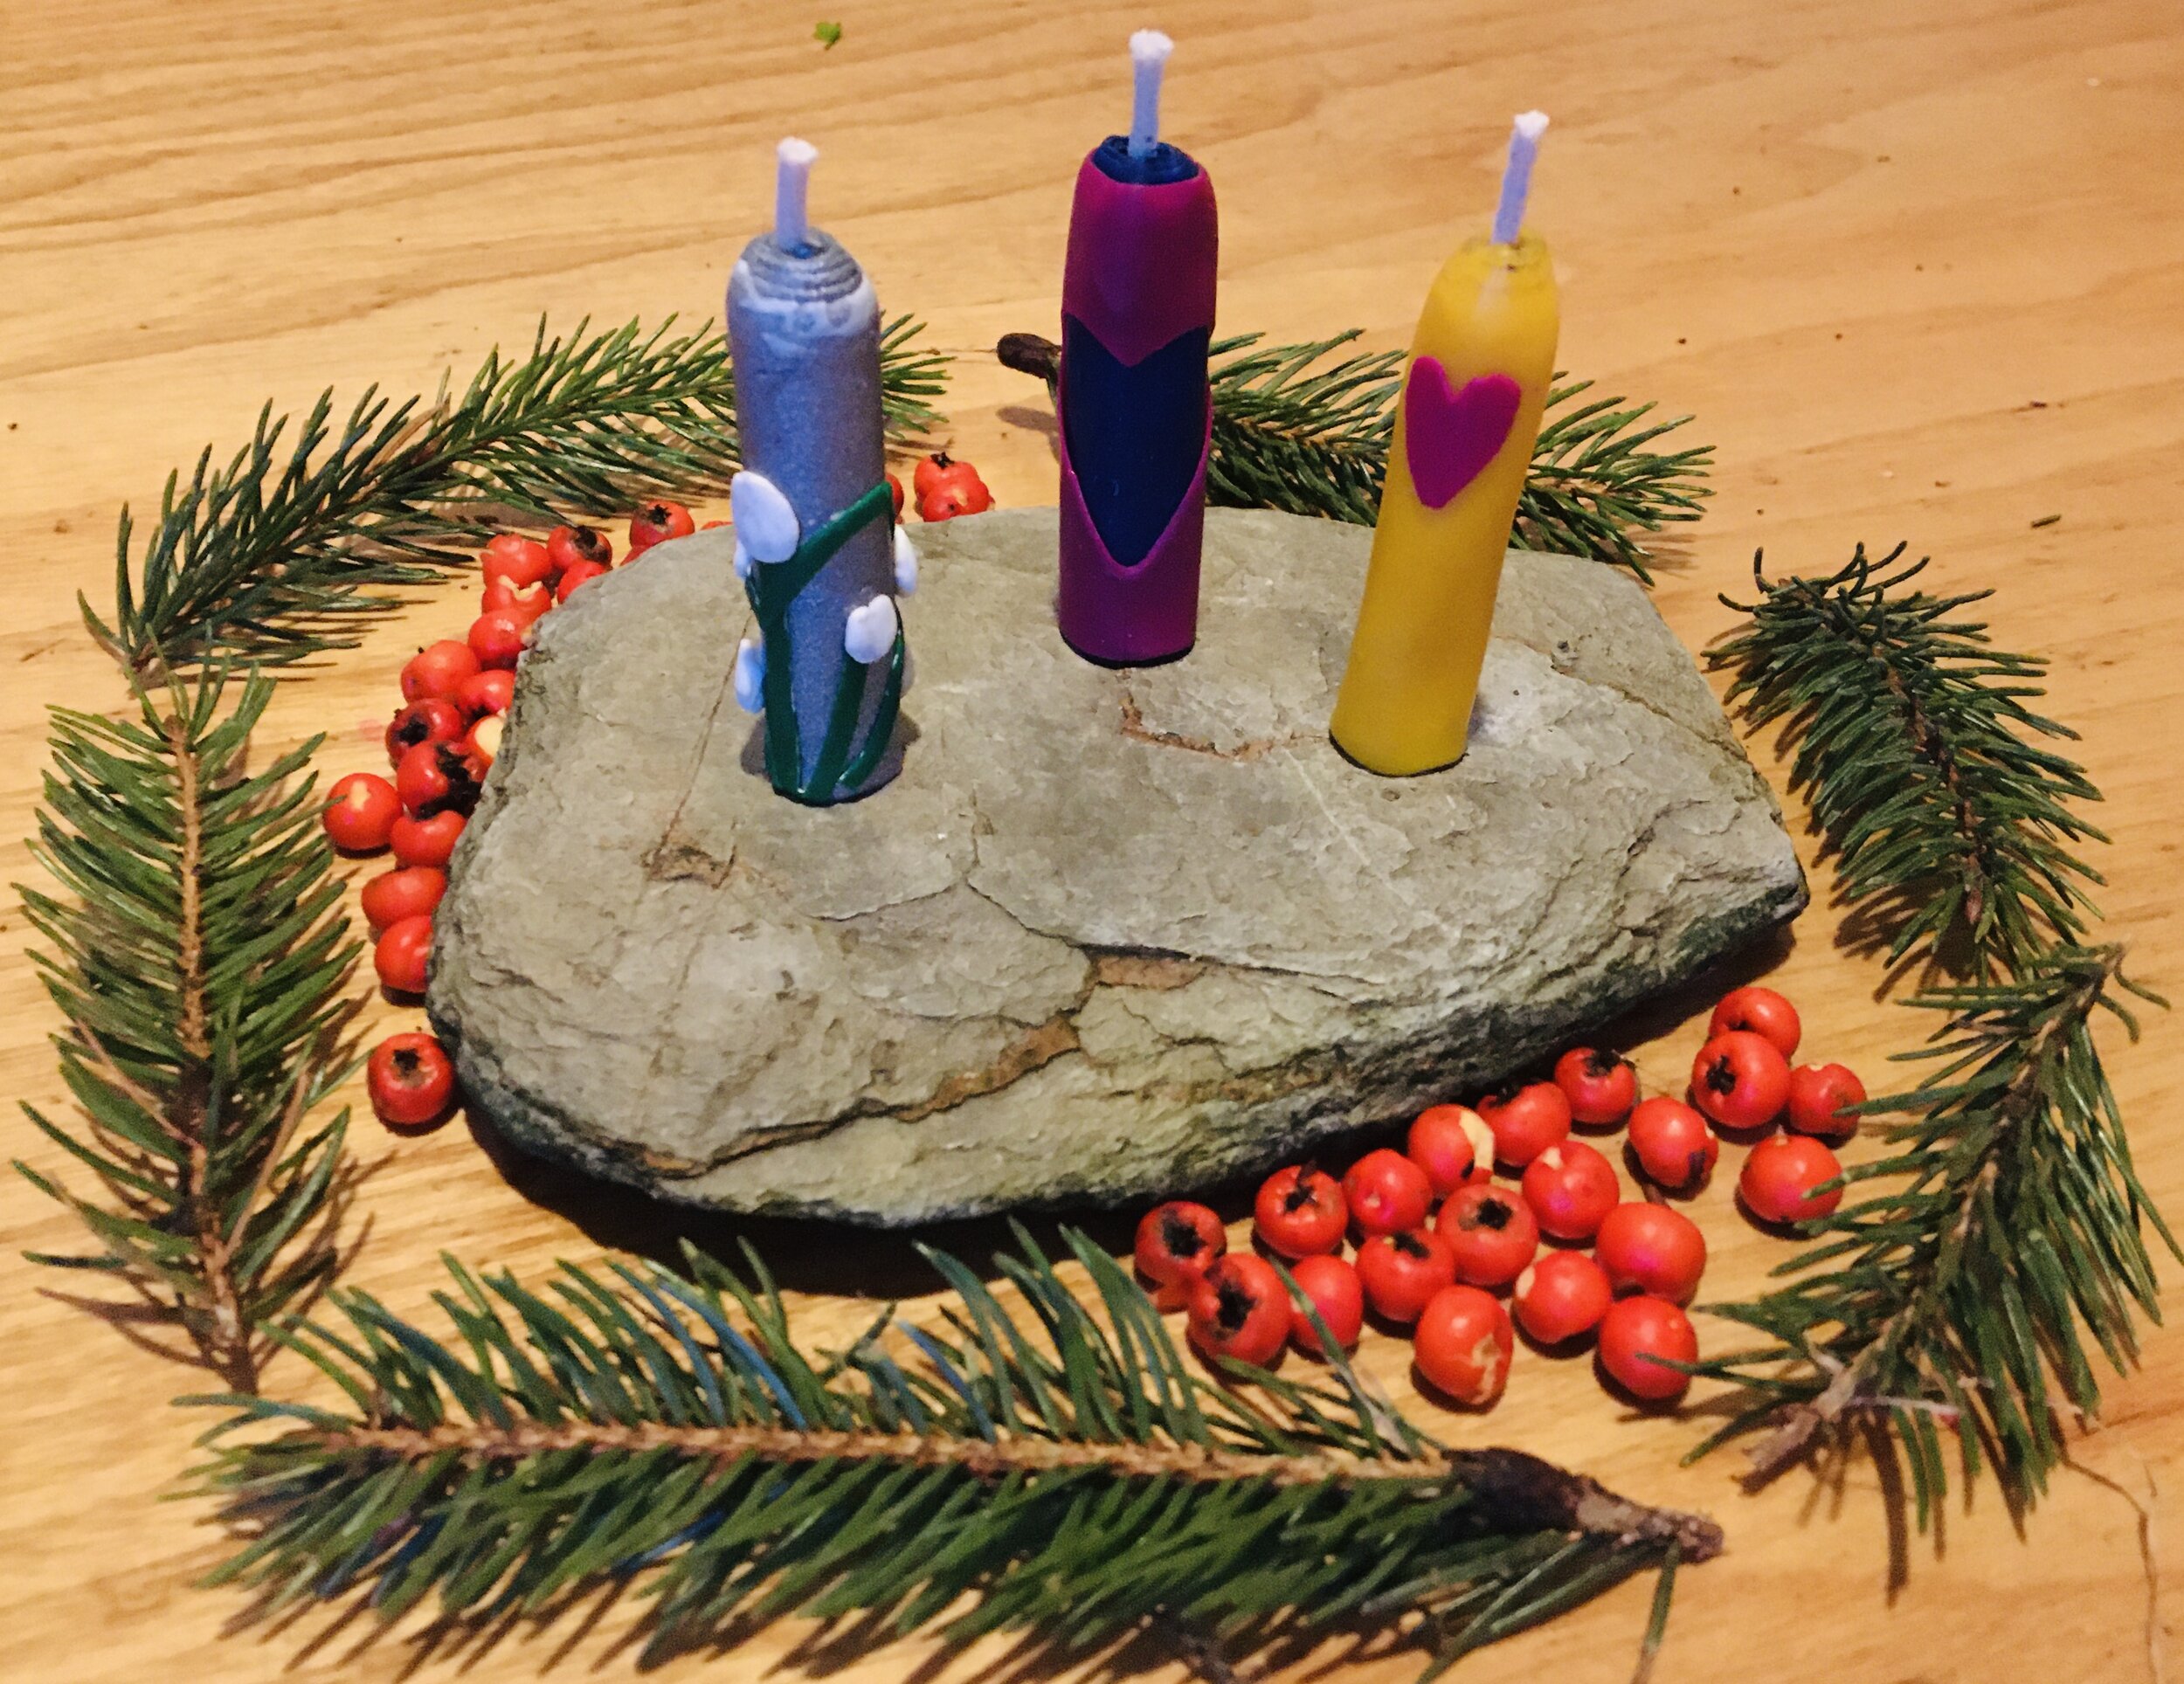
You could then collect things from the house, garden or on a walk to decorate around the candles.

We really enjoyed doing this activity and finished it off by lighting the candles and having a go at toasting some mini marshmallow over the flames. We have included some in the January pack so you can try this too. Be warned though they do catch fire VERY easily!