Suncatcher (Pack 3)
/At Forest School the focus is usually on natural materials. Often we use things we might find in the woods supplemented with other natural craft supplies such as Beeswax or Clay.
However, we do try and reuse the man made resources that find their way into our lives whenever we can. This ethos has led us to come up with this beautiful upcycled suncatcher.

You can make your own suncatcher using the resources provided in Pack Three. There is wire for threading on the beads, buttons and bottle tops that are also included. You can have a hunt around the house for any other bits you would like to add. Old keys, springs and washers all add to the effect.
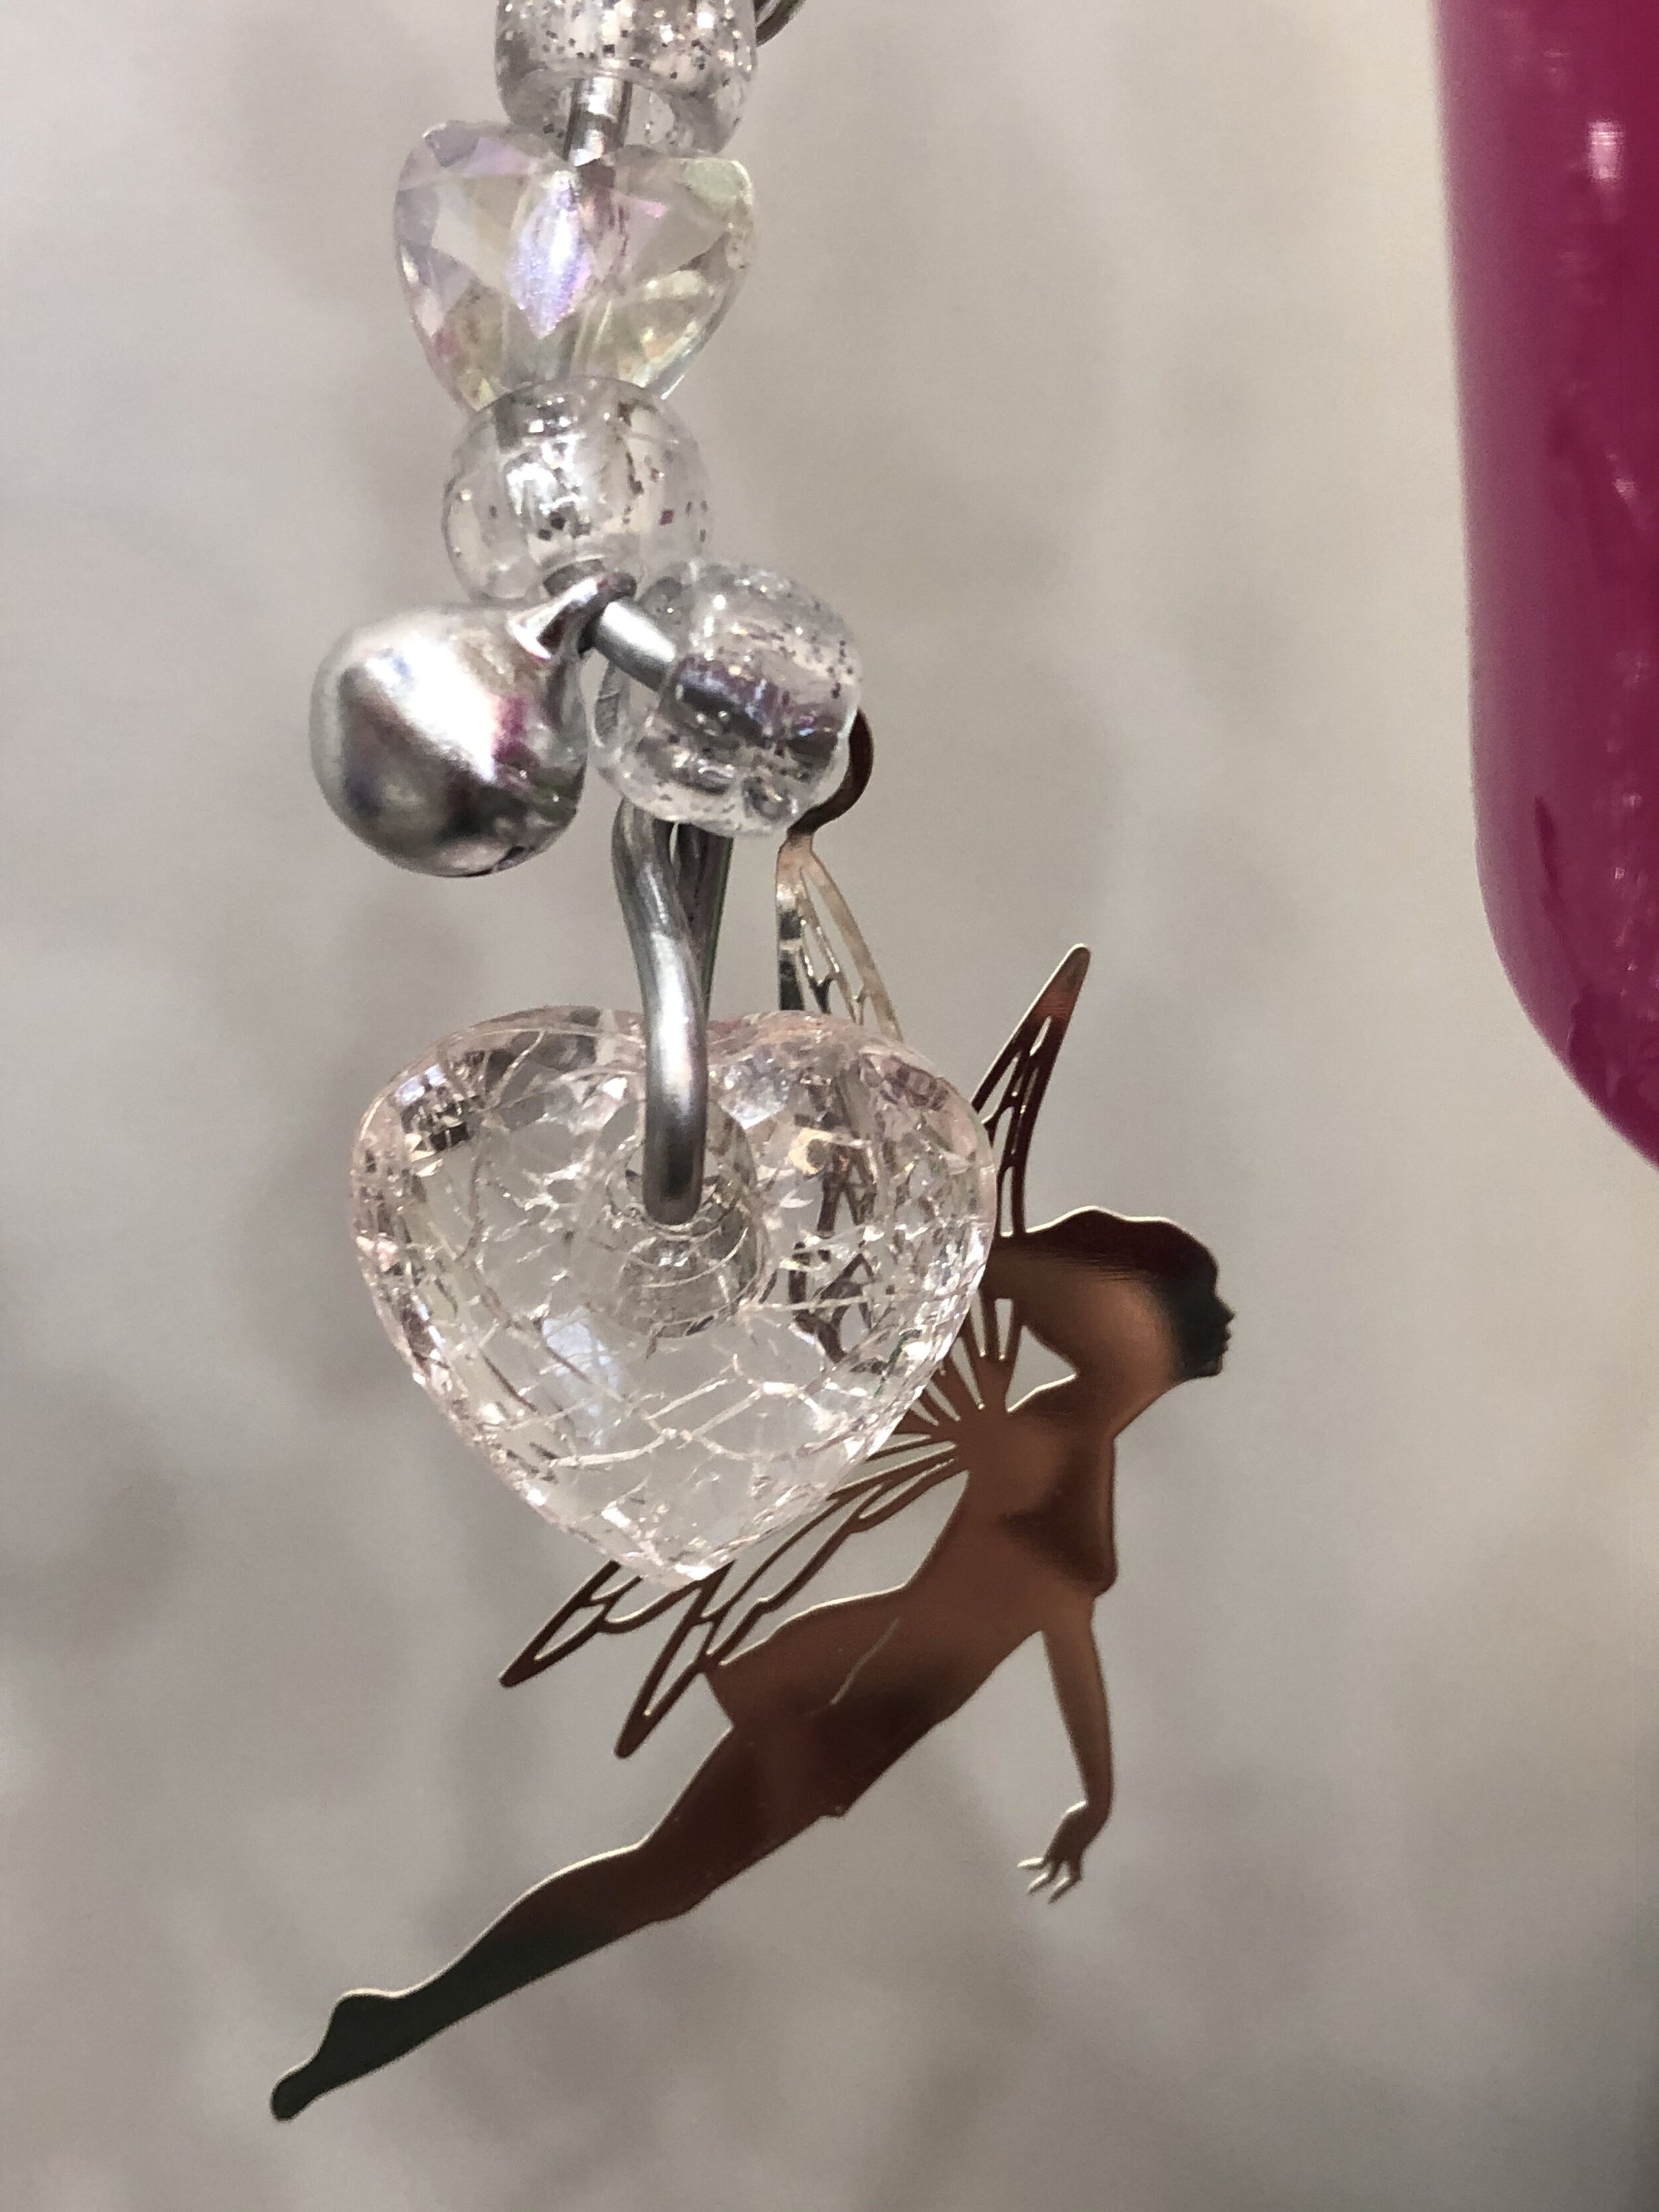

You will also need a good stick to attach your strings of objects too, so keep your eyes peeled when you are on a walk.
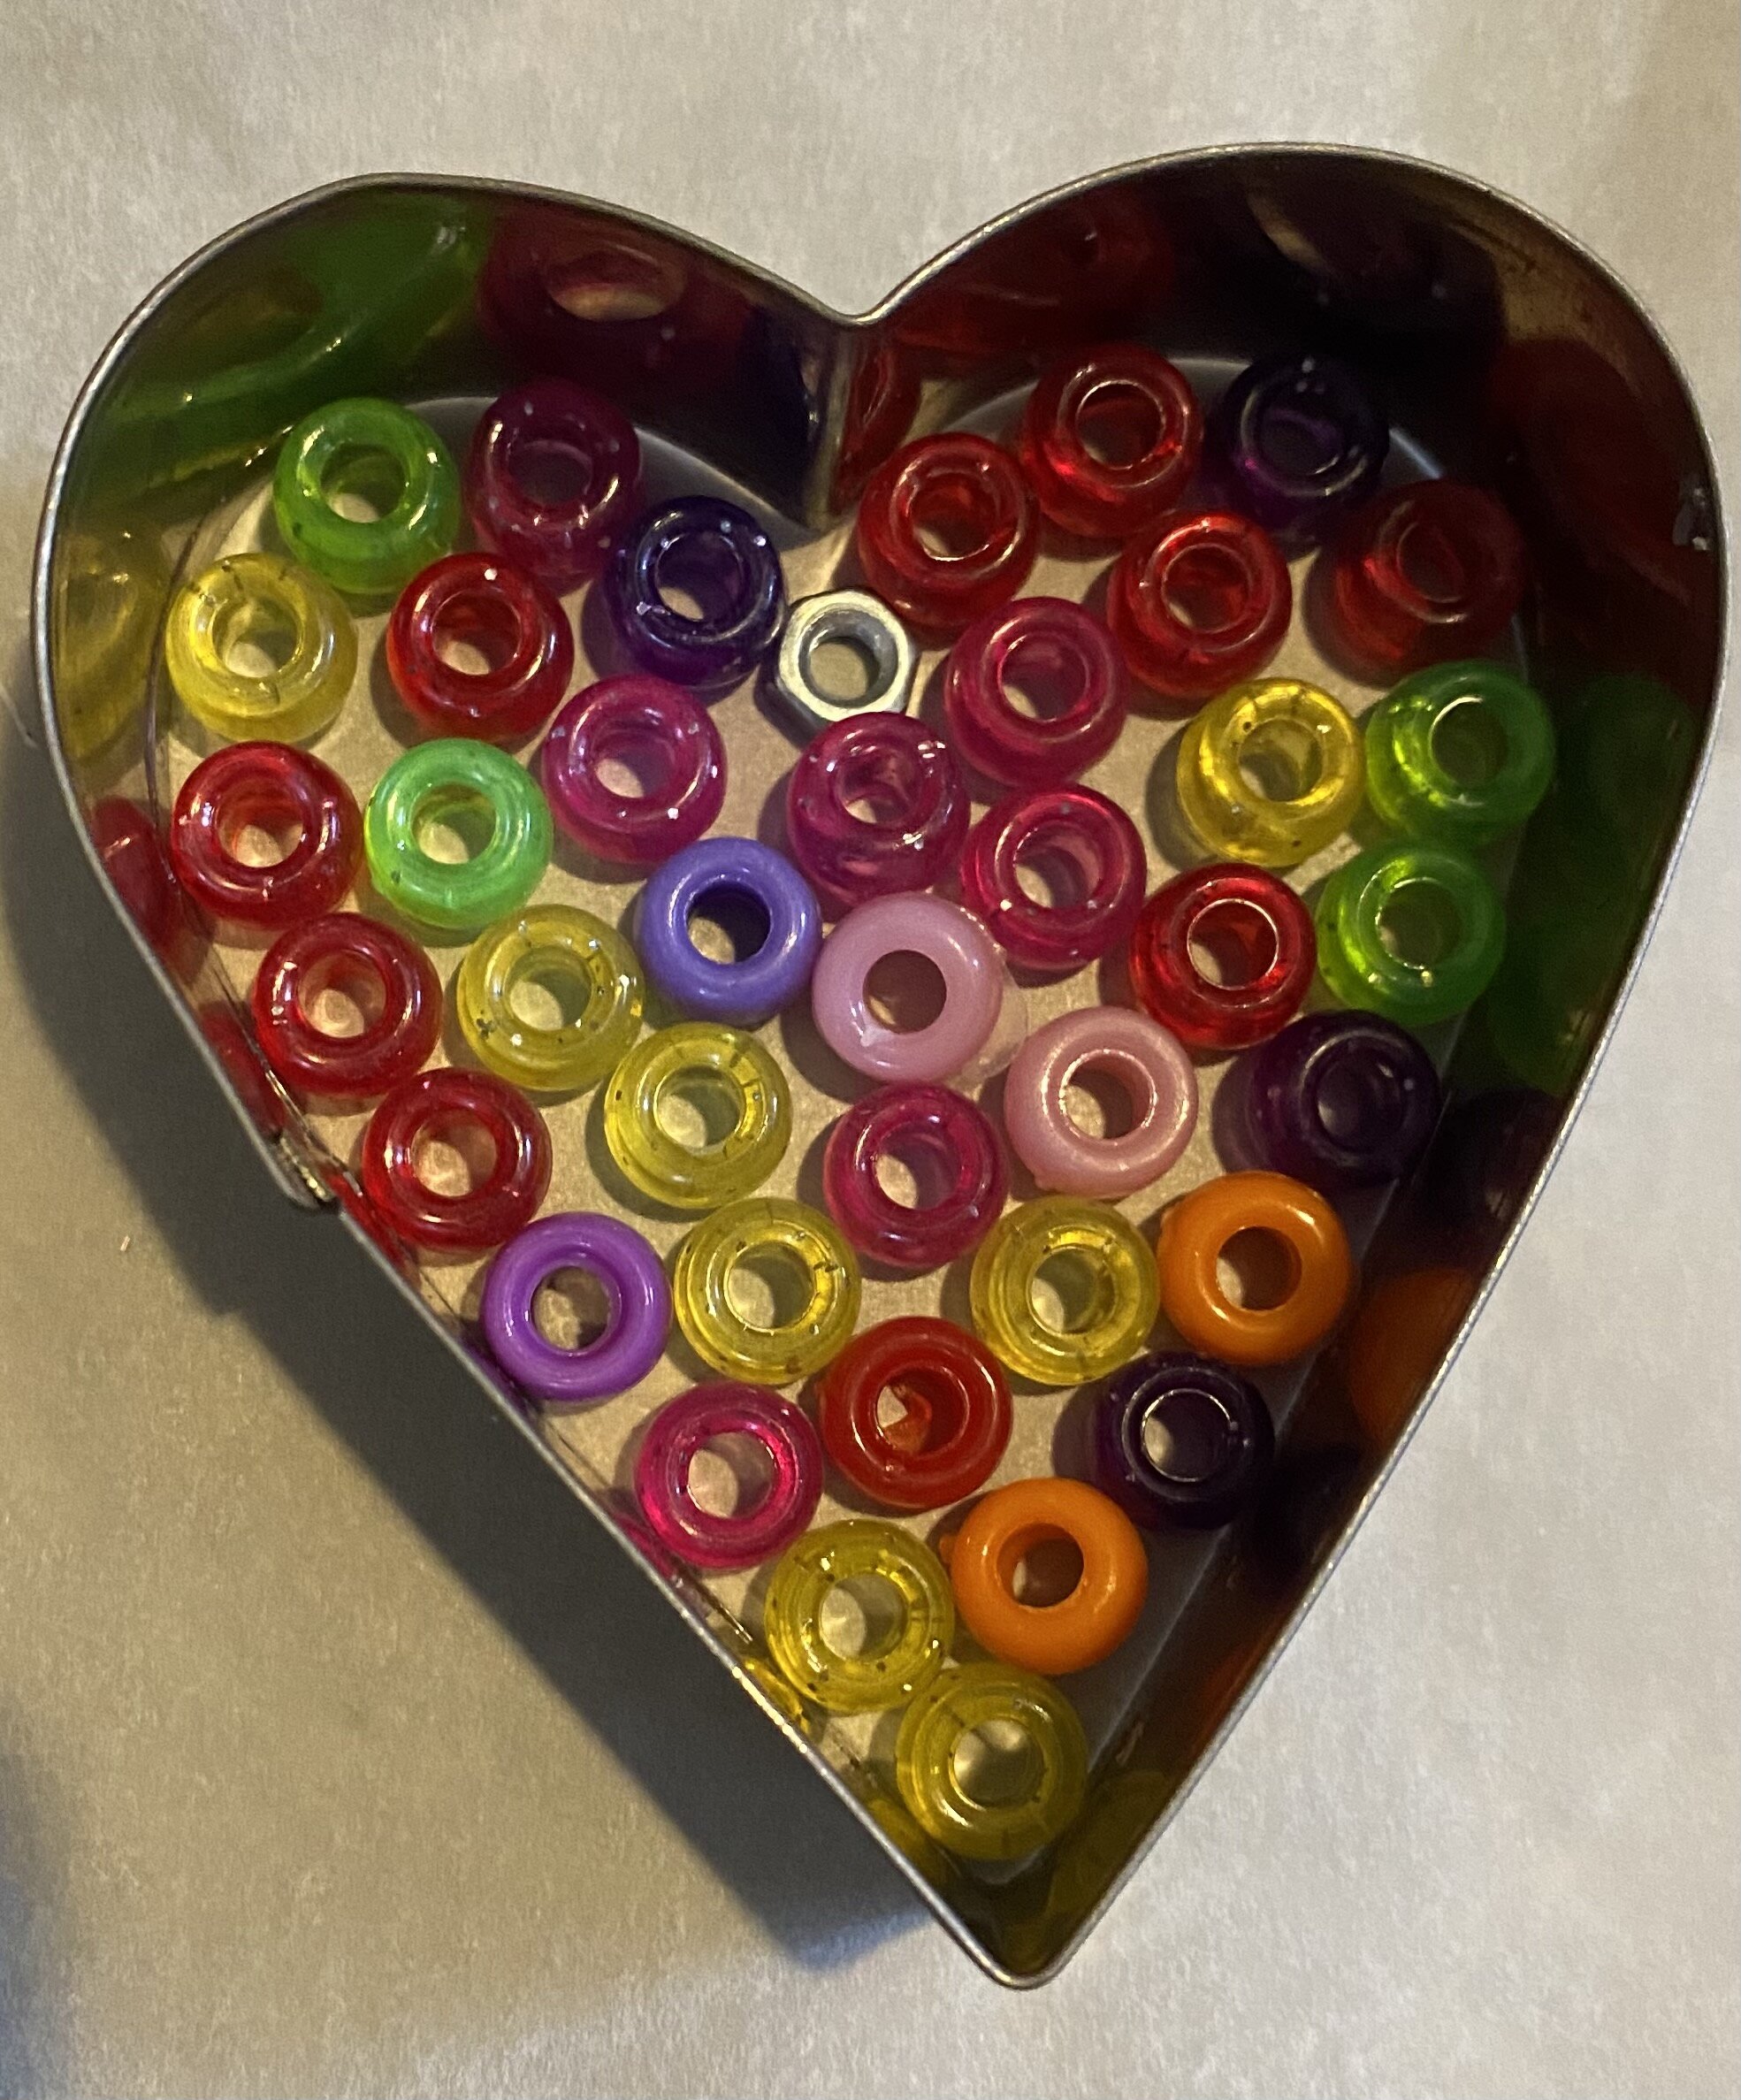
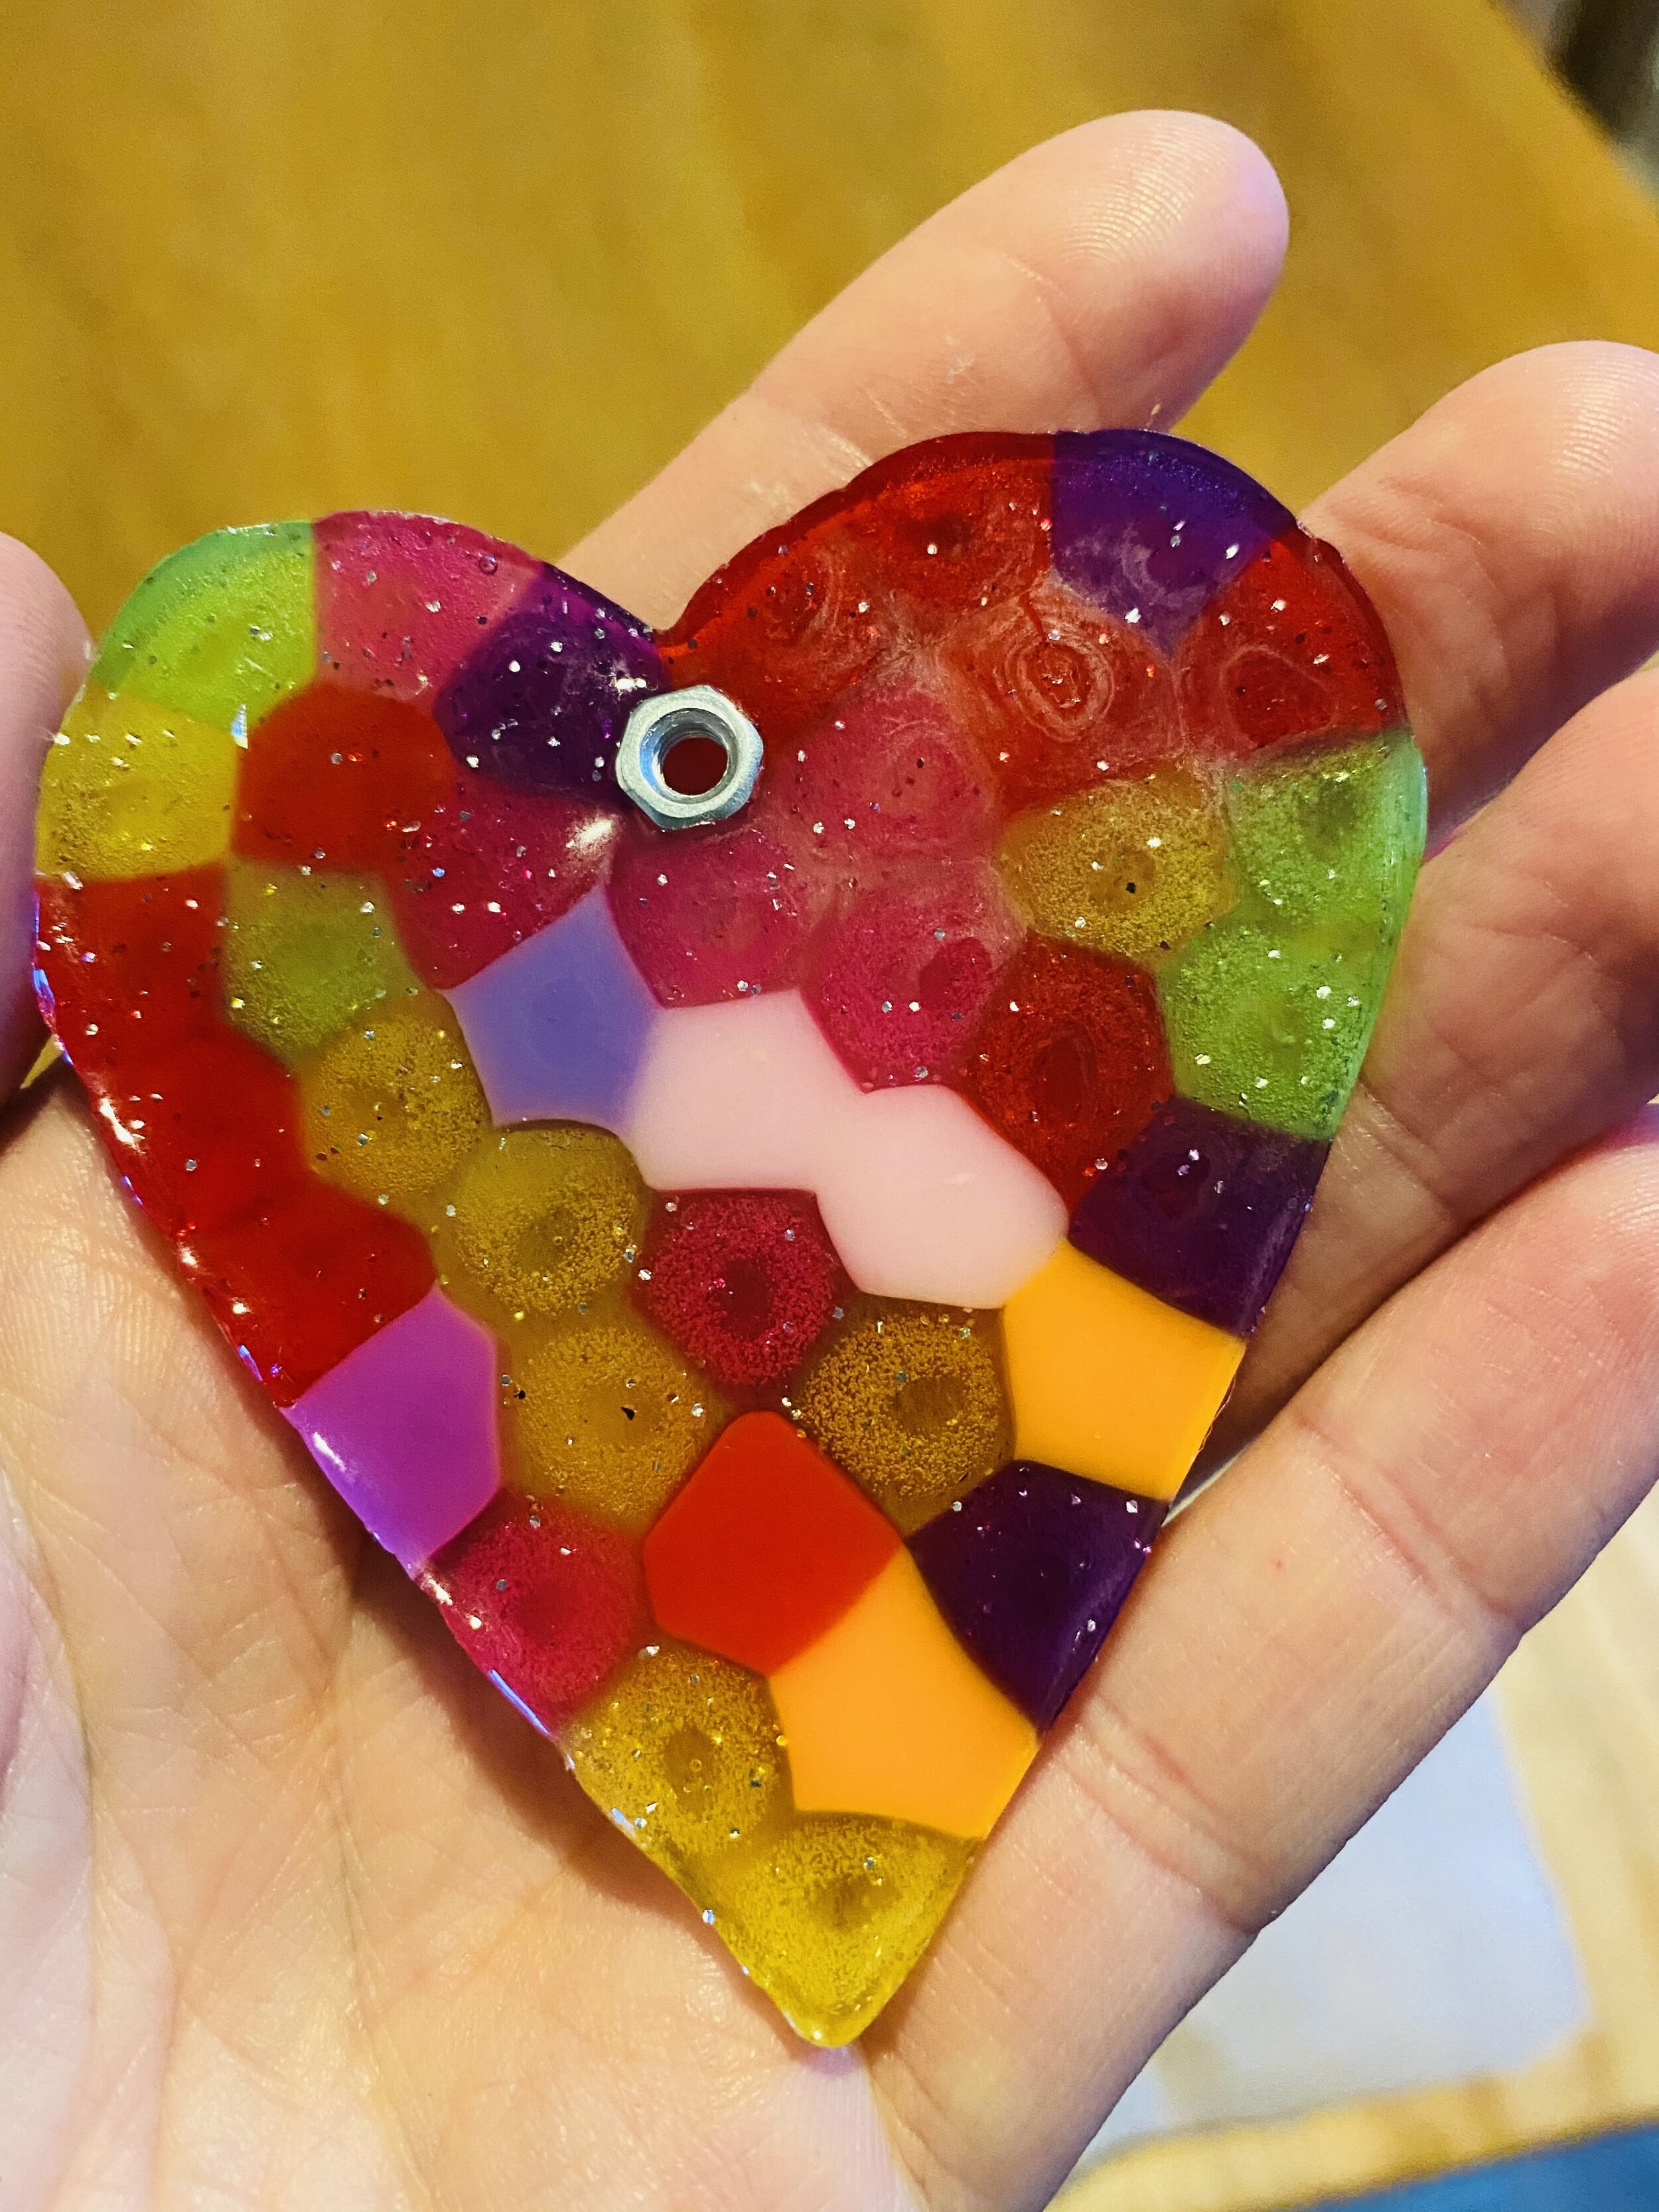
We have also included everything you need to create your own decorations to add to your suncatcher. These shapes were formed using beads melted inside a metal cookie cutter in the oven. This is easier and not as stinky as you might expect!

To do this your simply put a piece of baking paper (included in the pack) on an oven tray and put the cookie cutter on top. Fill the cookie cutter with plastic beads (from the small bag) and move these around so the holes are all facing upwards. We found this a bit fiddly, but the plastic needle contained in Pack Two was great for moving the beads about. A metal nut (found in the bigger bag of beads) should be placed in the middle as this will form the hole to hang the decoration by. Once ready the tray should be placed in the oven at 180 Degrees Celsius for about twenty minutes or until the beads have melted. Remove the tray from the oven and allow the cookie cutter to cool before popping the shape out.
When your Suncatcher is finished ,you can hang it in a window or other sheltered sunny spot and watch it glisten in the Spring sunshine.